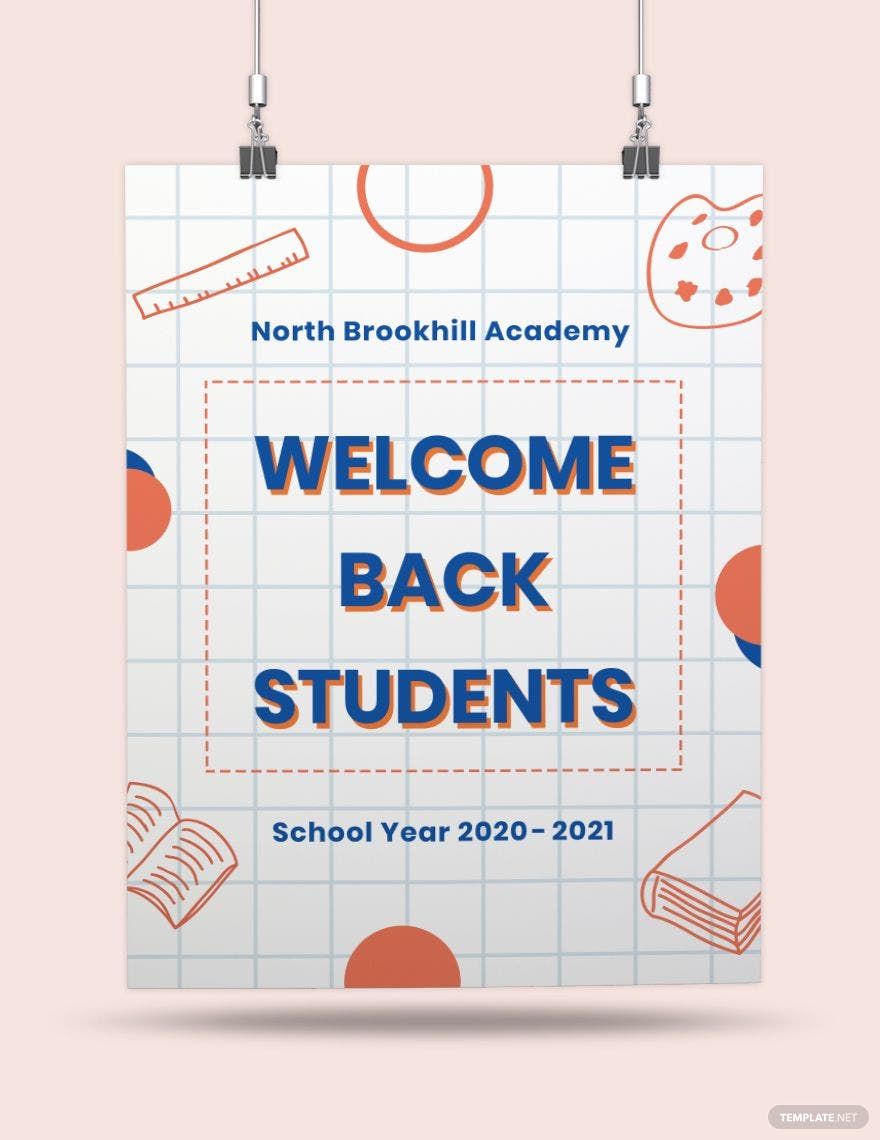
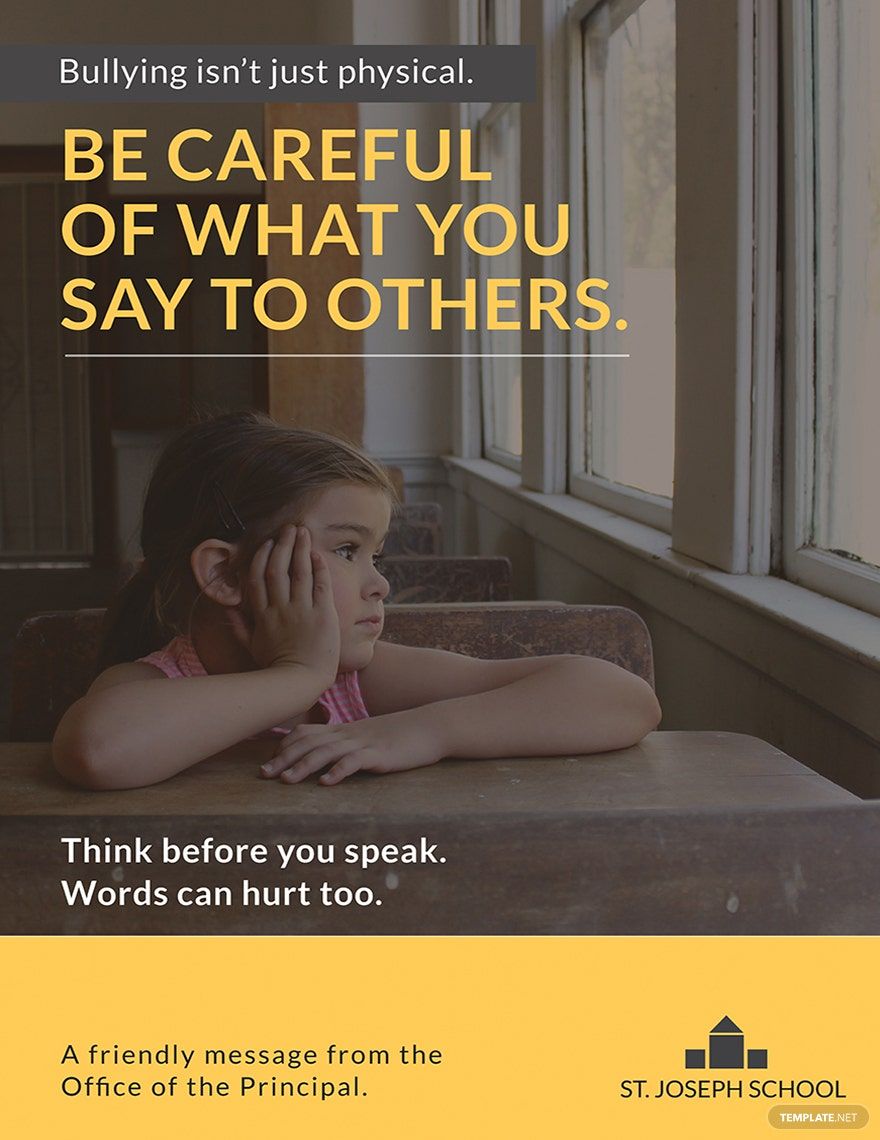
Posters in schools need to capture the audience as efficient as possible in order to fully give them the necessary information that has to be disseminated. They are made in accordance to the theme and the type of information being circulated in the campus. Because of this, school posters should be made using different types of devices, and if you have Apple as the device to be used, there are certain ways on how to do it. Are you ready to know how to create school posters in pages? Let's find that out and make your own posters look more effective eye-catchers!
How to Create School Posters in Apple (MAC) Pages
According to Apple, you can add different types of content in Pages on Mac. Pages are made to create a design for a word-processing or for page layouts, both of which can be used in making school posters. The problem is, not all people are knowledgeable enough in creating various documents in Mac, particularly in using Apple Pages. Do you have a hard time choosing on what template to use in making your printable posters? Do you find it difficult to formulate an idea using Mac as your device? Here are the steps on how to create school posters in Apple (MAC) Pages.
1. Know Your Theme
School posters are commonly made in desktop publishing like Microsoft Publisher or iStudio Publisher. However, you can't just simply start without knowing the theme of your poster. Knowing your theme will follow to knowing your audience as well. Who are your audience? What theme should your audience have in mind when they start looking and reading your school poster? Formulating these questions in mind would eventually lead to knowing what to do next.
2. Recognize Your Content
Your poster now has a theme, but what about its content? What are the things that you should put in your poster? Are they school-related or an extracurricular activity? Is your content meant for an event? Knowing where you are coming from would make your poster more direct and concise. See to it that it still follows the objectives that you have set in your mind.
3. Make a Draft for Your Poster
After knowing the content of your school poster, the next thing to be done should be making a draft. What should your poster look like? Are the designs applicable for your audience? Should your simple poster be more targeted to older or younger audience? Your draft should be made to target the questions indicated above. Knowing that your draft is now ready, set your document setting either to word processing or page layout (refer to your Mac or iPad's toolbar, then click the Document tab).
4. Start Adding Design to Your Poster
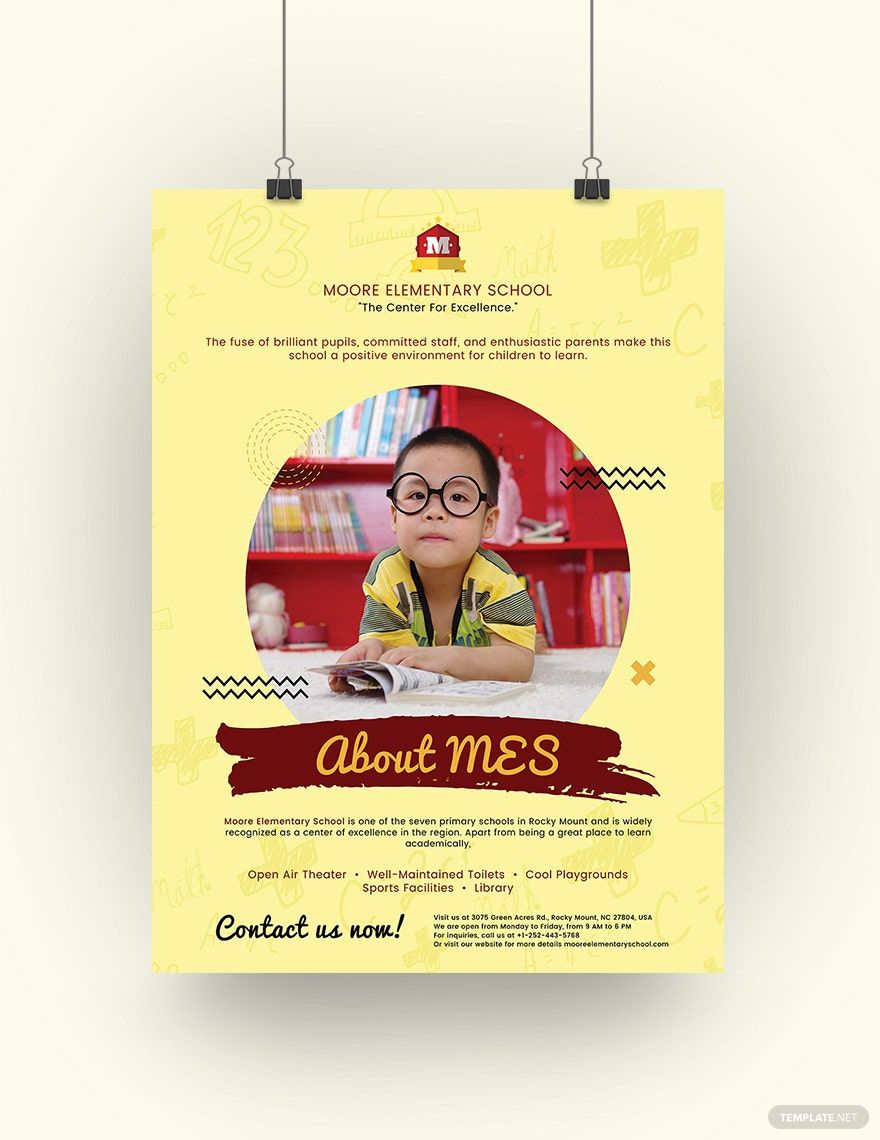
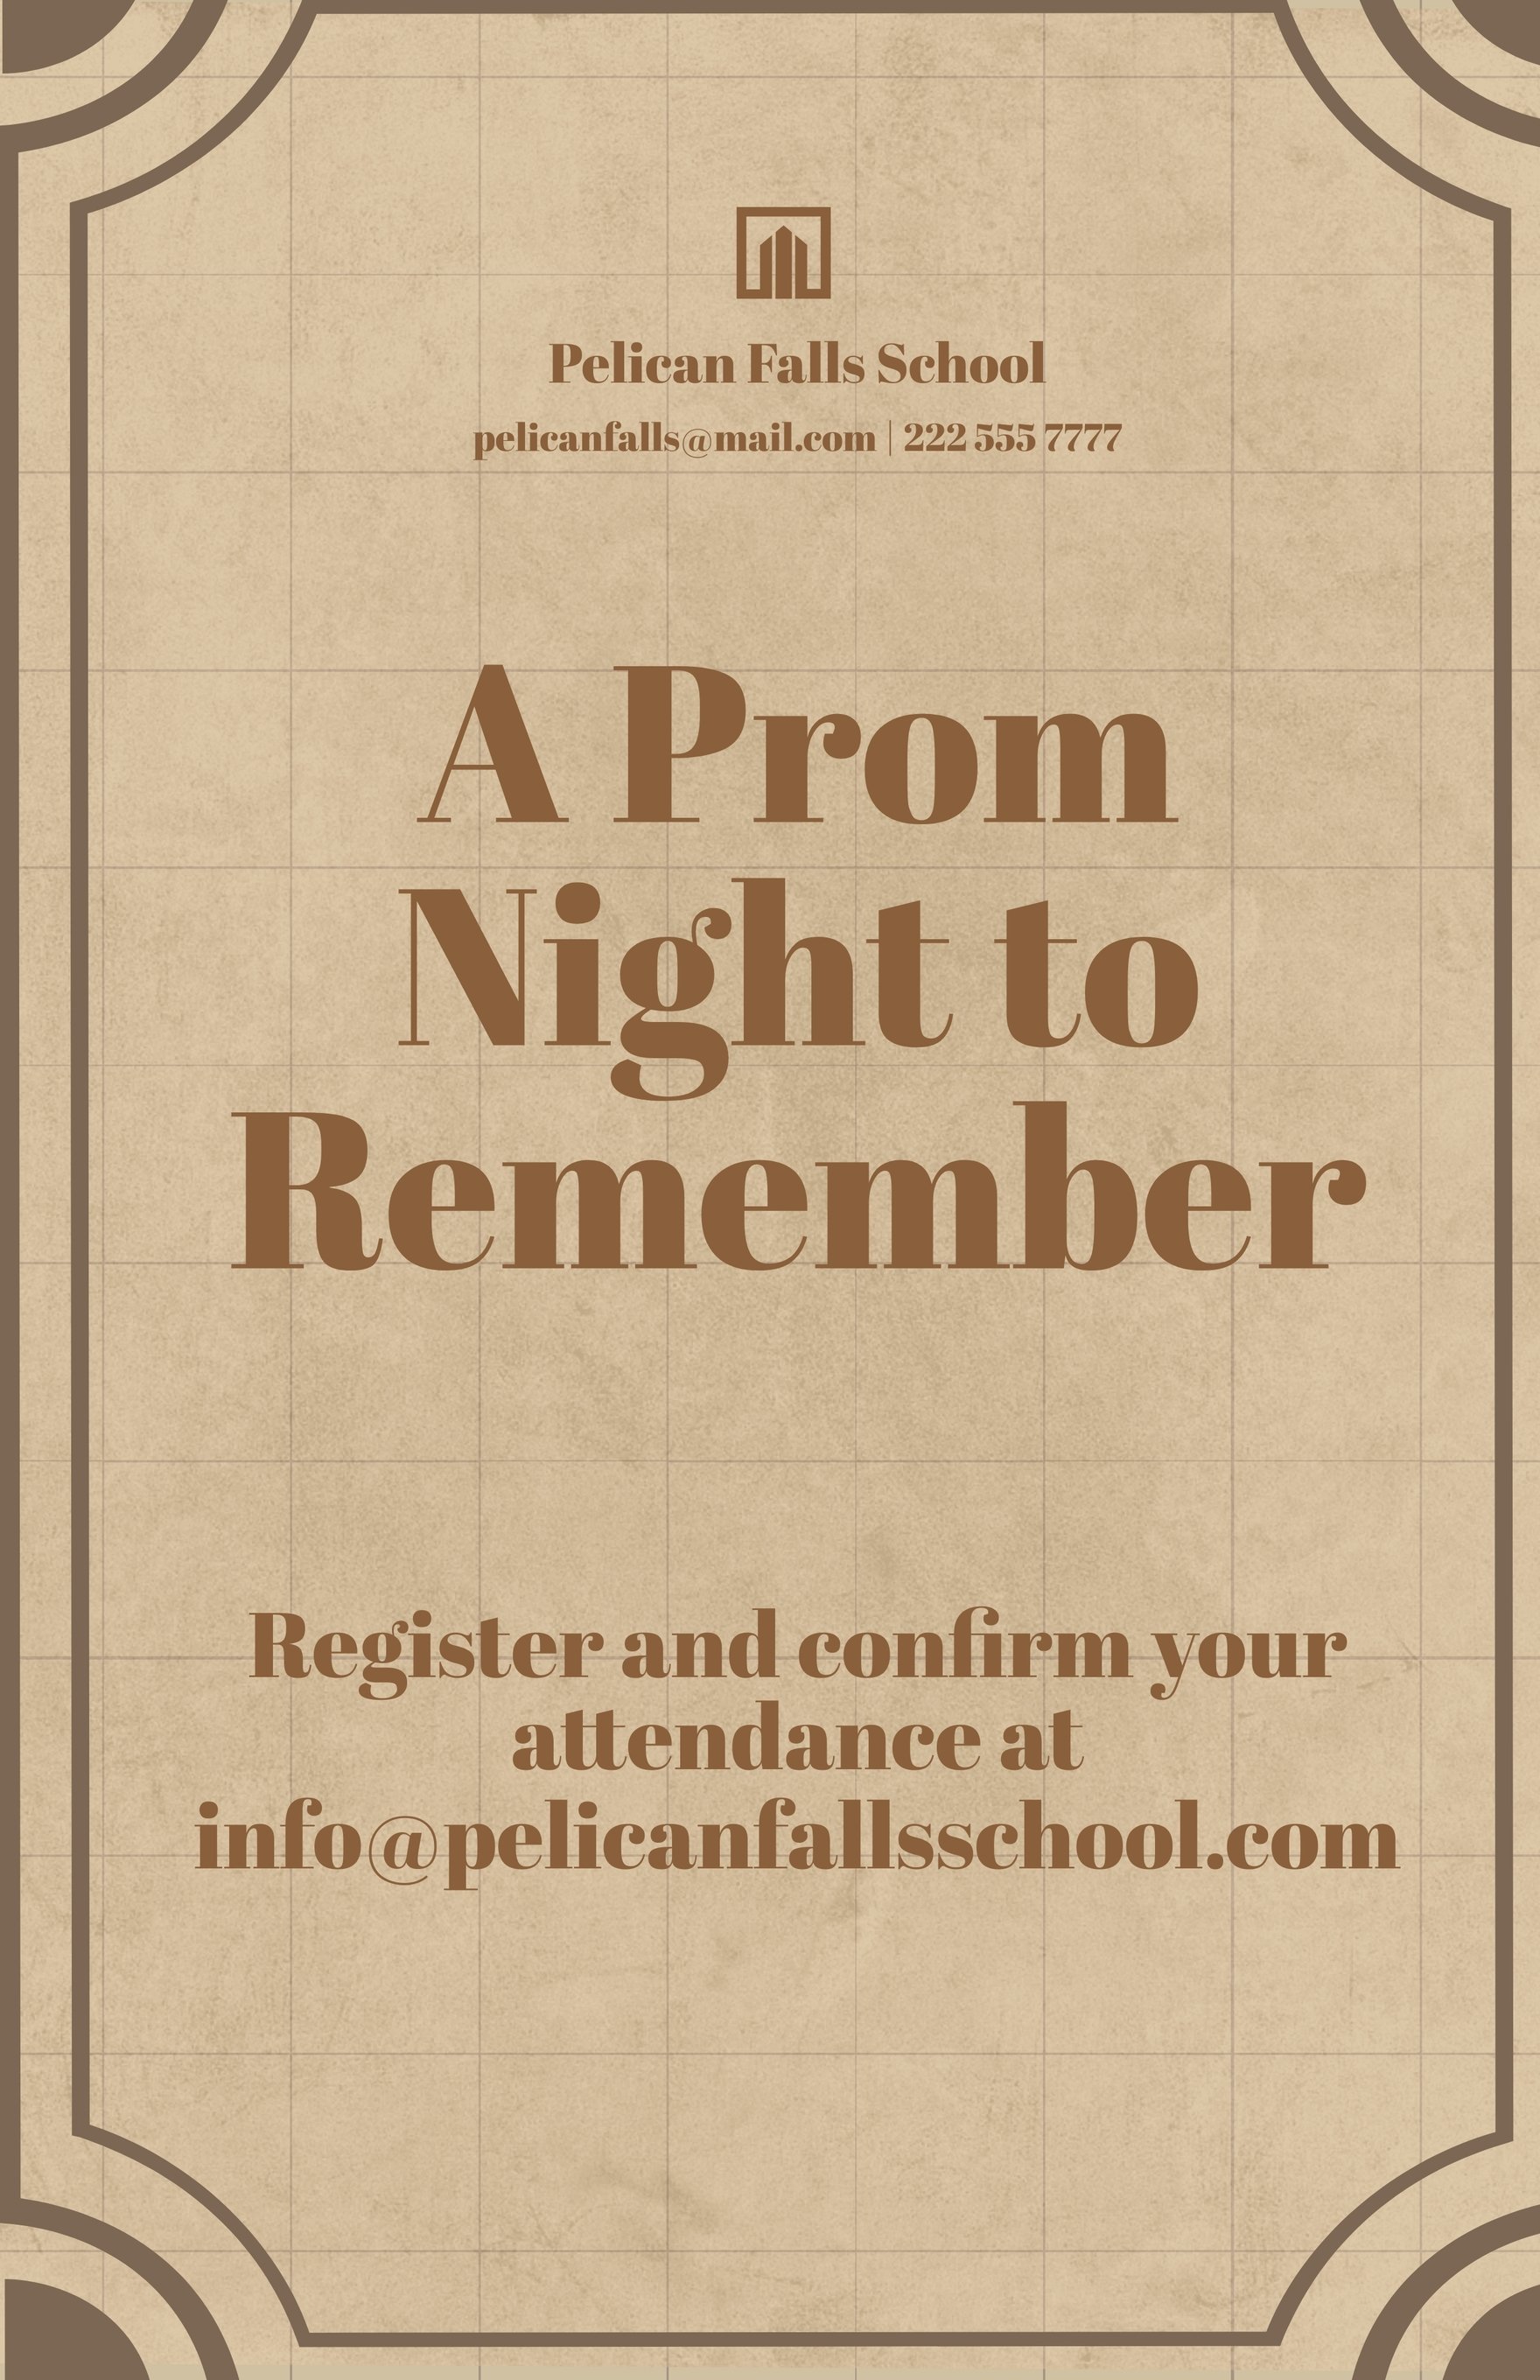
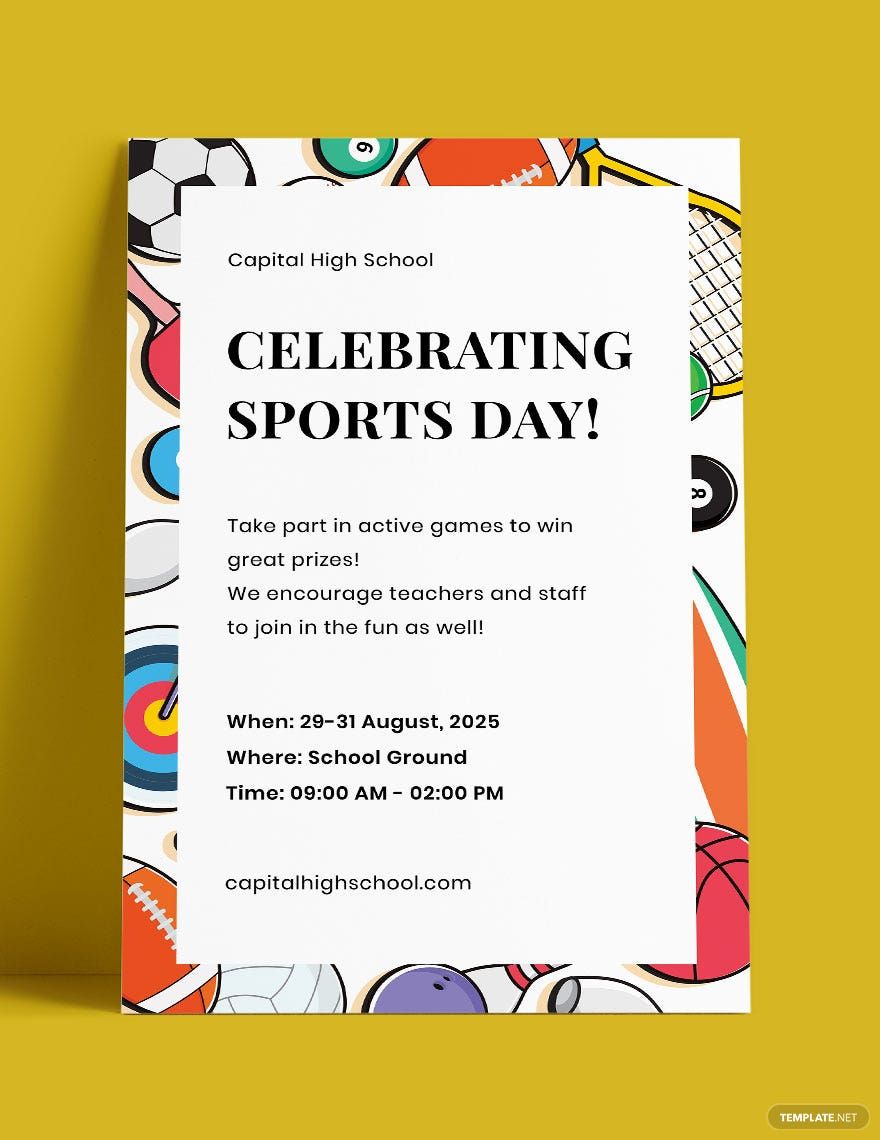
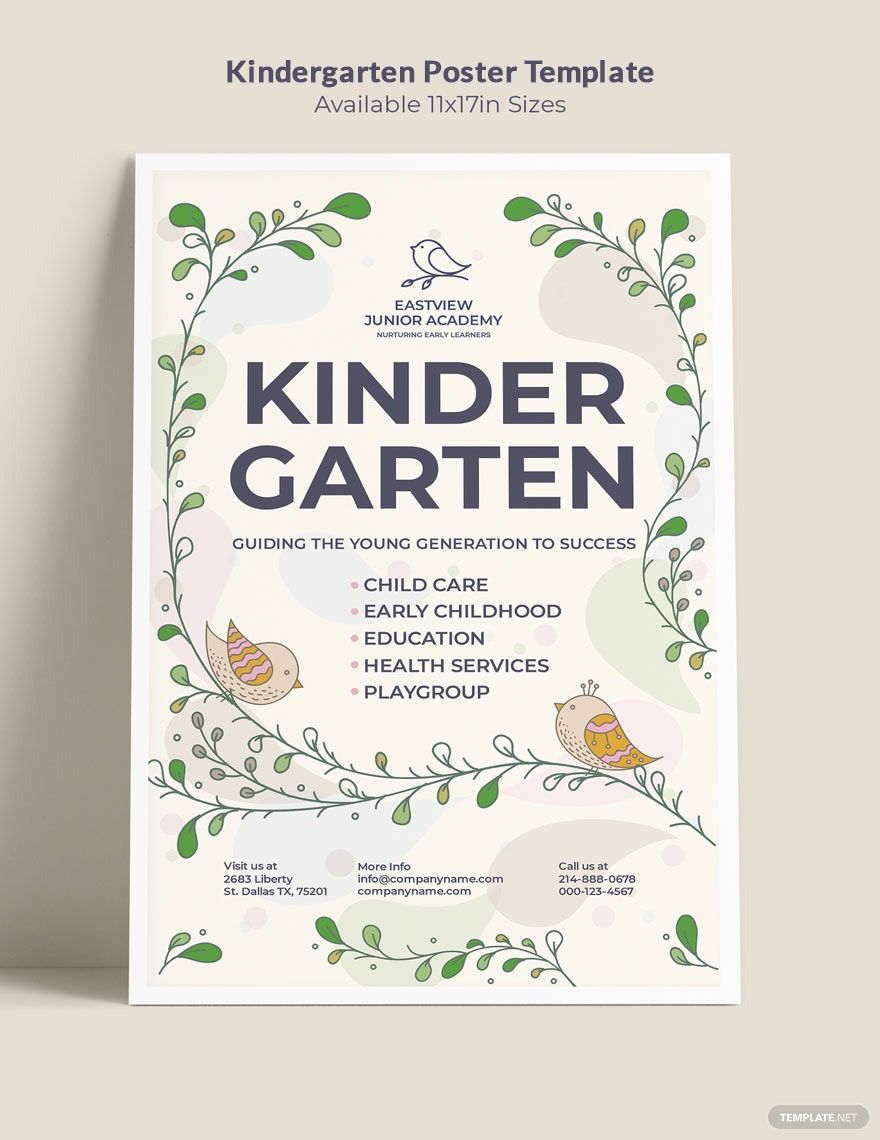
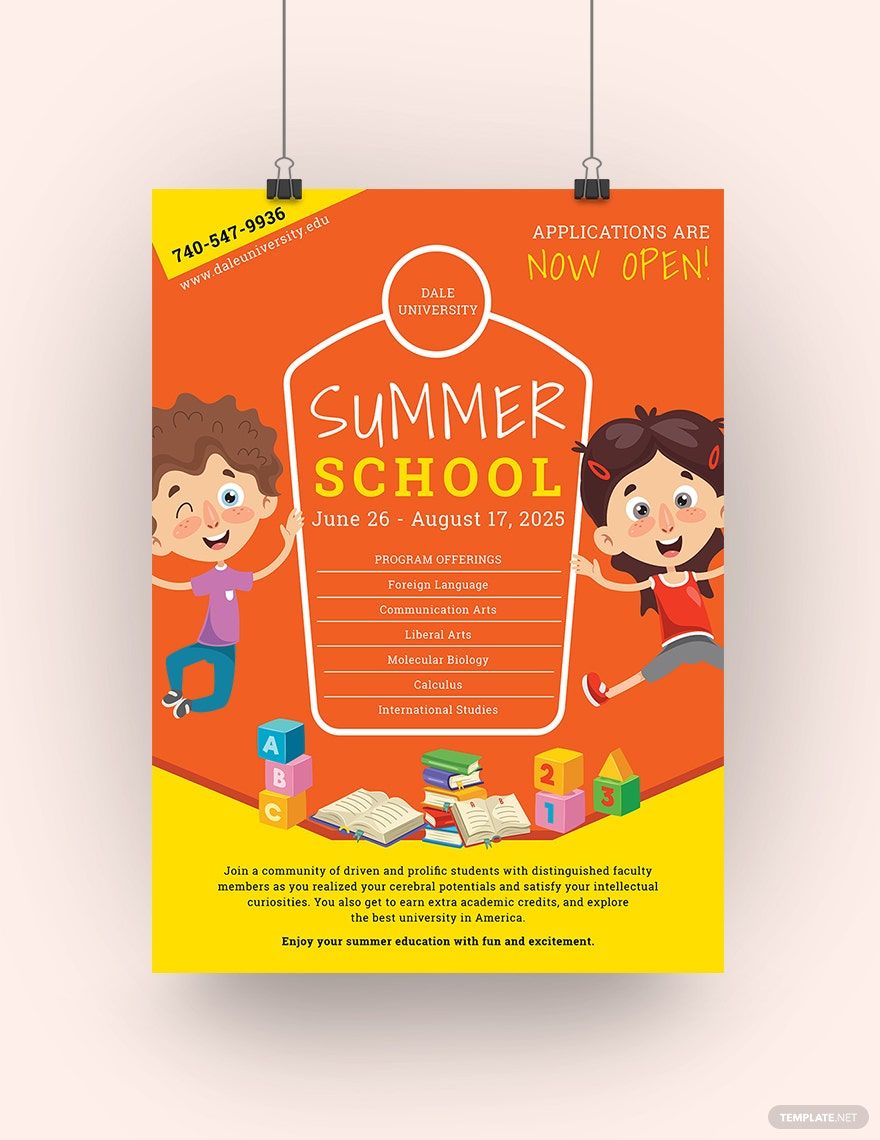
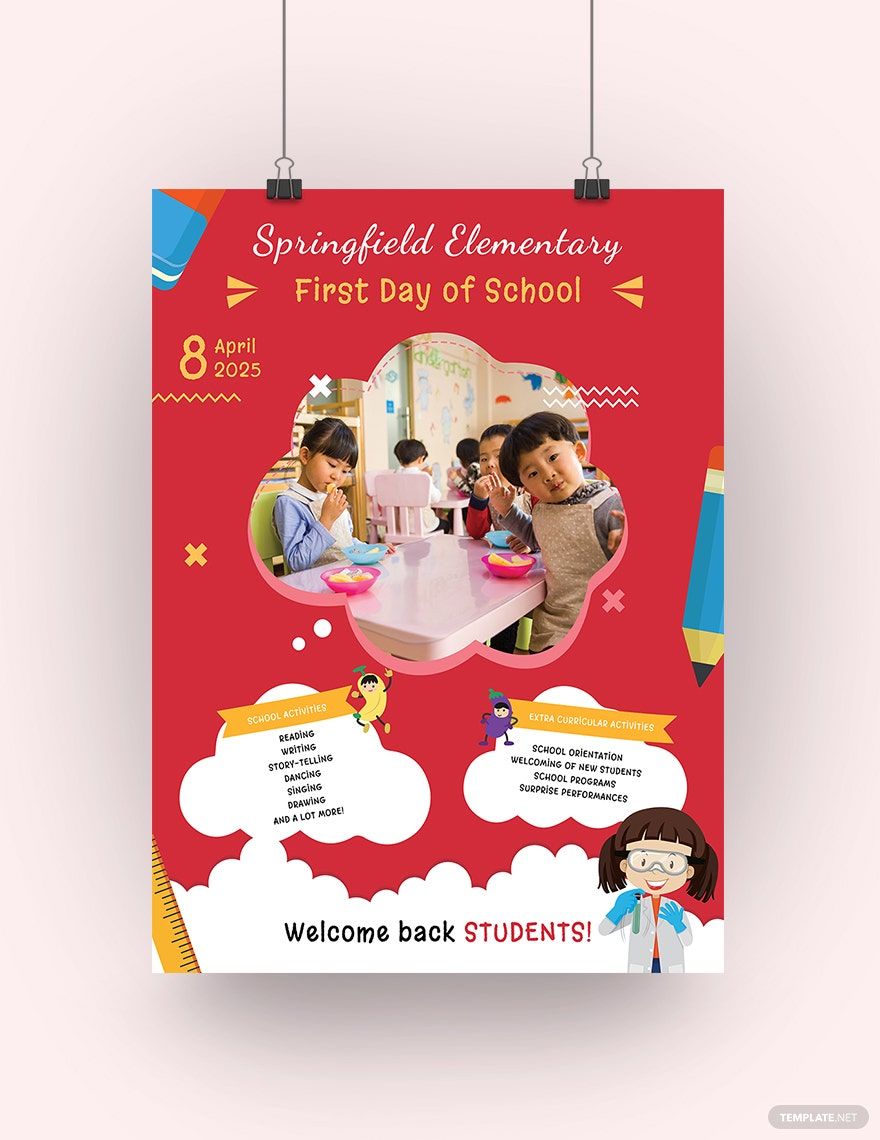
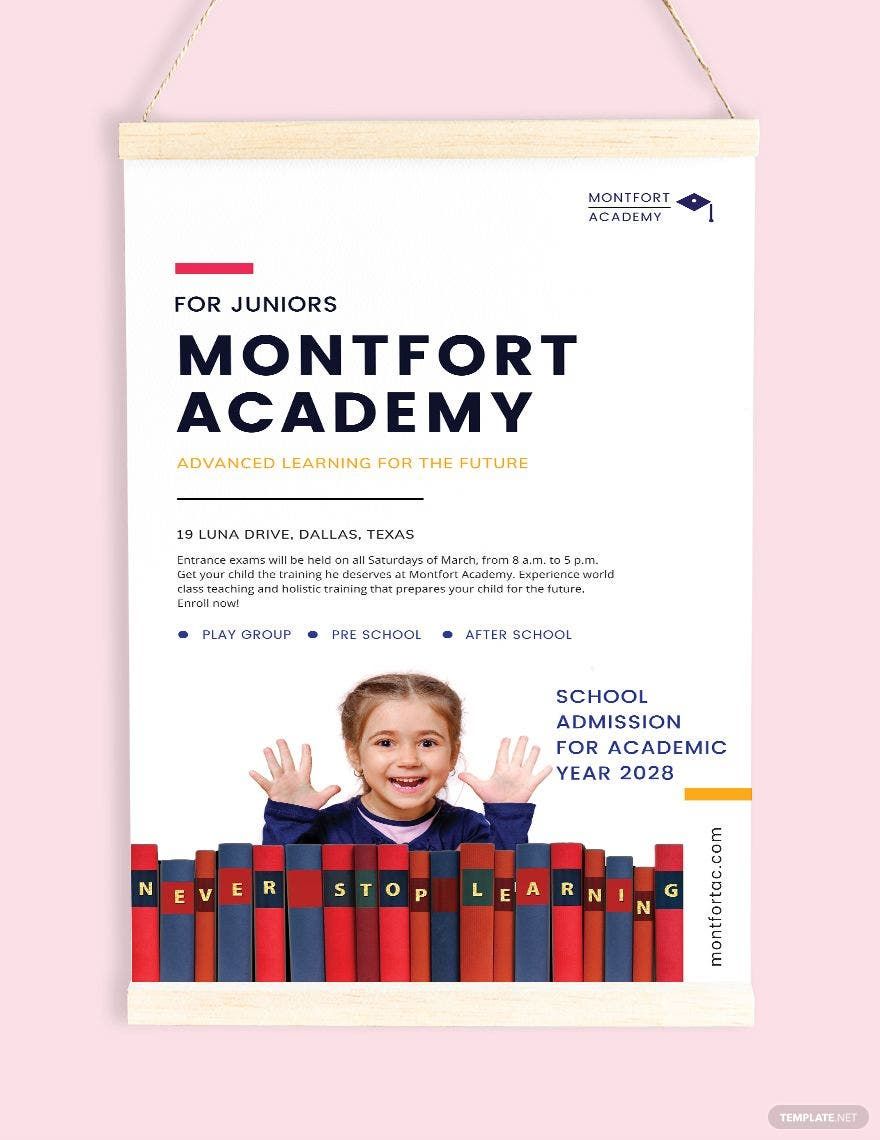
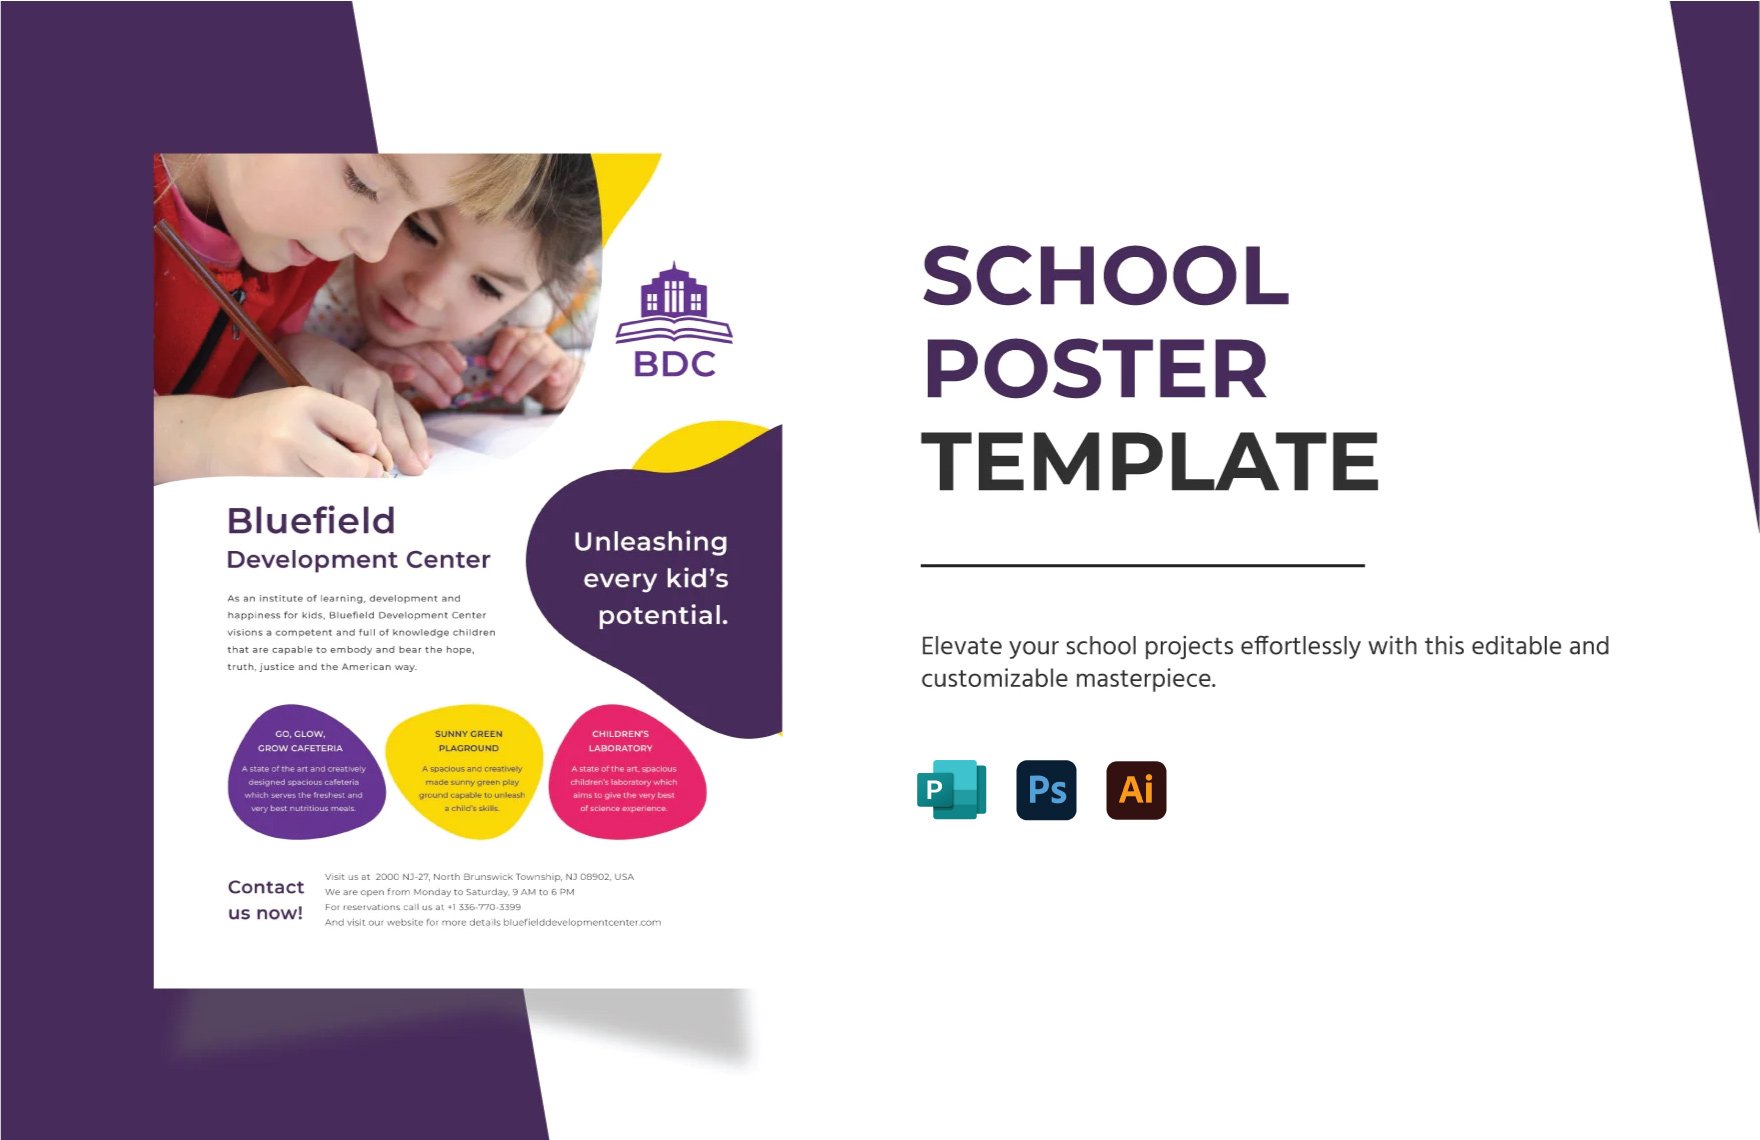
Designing is crucial to the overall impact of your school poster. Are you too confused to find the right design for your school poster? You can actually refer to our free sample poster templates with ease and accessibility. No need to start from scratch! All you need to do is simply download them and add your content in it. Still skeptical? Check it out now!
5. Proofread Your Poster
Now that your school poster is almost done, the last but not the least is to proofread it. You can't be certain that your document is perfect, right? Polish your poster. Add more details if necessary. See to it that your objectives in posting that creative document has been met and ready for printing. Proofreading is one of the most important things that you should secure in creating your finished document. Lastly, if there are no further changes, it is time to print it.

