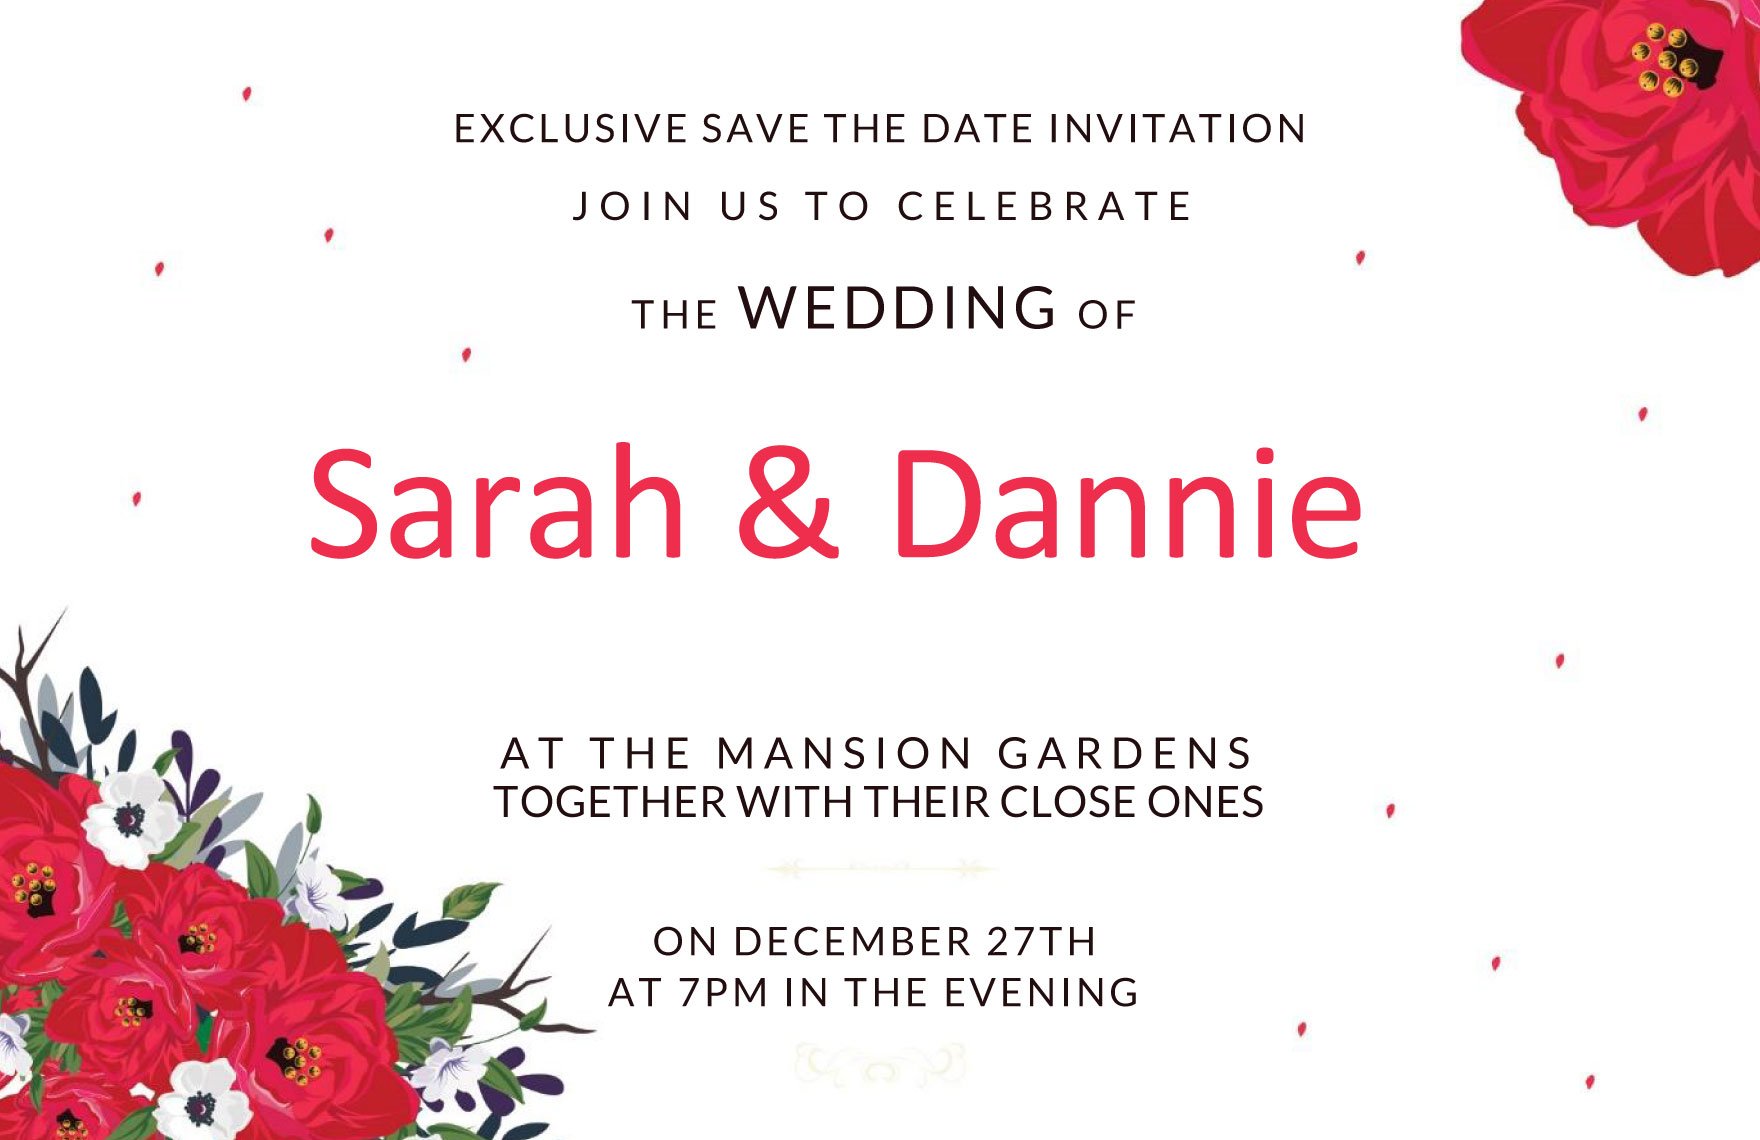
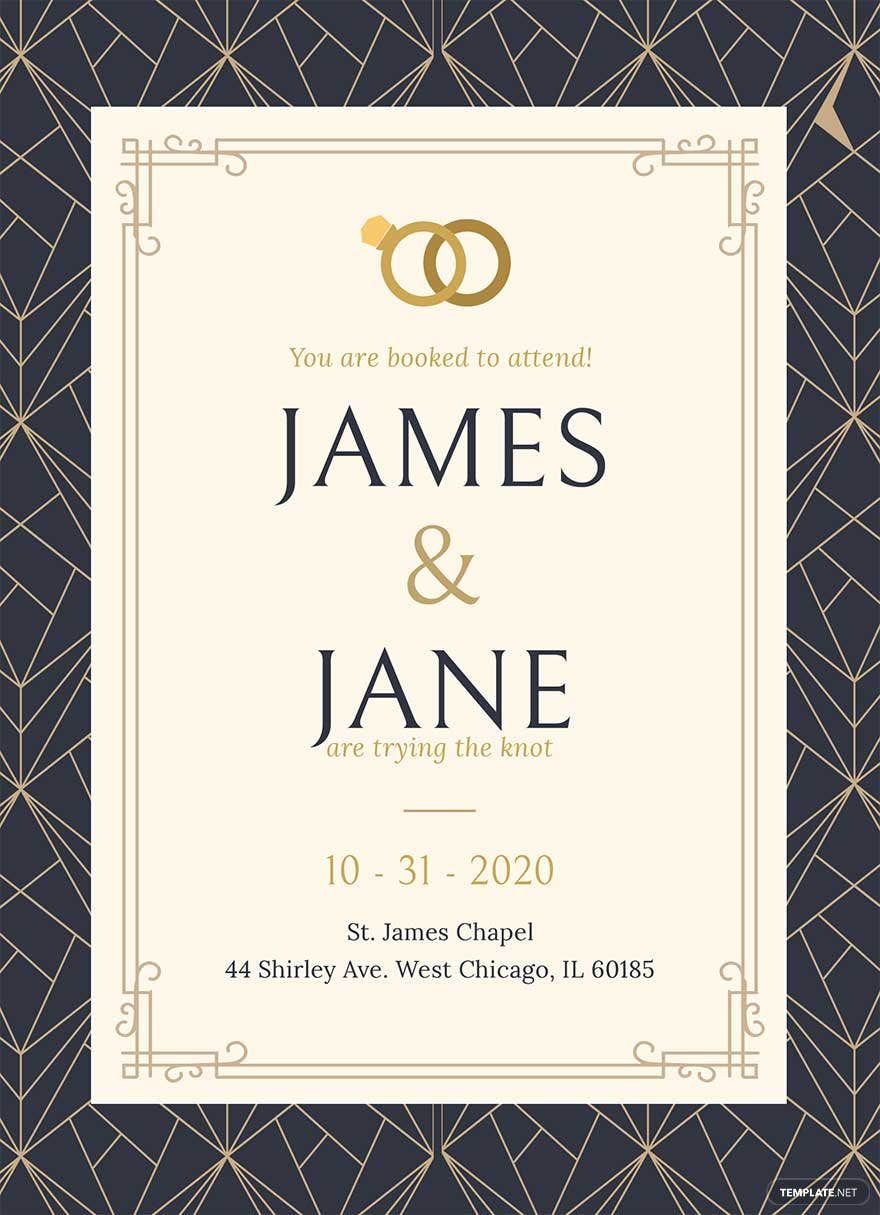
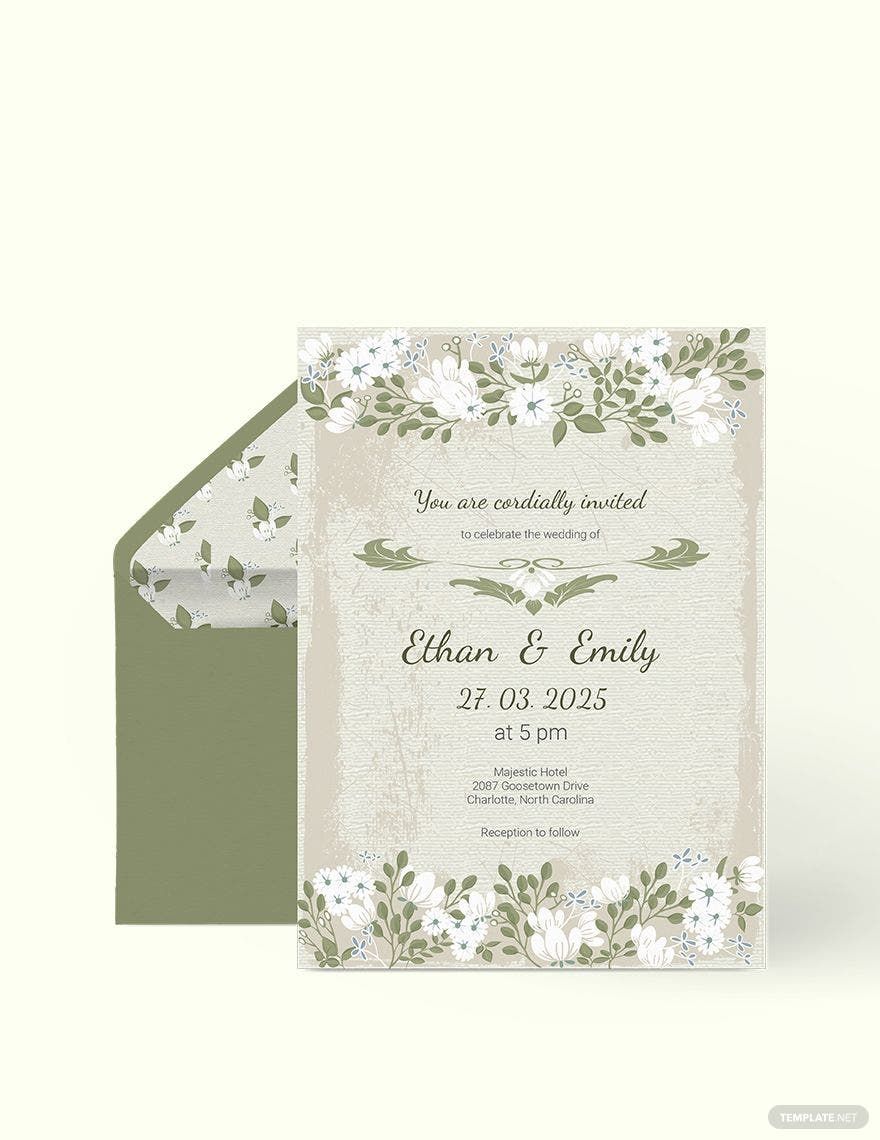
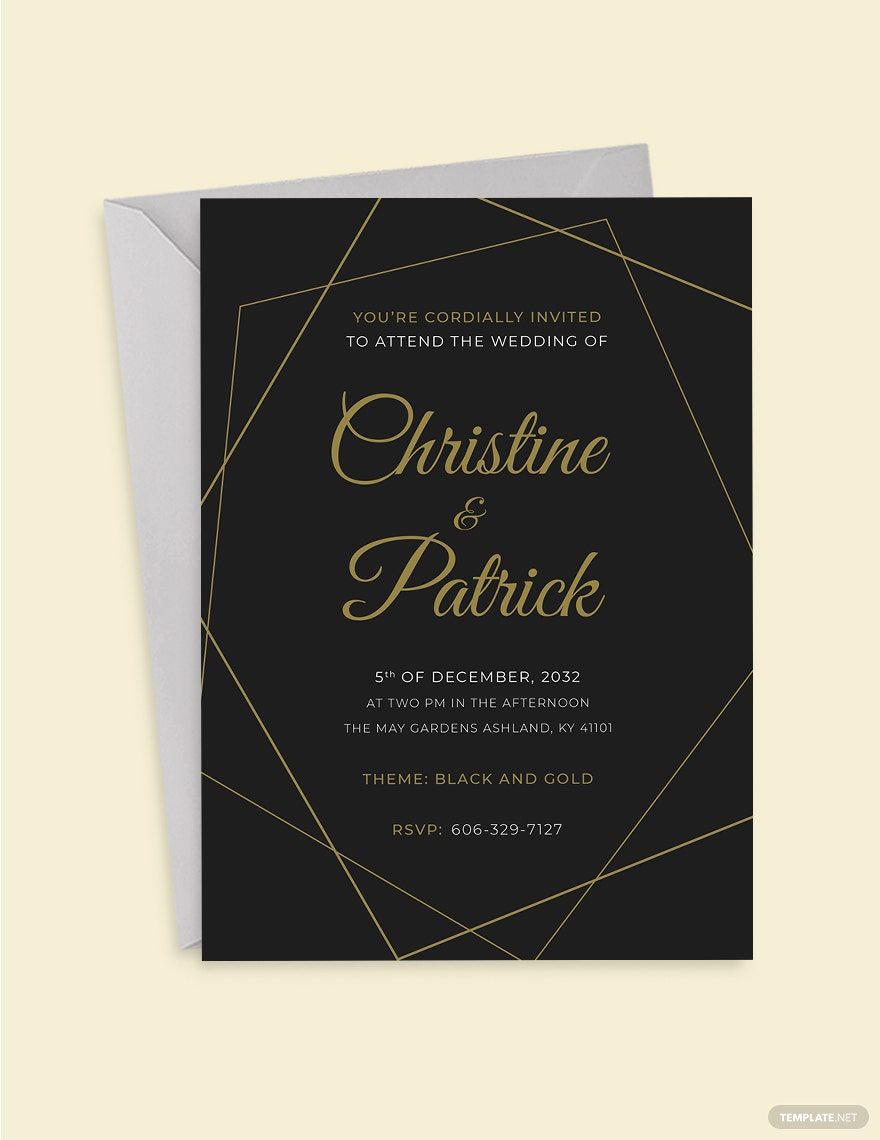
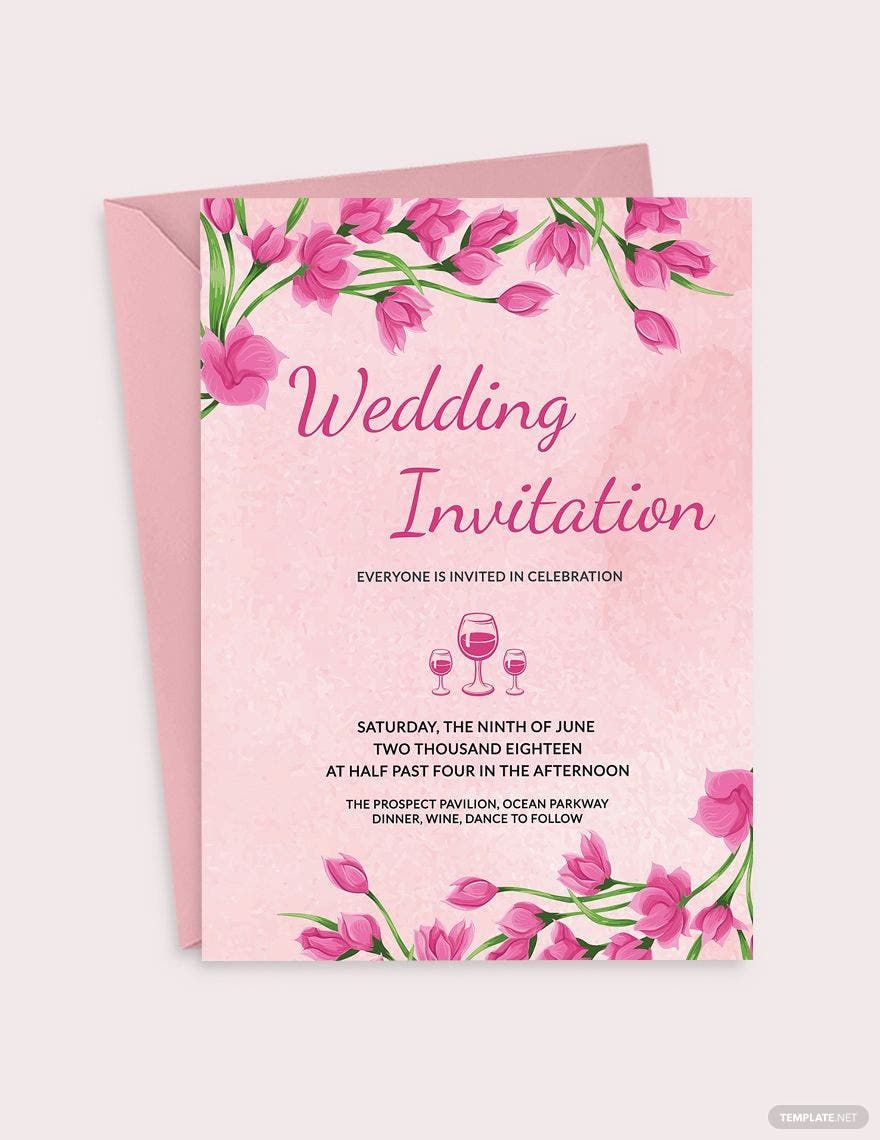
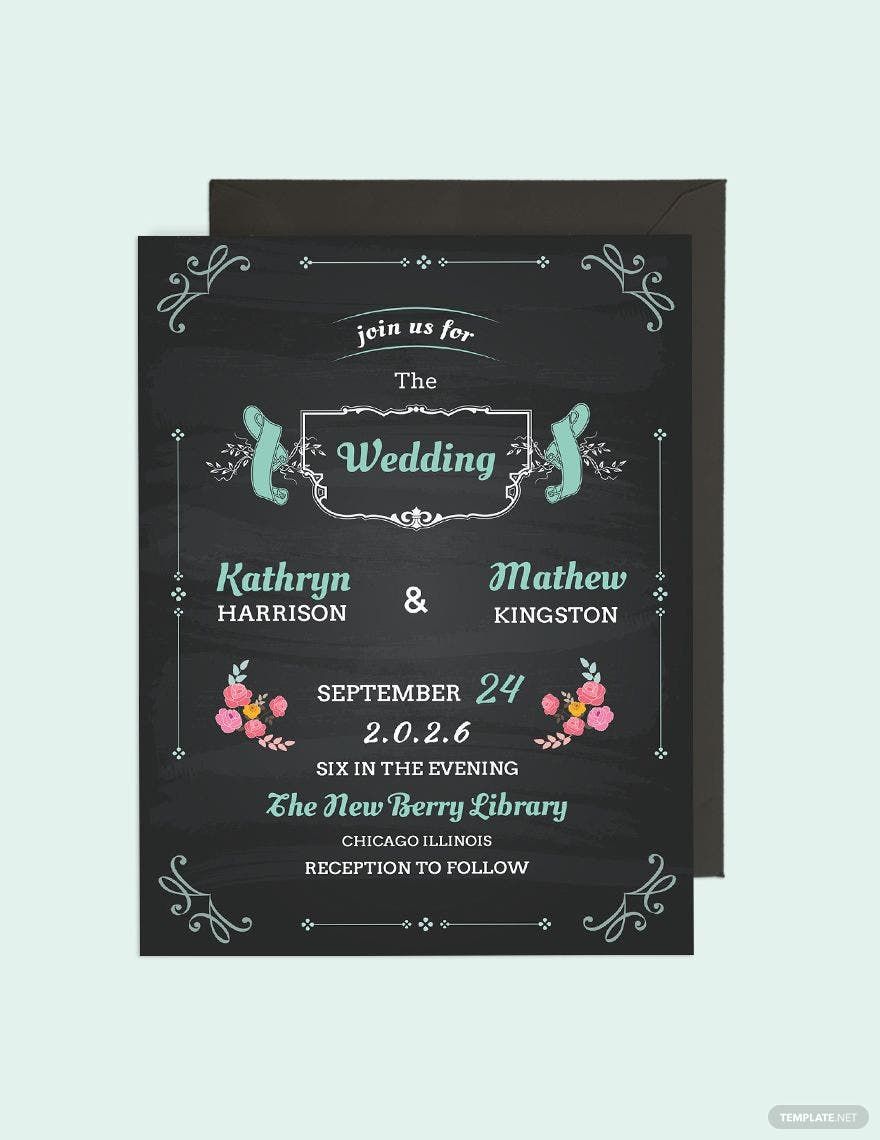
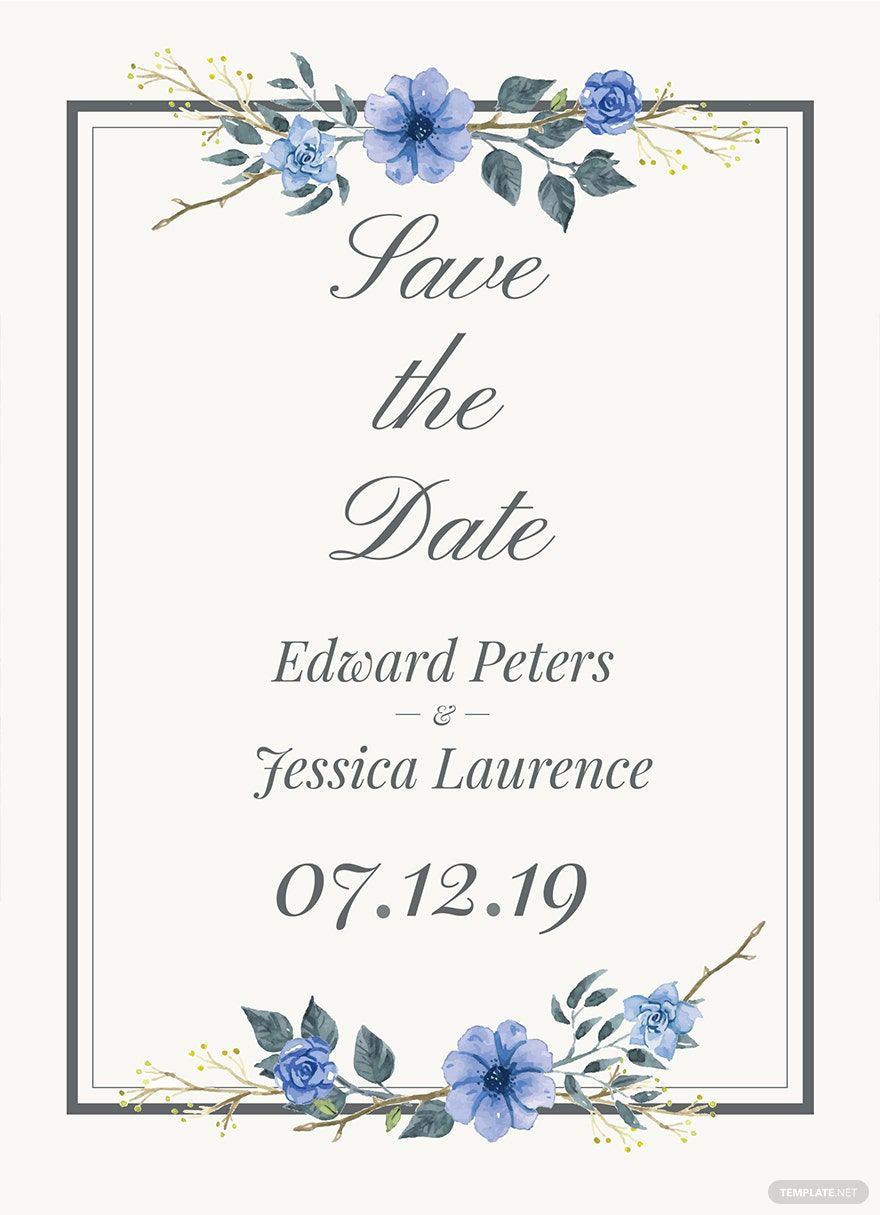
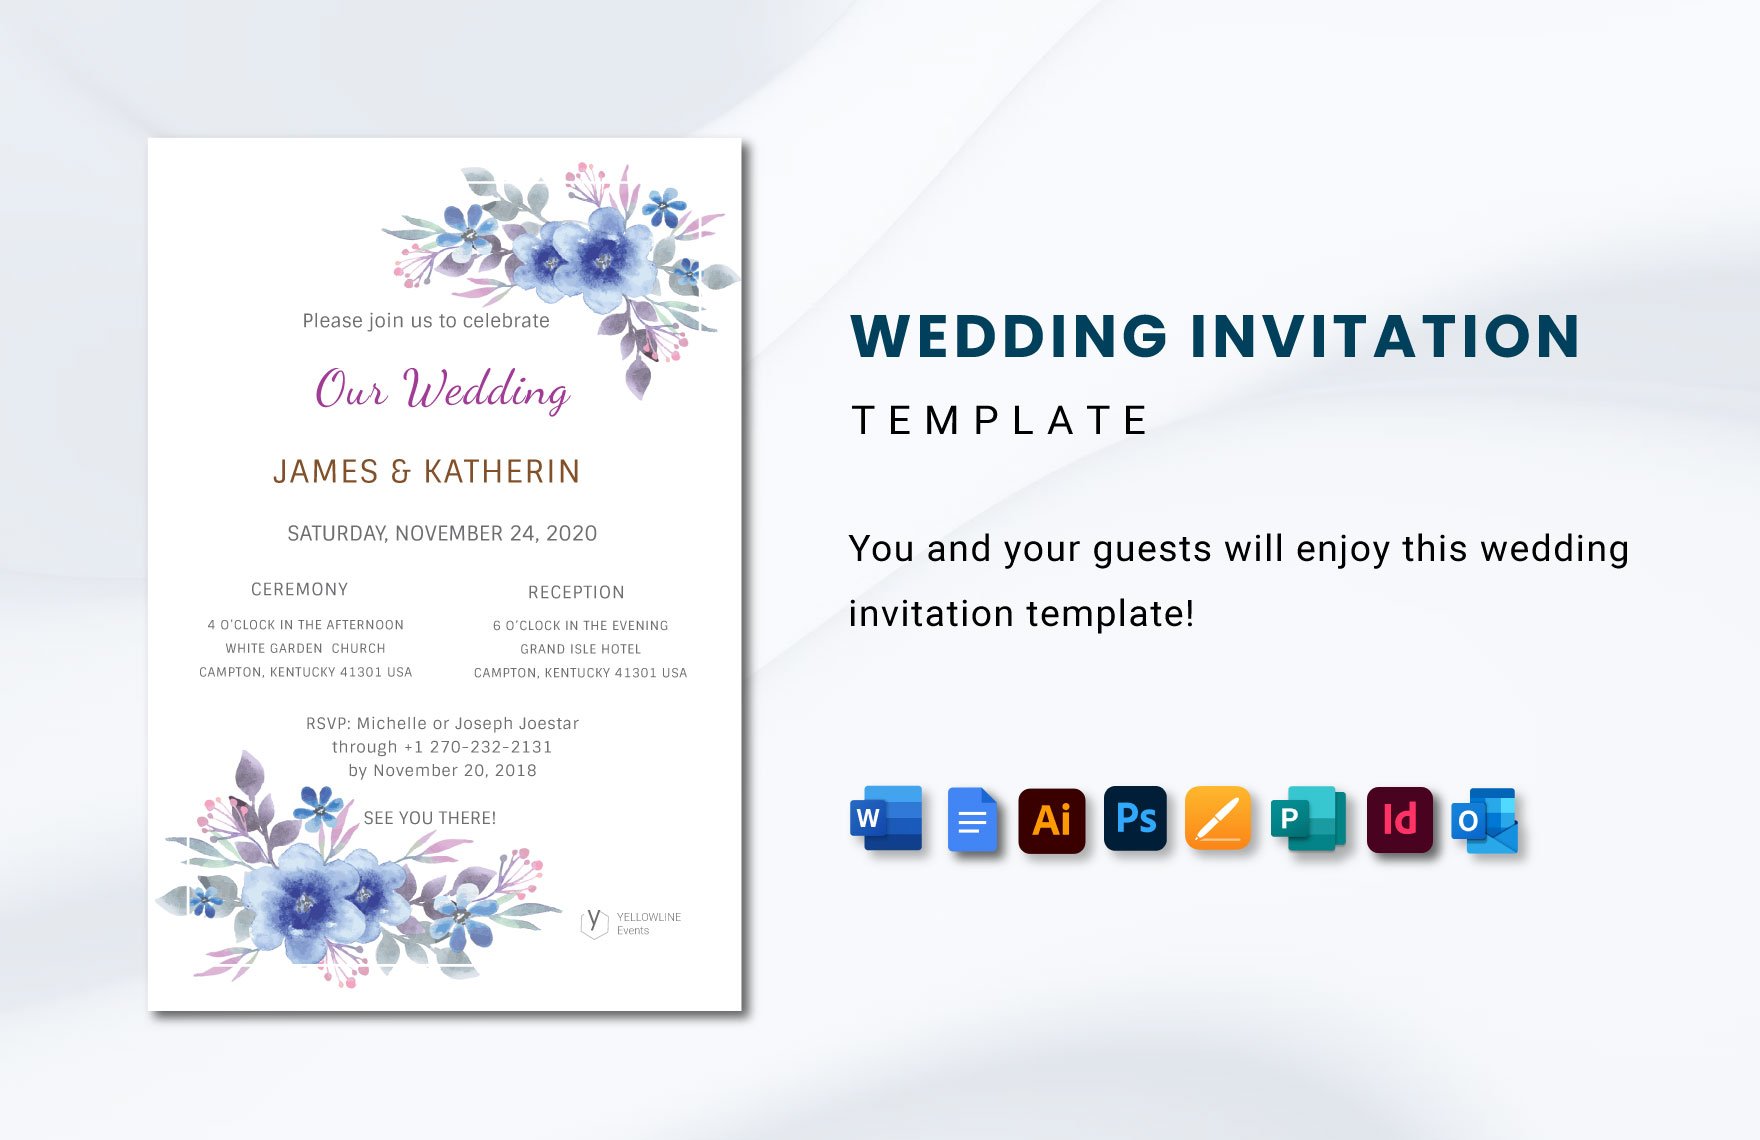
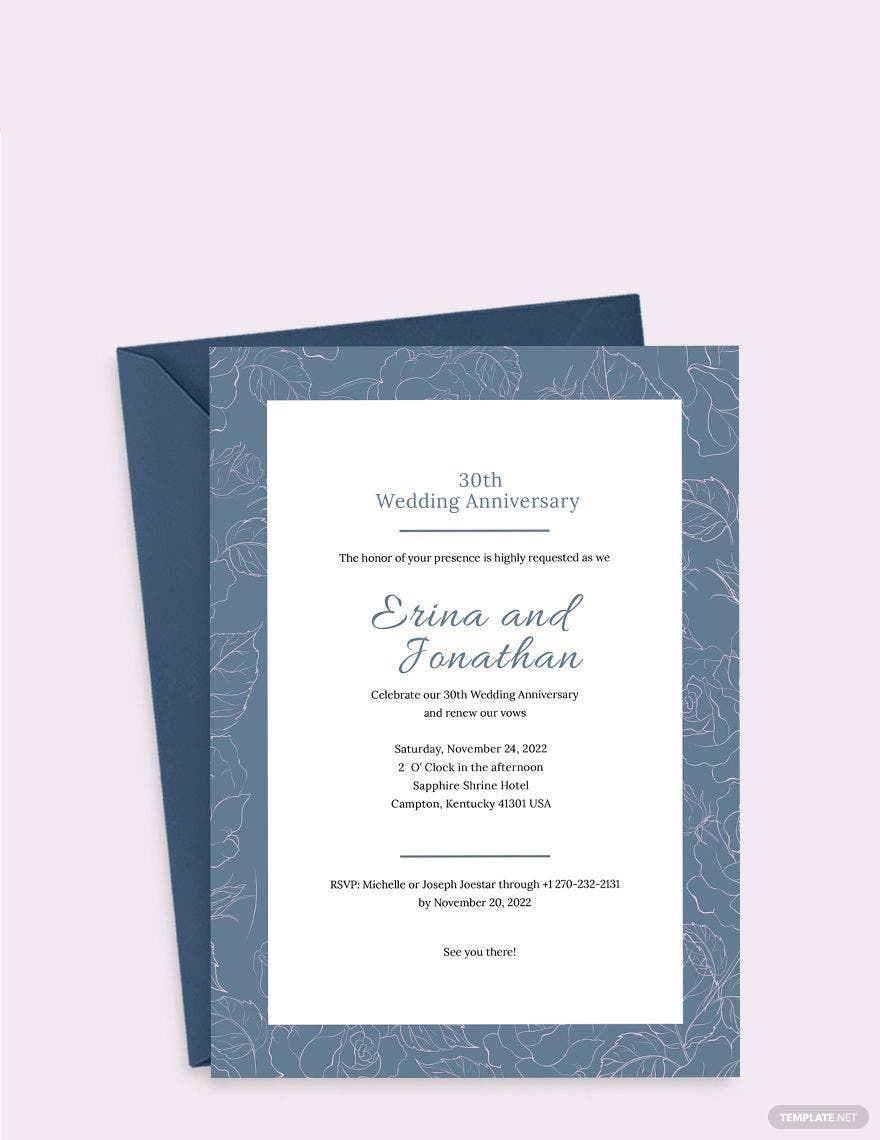
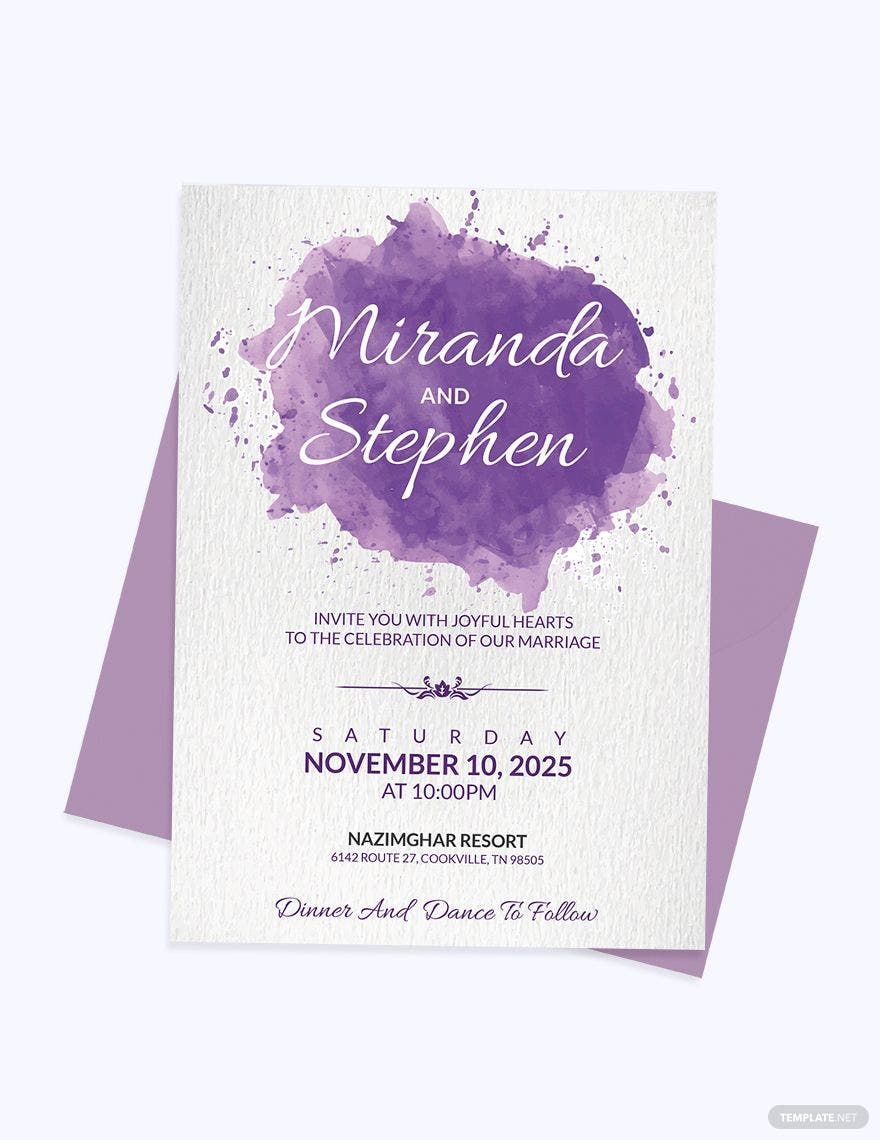
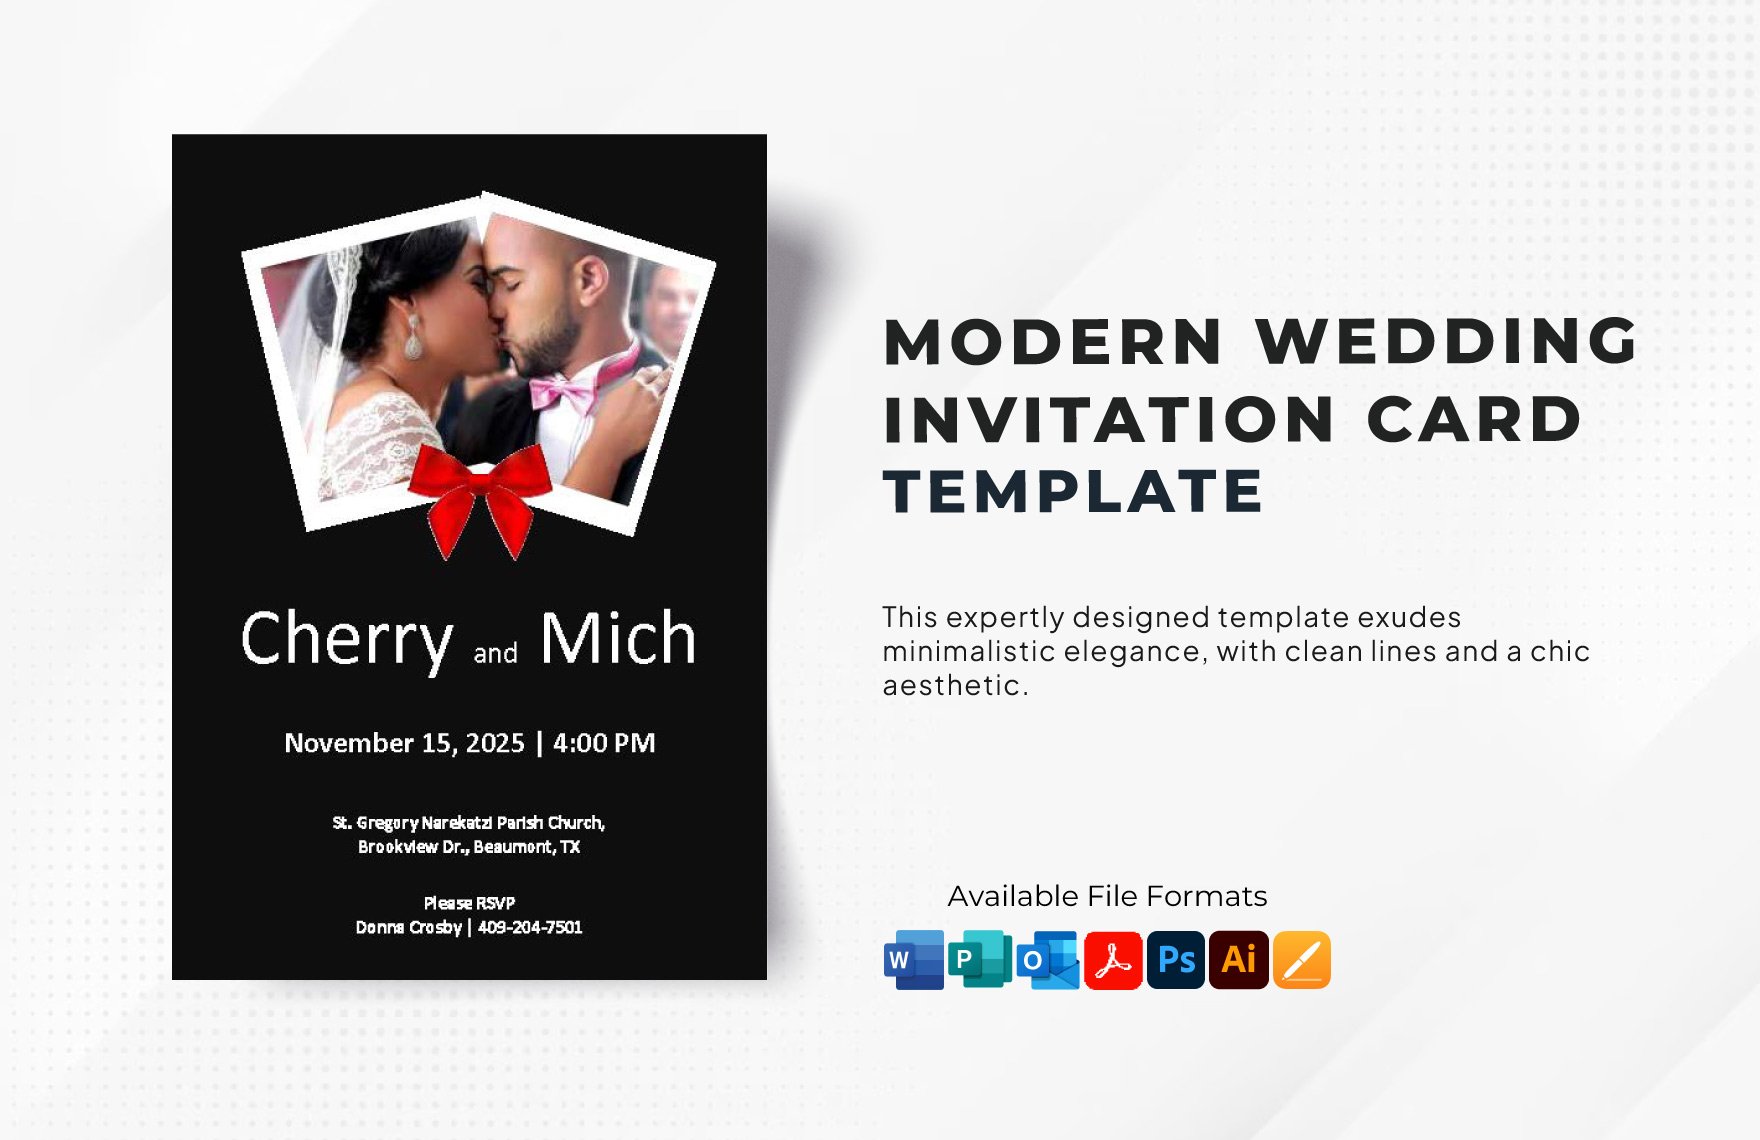
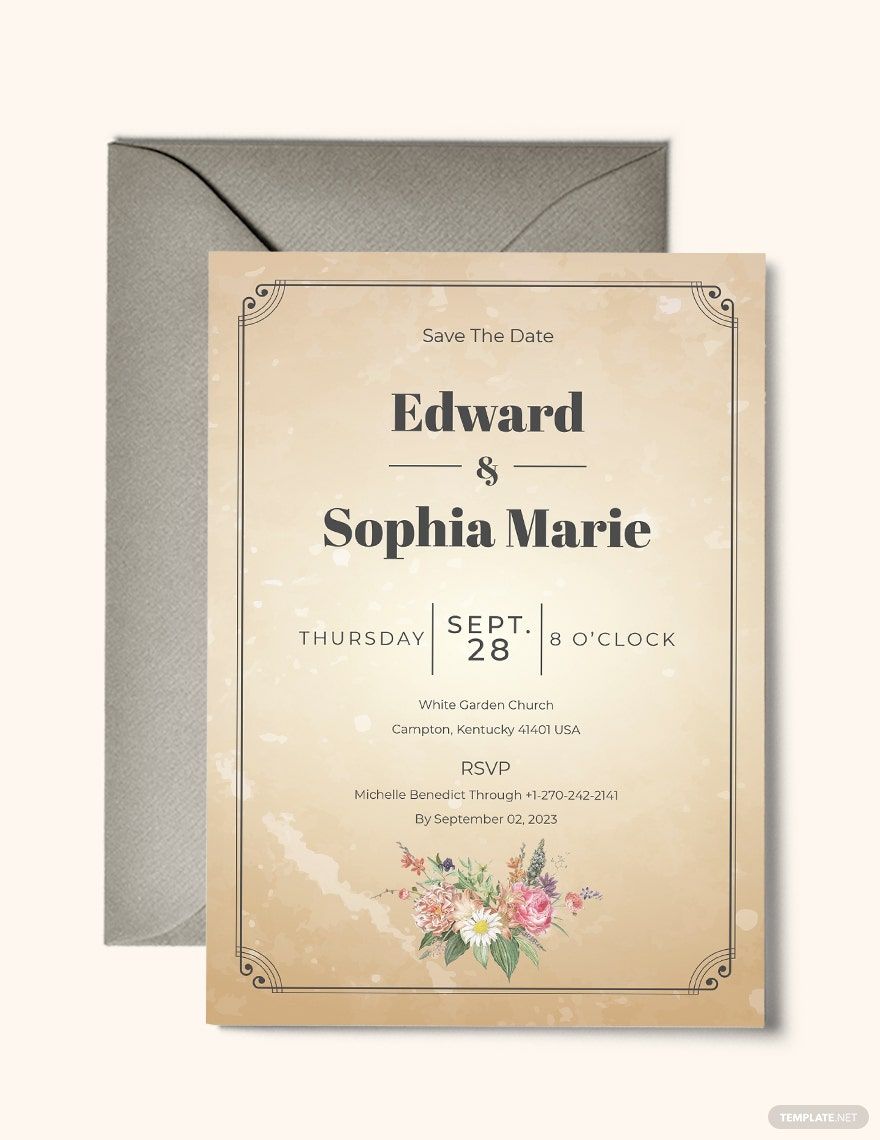
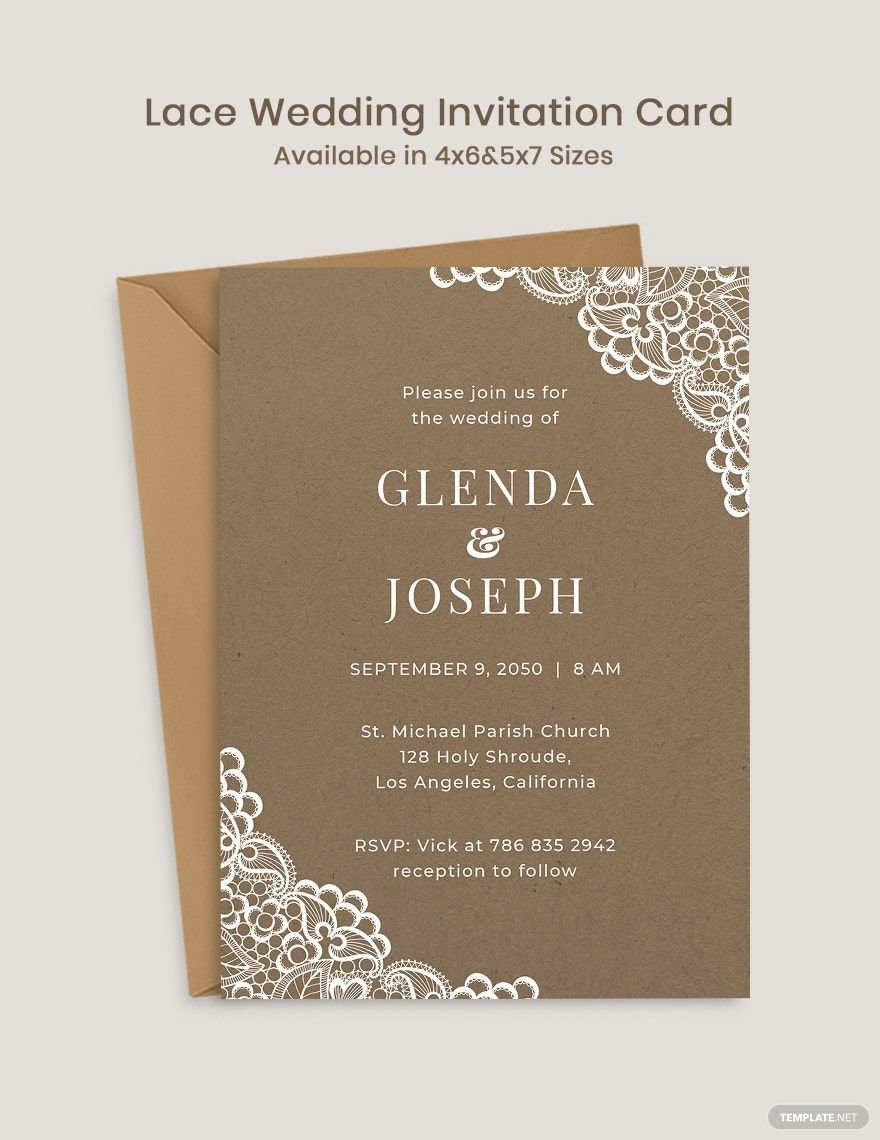
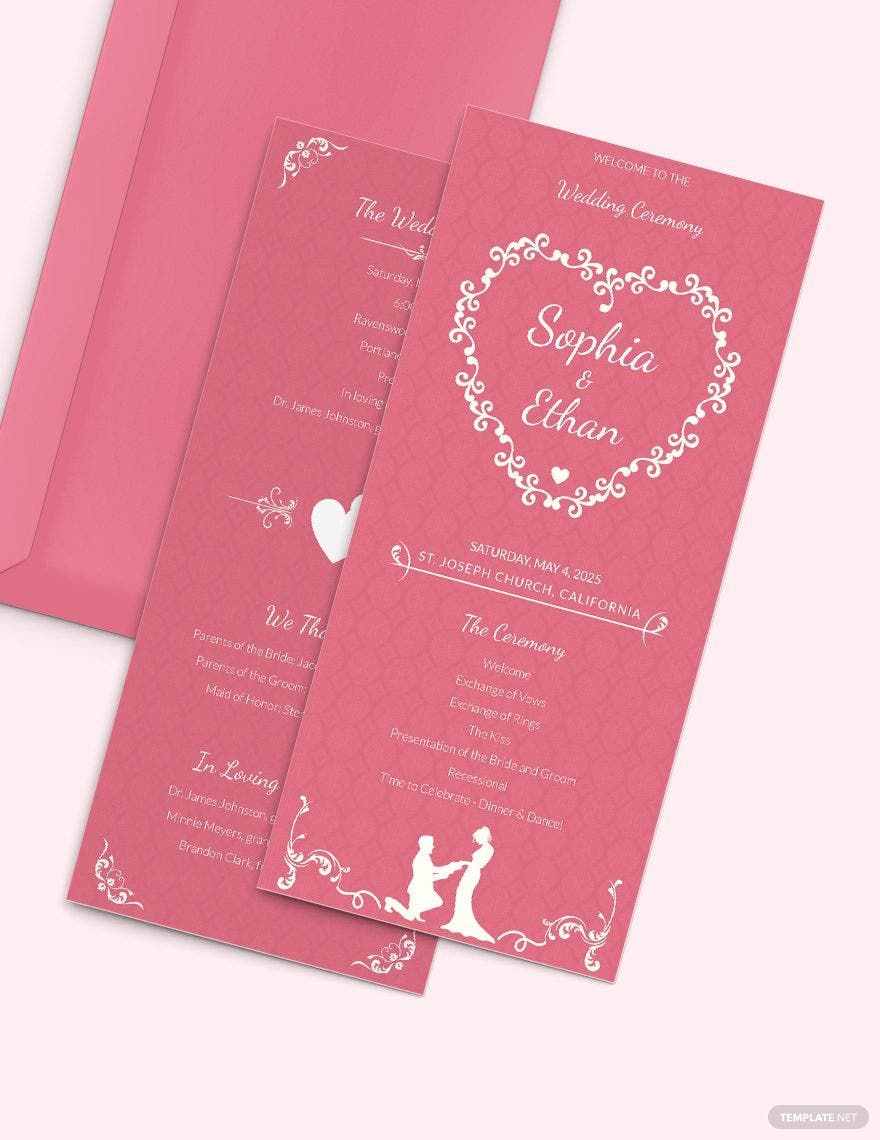
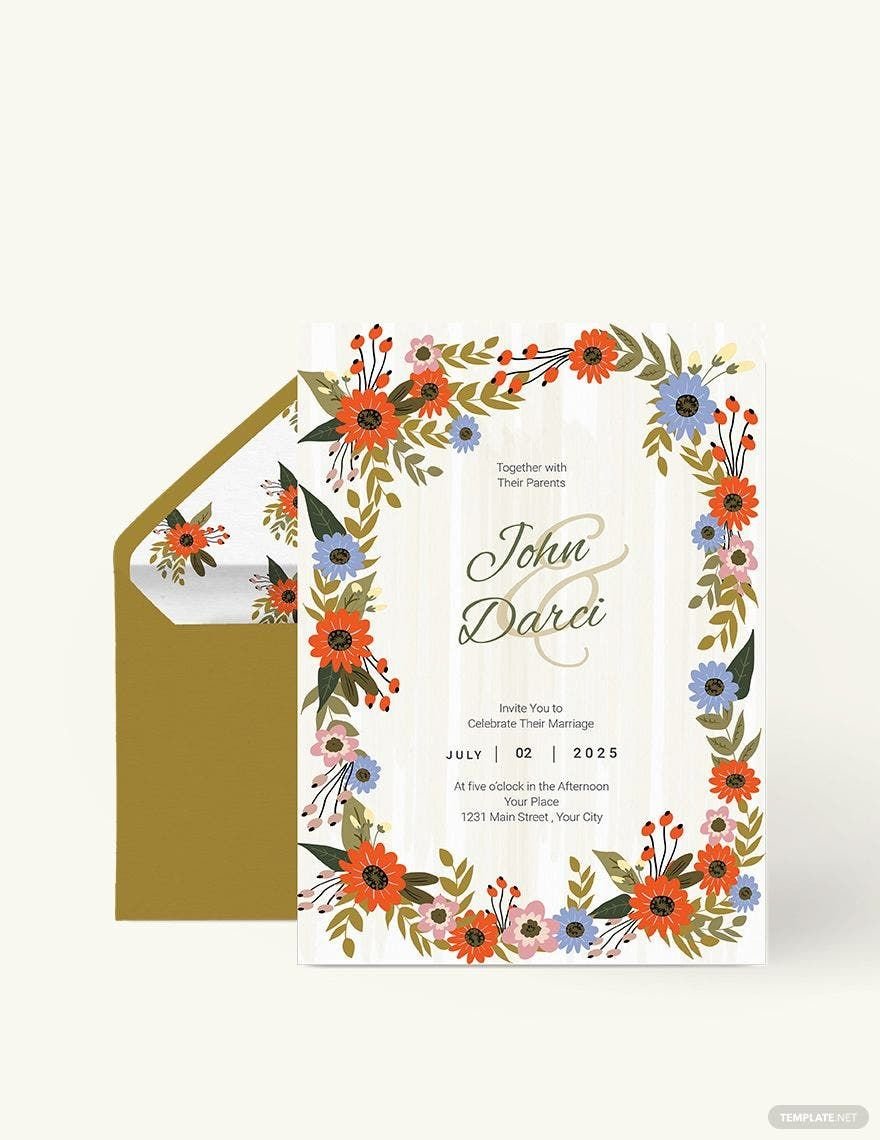
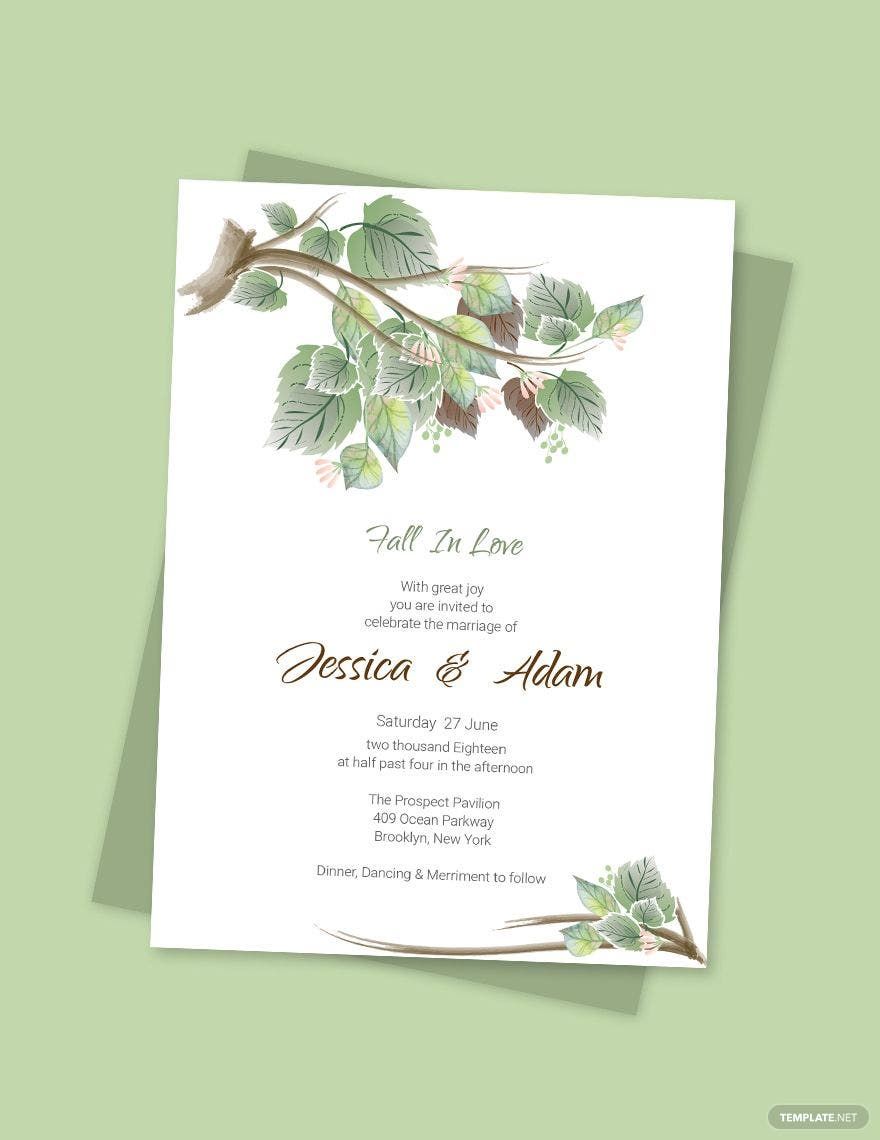
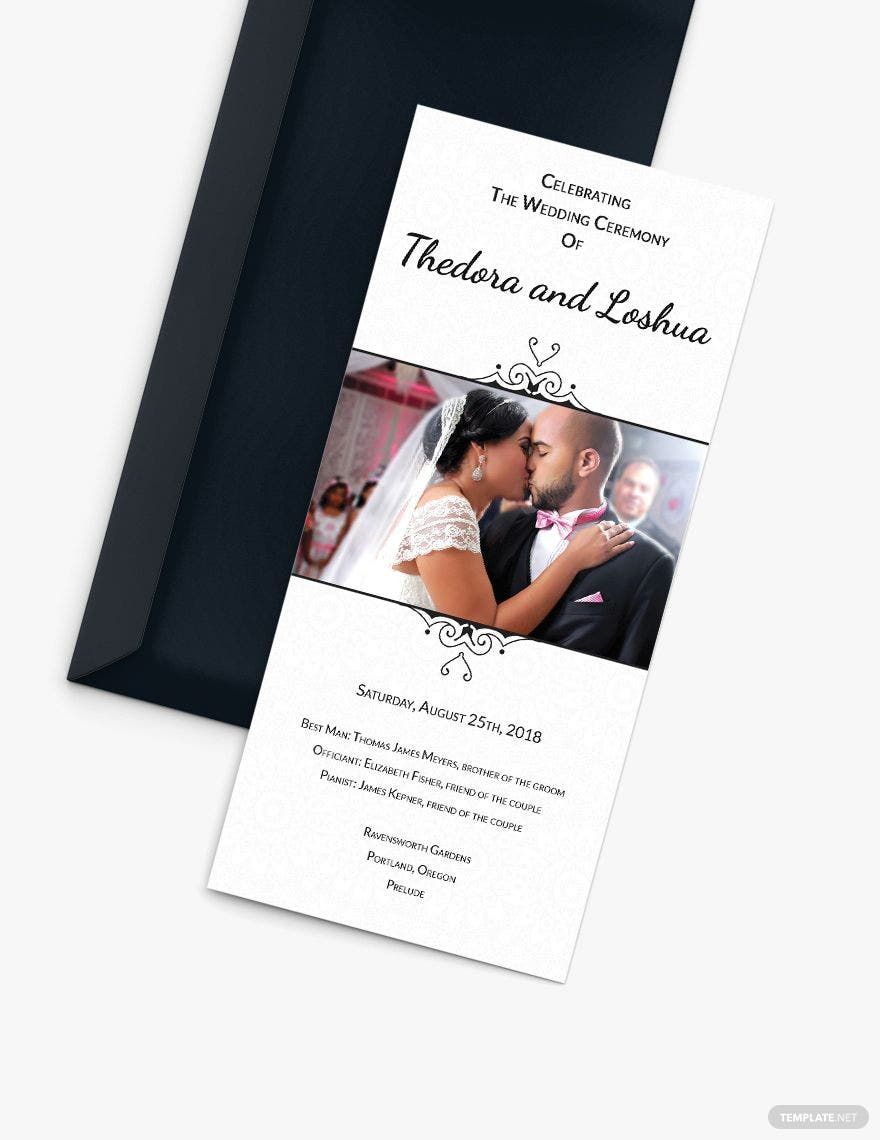
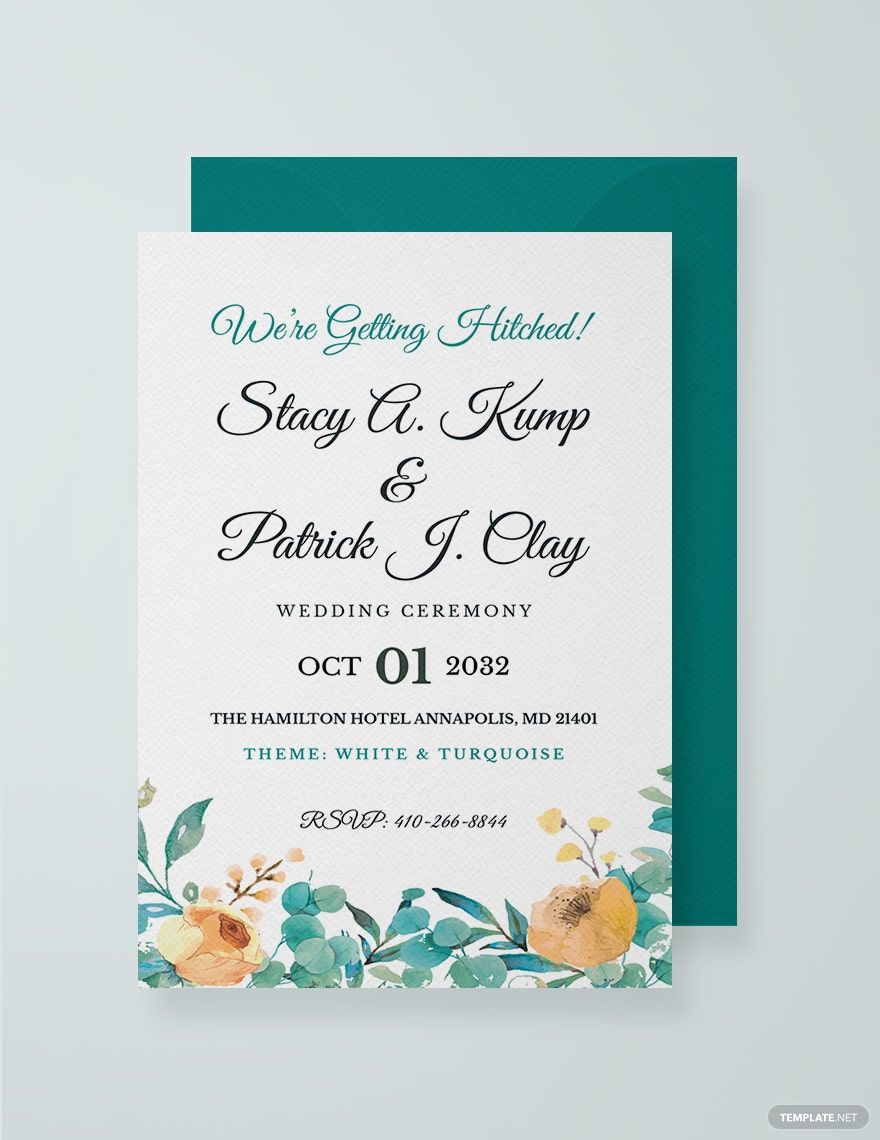
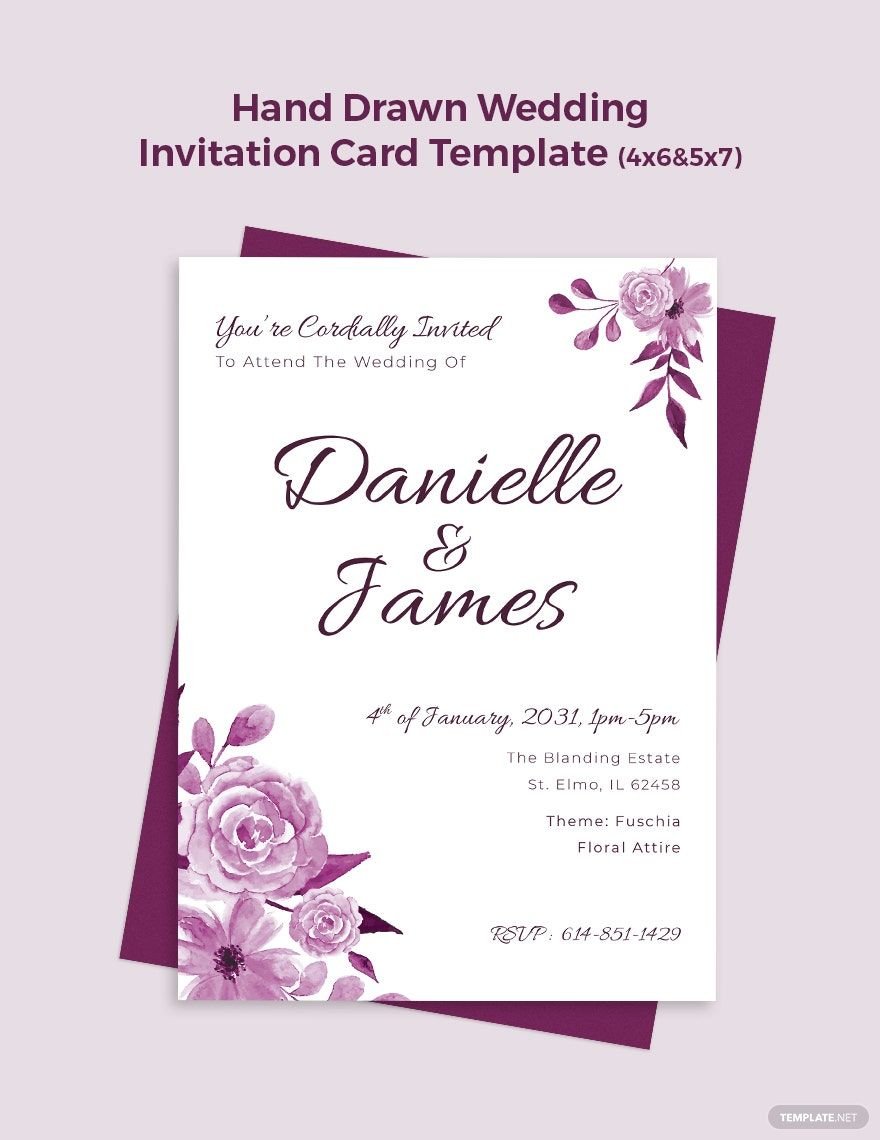
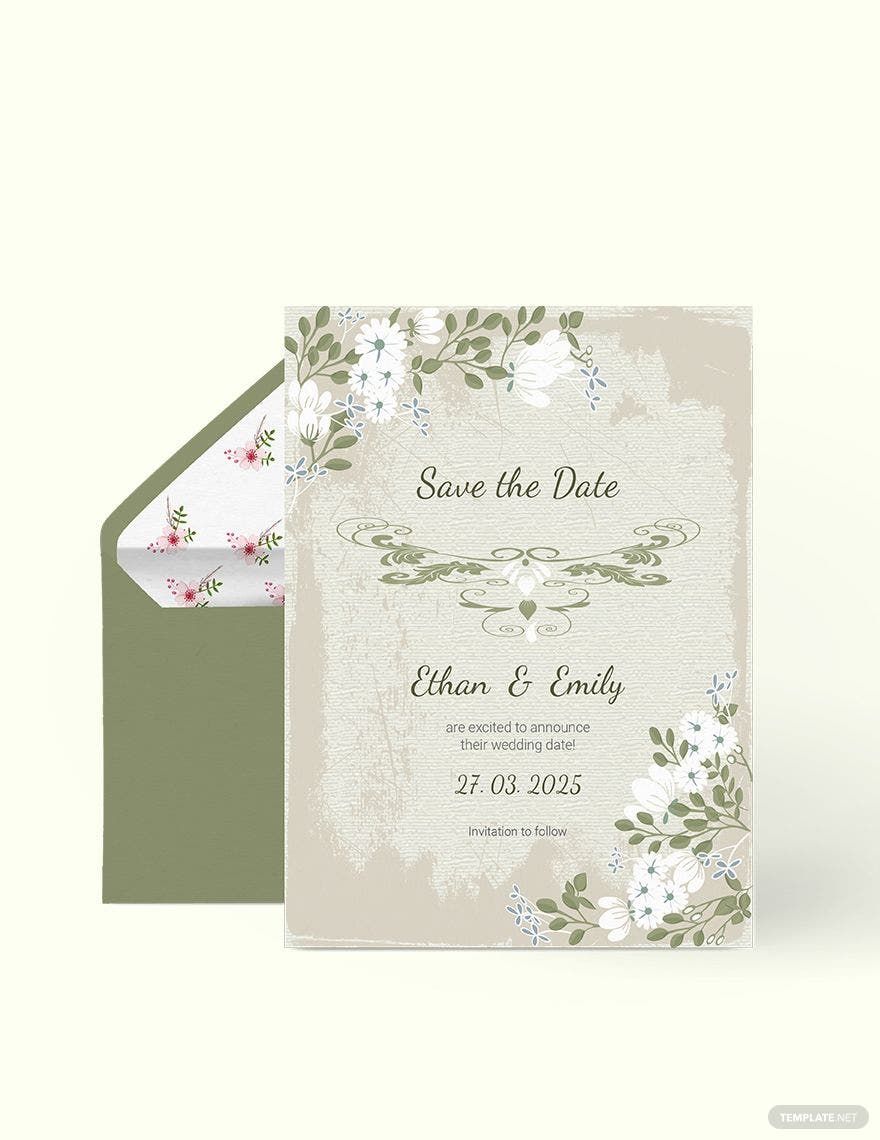
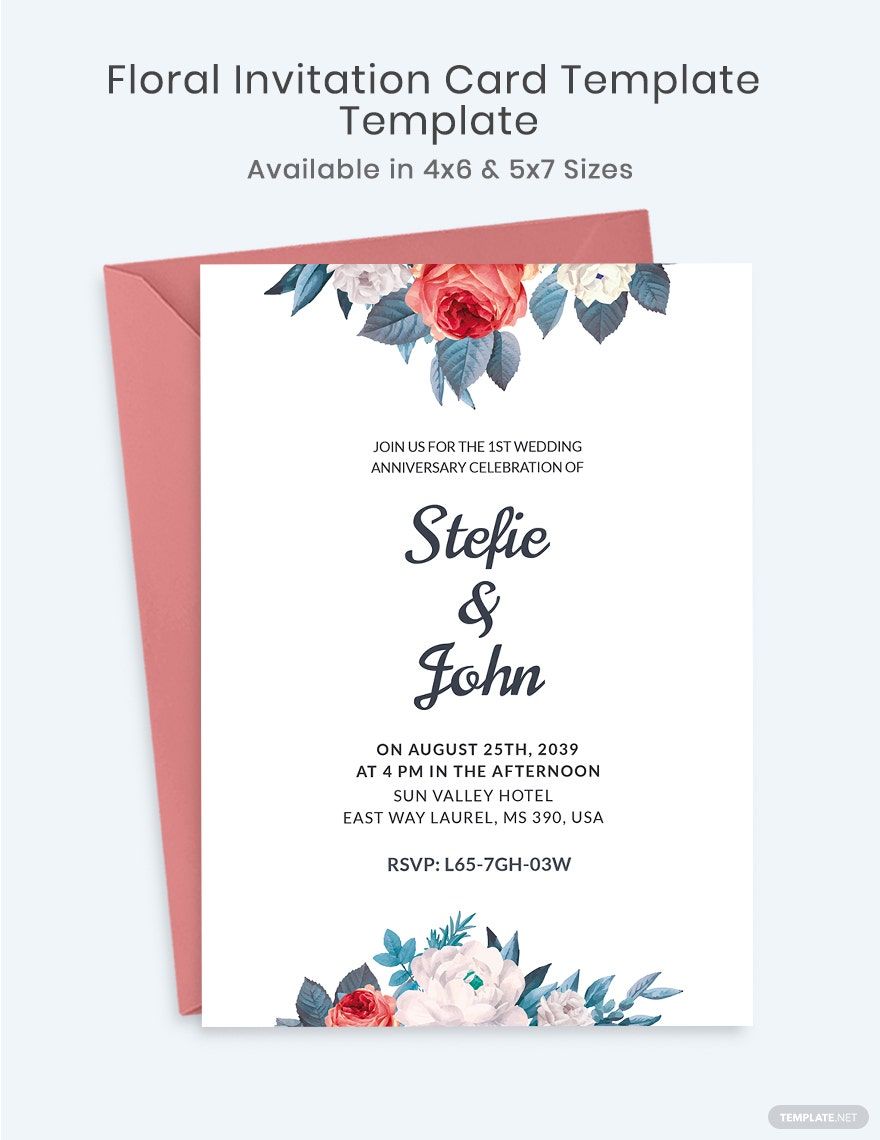
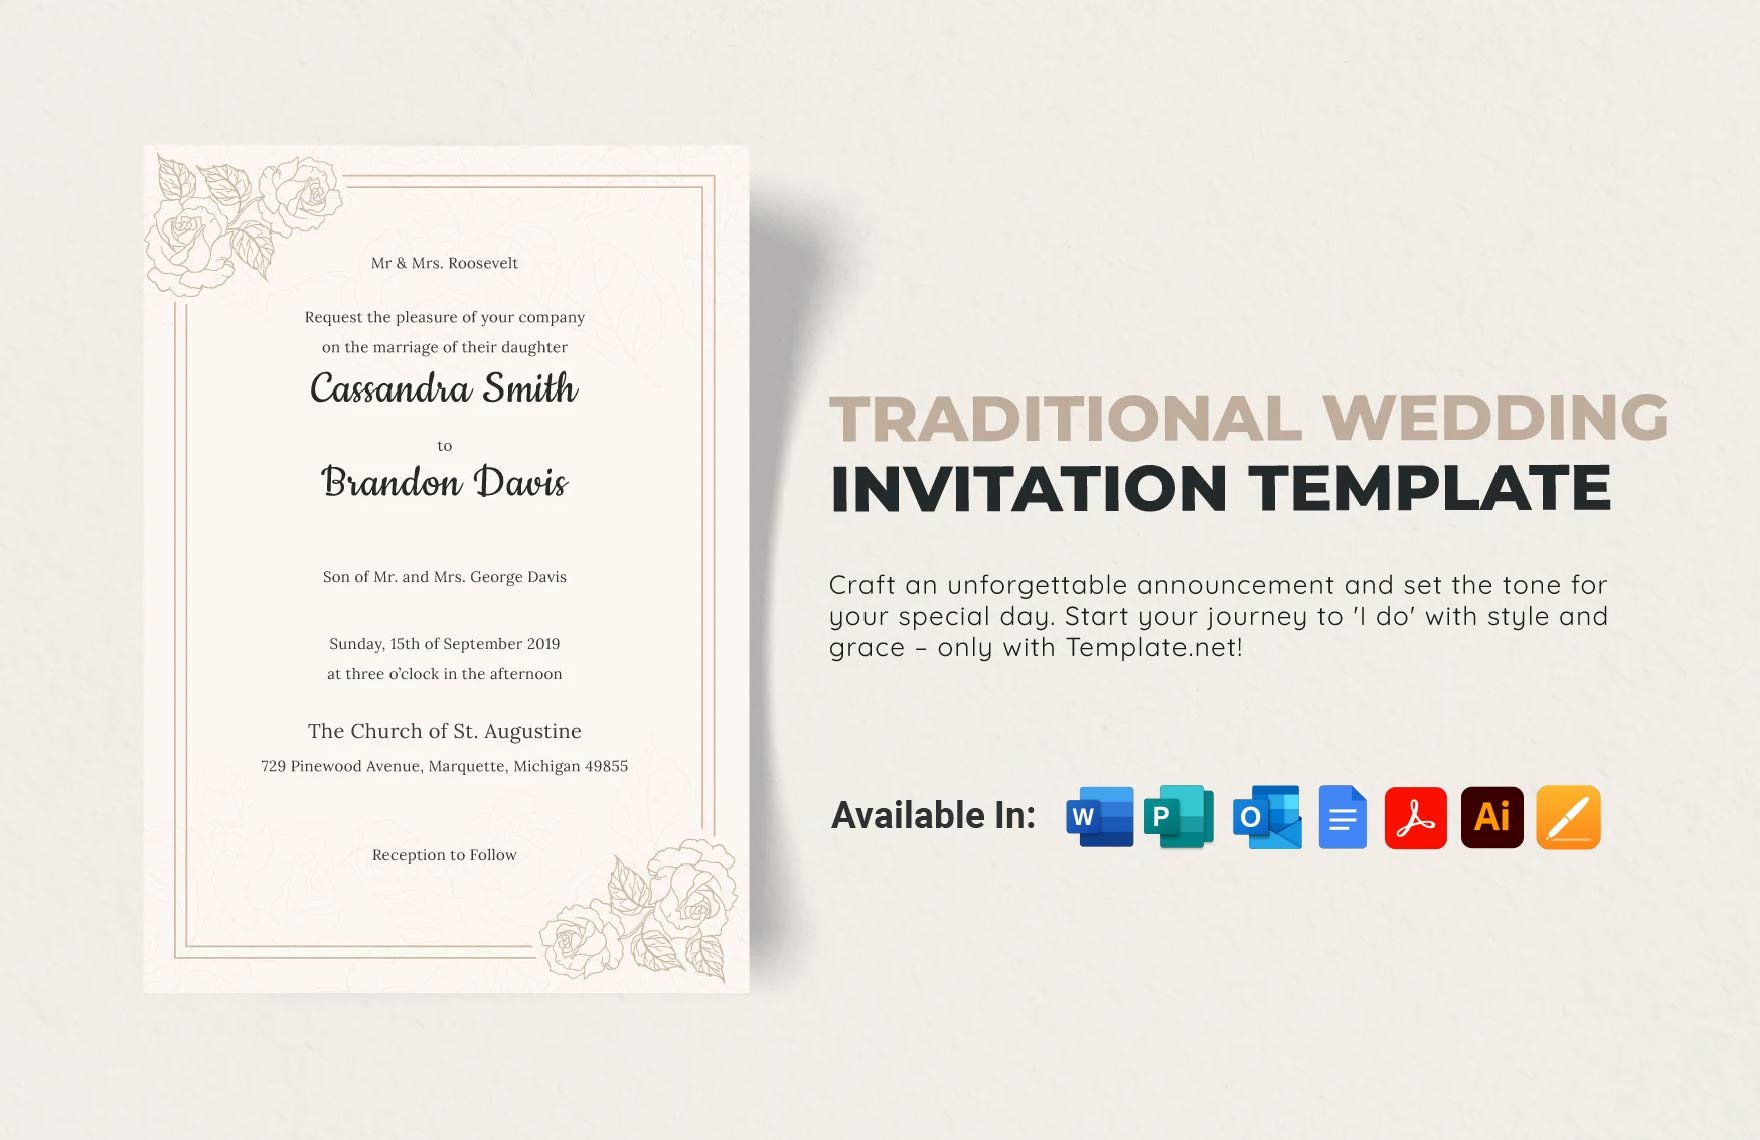
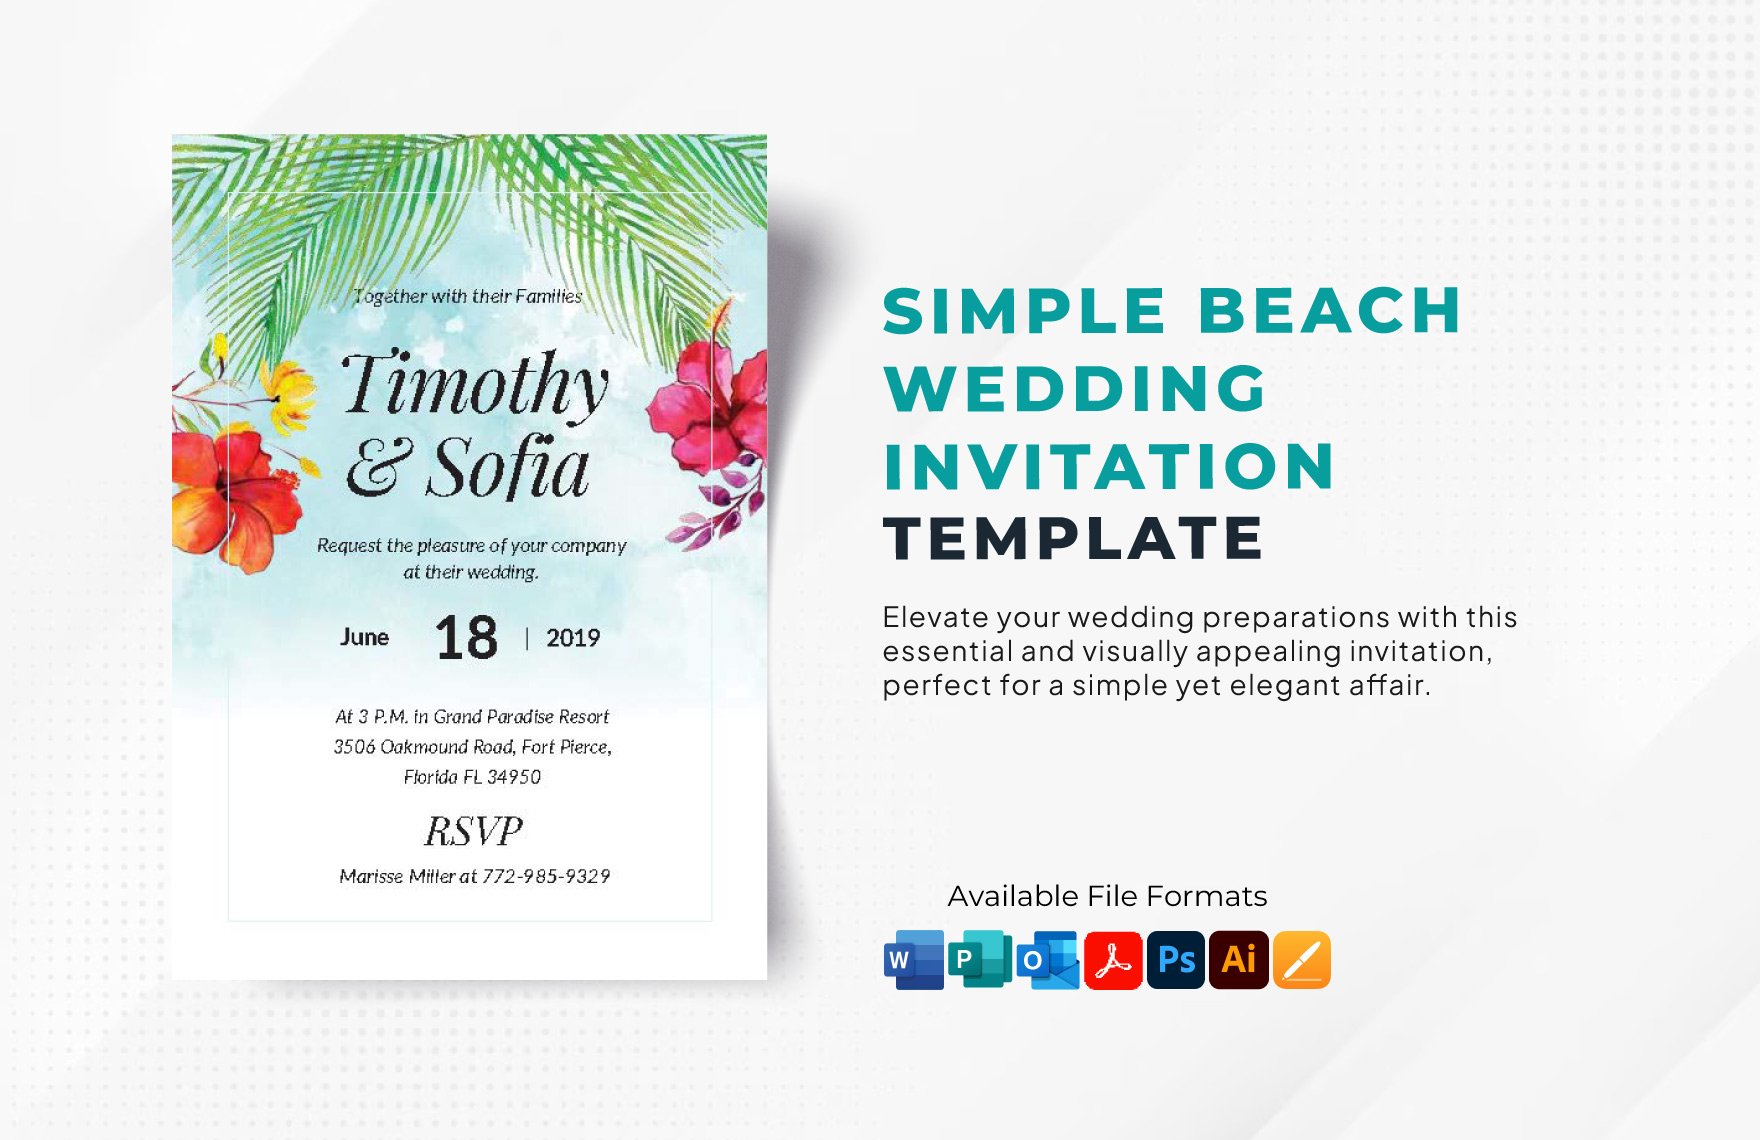
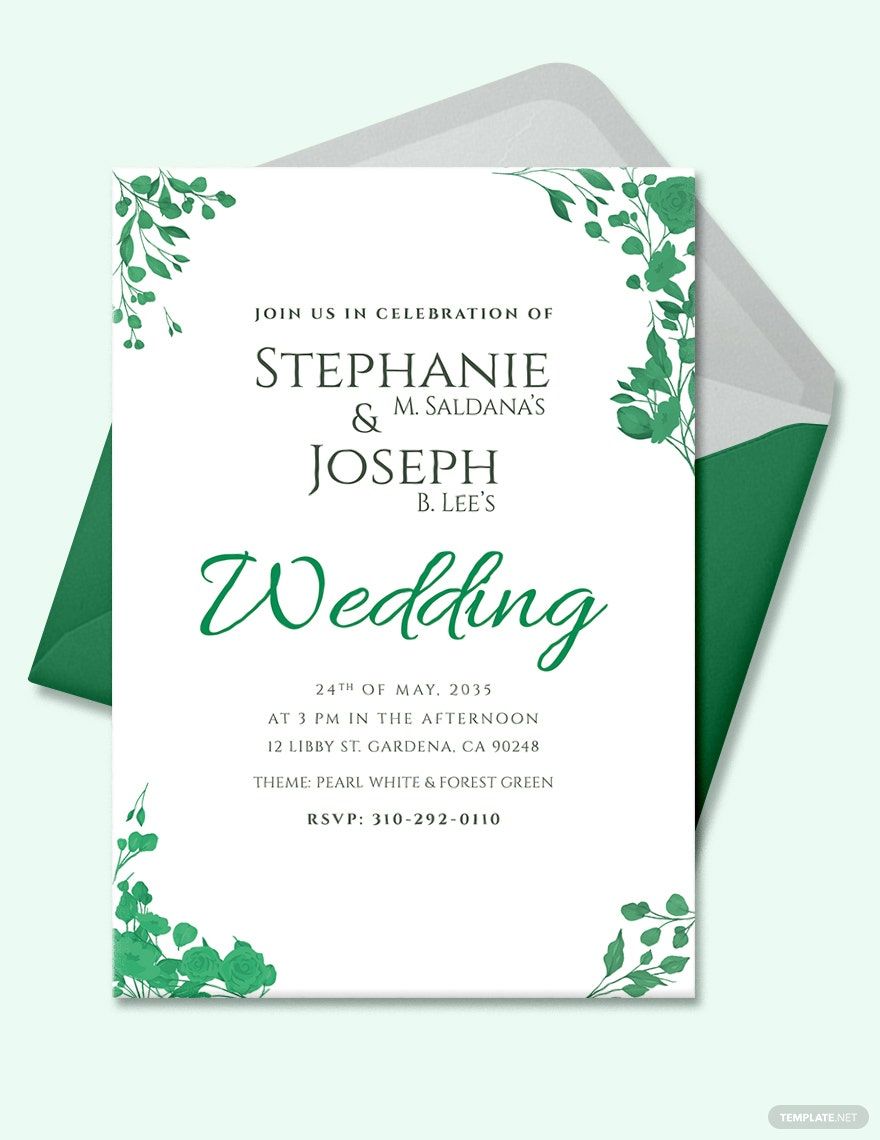
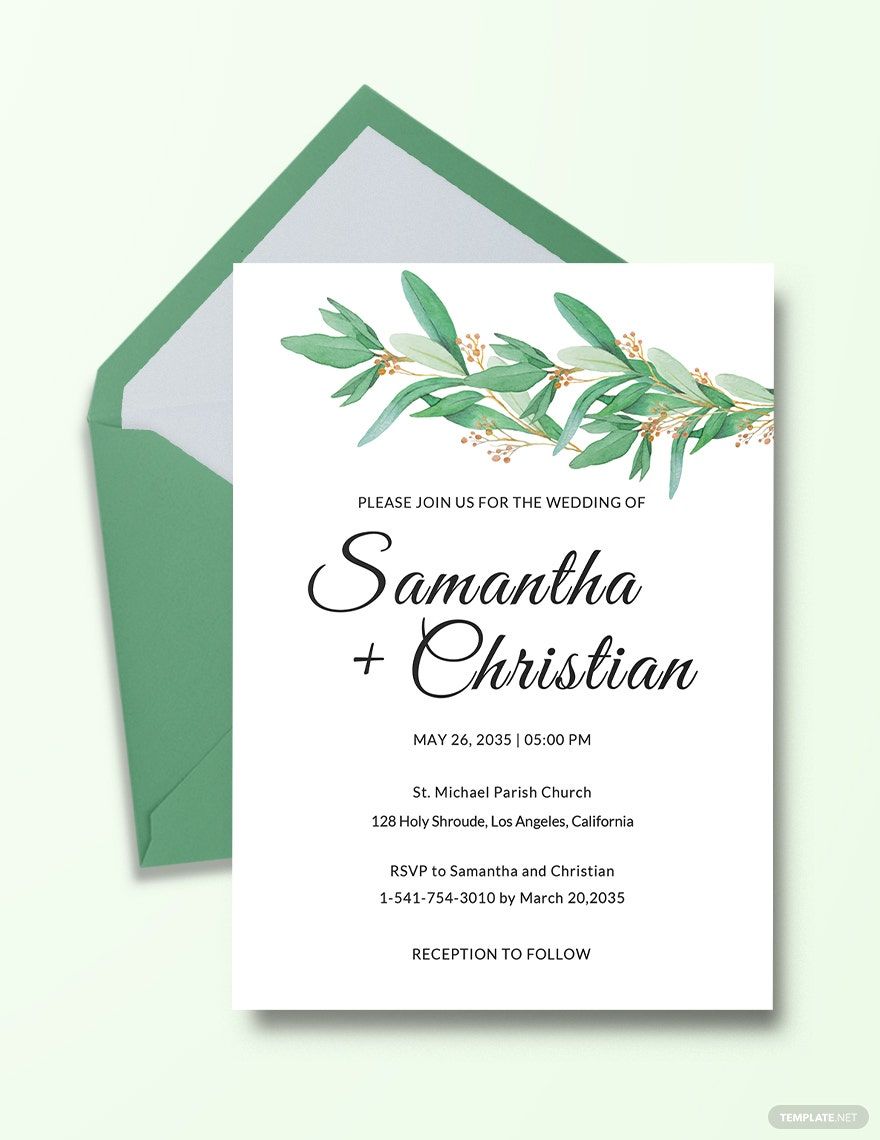
Another chapter of your love story begins on your wedding day. It's a beautiful love story about two people joining their lives together and promising to love each other for the rest of their lives. Tell your beautiful and unique story to your family and friends by creating your own wedding invitation card. And because we know how much planning and preparation does it take to achieve a successful wedding event, we offer high-quality Wedding Invitation Card Templates in Publisher, so you don't have to create one from scratch. They're instantly downloadable and printable in 4.5X3.5, 4x6, 4x9, and 5x7 Inches + Bleed. Avoid the hassle and save your time. Download a template now!
How To Make A Wedding Invitation Card In Publisher
Among the things that you have to prepare for your upcoming wedding is your wedding invitations. Of course, who will witness your wedding vows and celebrate the most important event of your life with you if you don't invite guests? Also, you have to understand that it's important that you send them in advance to know who exactly will come, so you know how much food, giveaways, and other things you need to prepare. According to Brides, the average guests for weddings are 167.
Know that you don't have to be a skilled digital graphic artist to design your own wedding invitation. Simply follow our guide below on how to make a wedding invitation card in Publisher to create a unique and elegant wedding invitation. With Microsoft Publisher, you get to create cards and other documents with ease as it works just like a desktop publishing program.
1. Choose the right Size and Shape
First things first, you need to choose a size and shape for your invitation card before you start thinking about the design. And when it comes to wedding invitations, the traditional size and shape is the 4.5-inch-by-6.25-inch rectangular card. Also, consider whether it should have a folding style or not. To set the size of your document in Publisher, click File, then Print. In the Settings section, click the paper size drop-down and choose your desired size from the Usable Paper Sizes.
2. Pick an Attention-Grabbing Theme
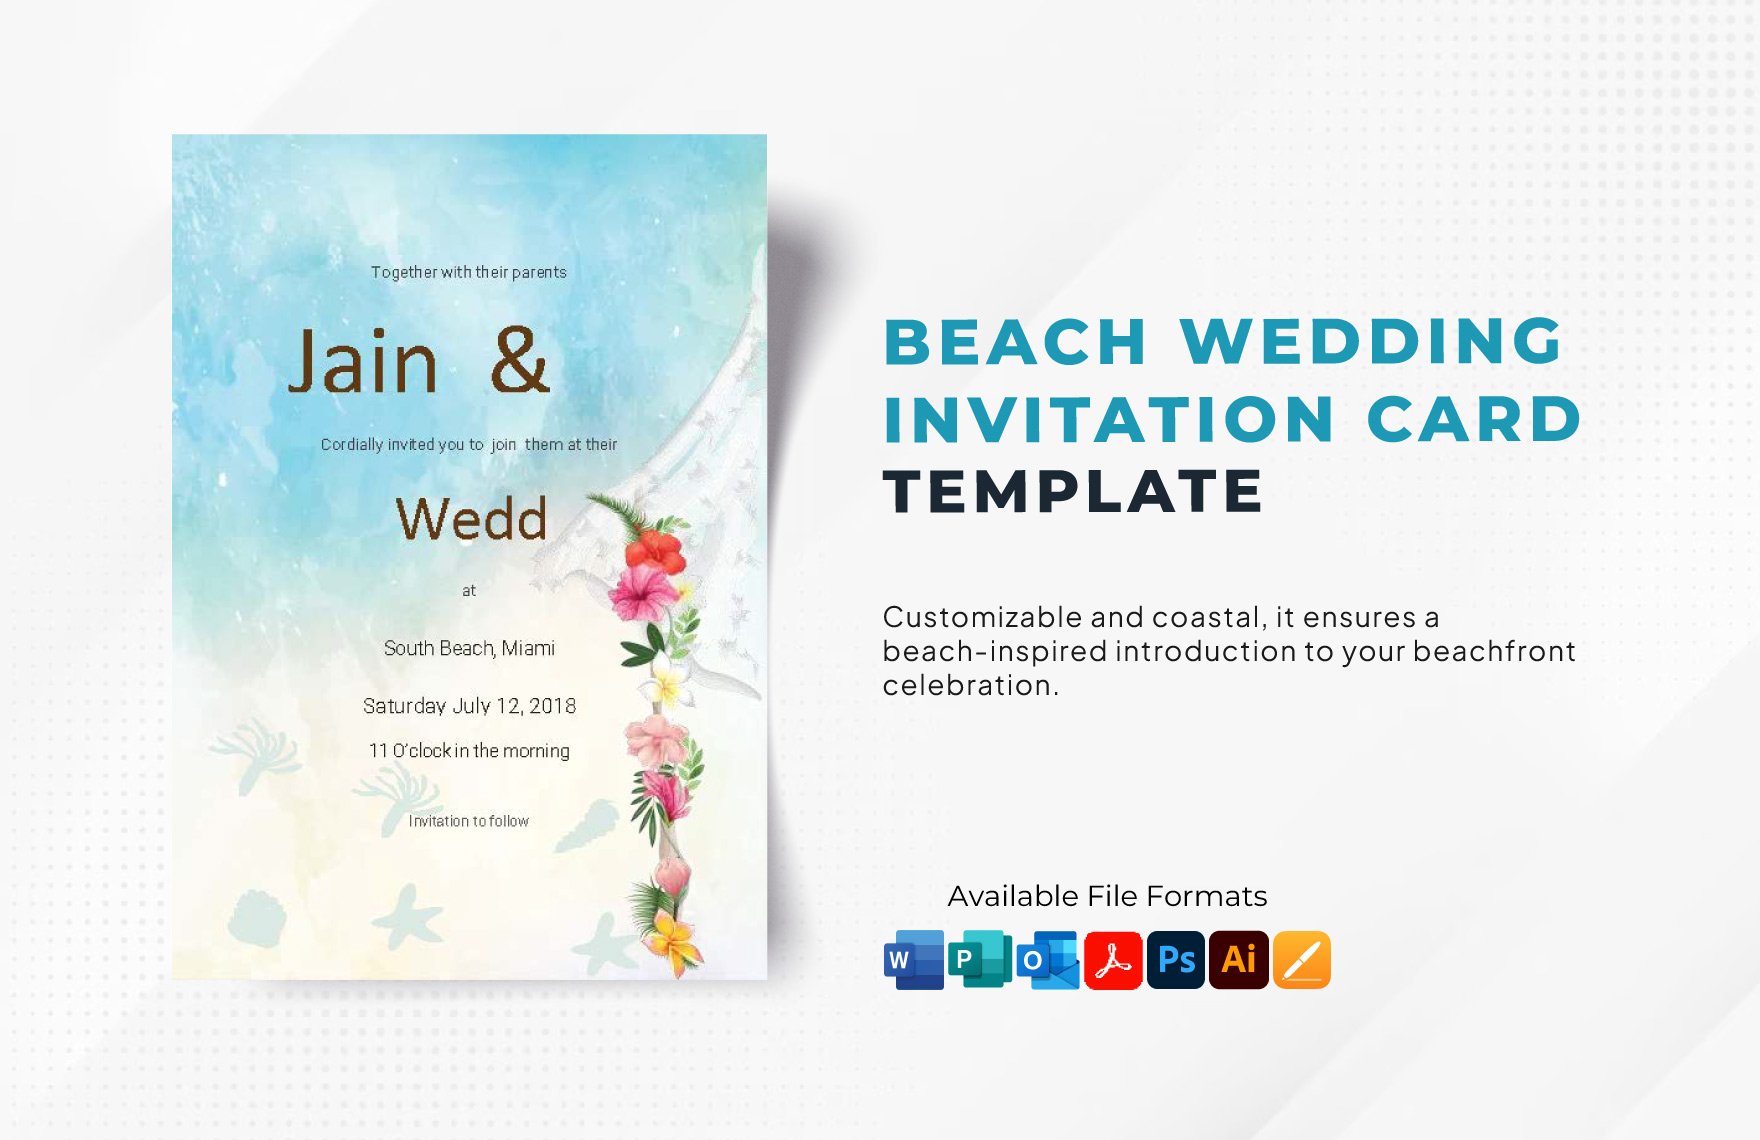
You want to excite your guests, so pick a theme that will grab their attention. When you pick a theme for your wedding card, consider the type of wedding you'll be having. For instance, it's a beach wedding. You can choose royal blue as your theme color and put in intricate design elements like waves and shells.
3. Choose an Eye-Catching Image
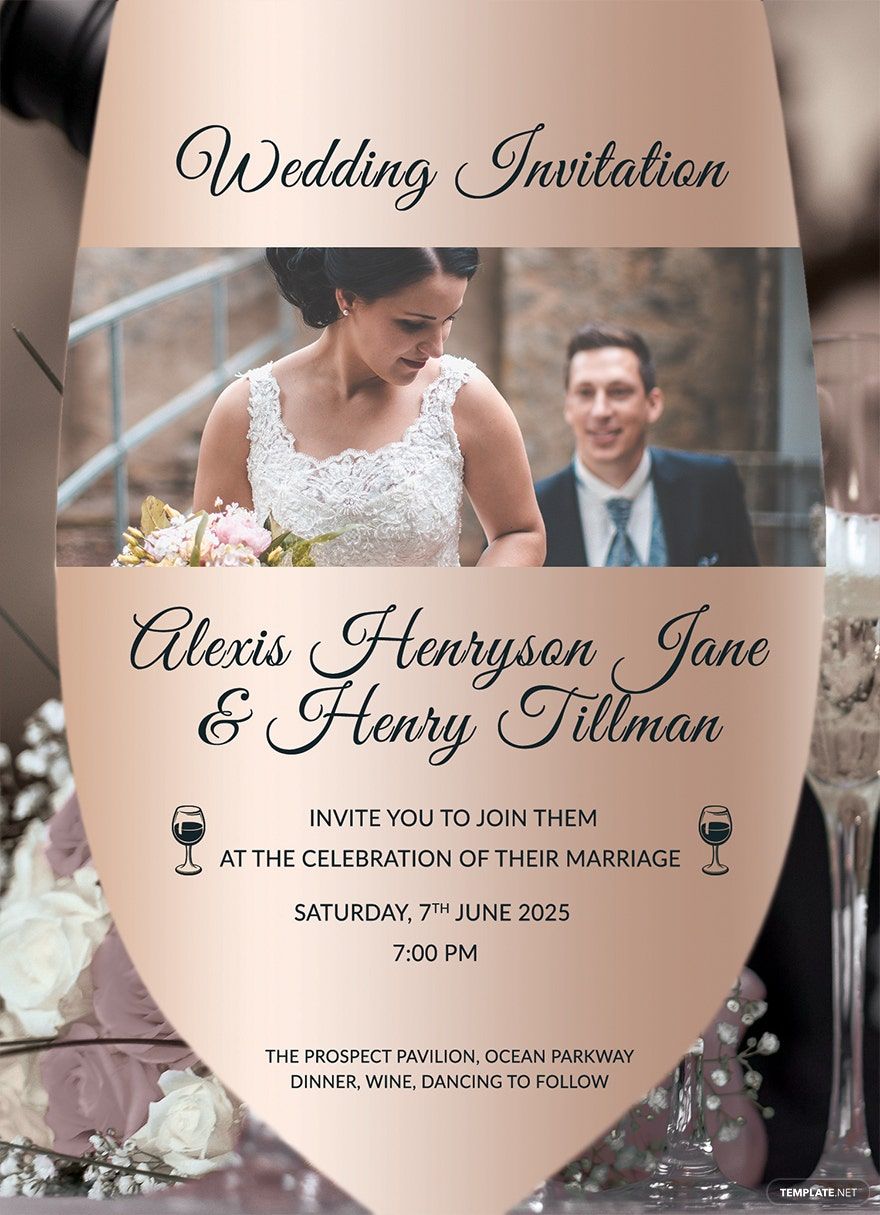
Give your guests a sneak-peak of your wedding by adding a photo from your prenup to your invitation card. This will surely make them more excited about the wedding. To add your photo to the card, click Insert/Picture to open the Insert Picture dialog box. Locate and select the image file, then click Insert to add the picture to your publication.
4. Decide on a Typography Style
Before you choose a typography style for your invitation card, make sure that you provide all the details for the event first. This includes the time and date of the event, wedding ceremony location, wedding reception location, and attire details. Keep in mind that the lettering style you choose will say a lot about you and your partner, so try on different typography styles to see which fits best.
5. Distribute Digital and Printed Copies
In this digital world, people send invites through emails and social media sites. But when it comes to wedding invites, it's still best to send printed copies to your family and friends. However, it can't be avoided that some of your guests live far from where you're residing, so for them, send your wedding invitation digitally.
