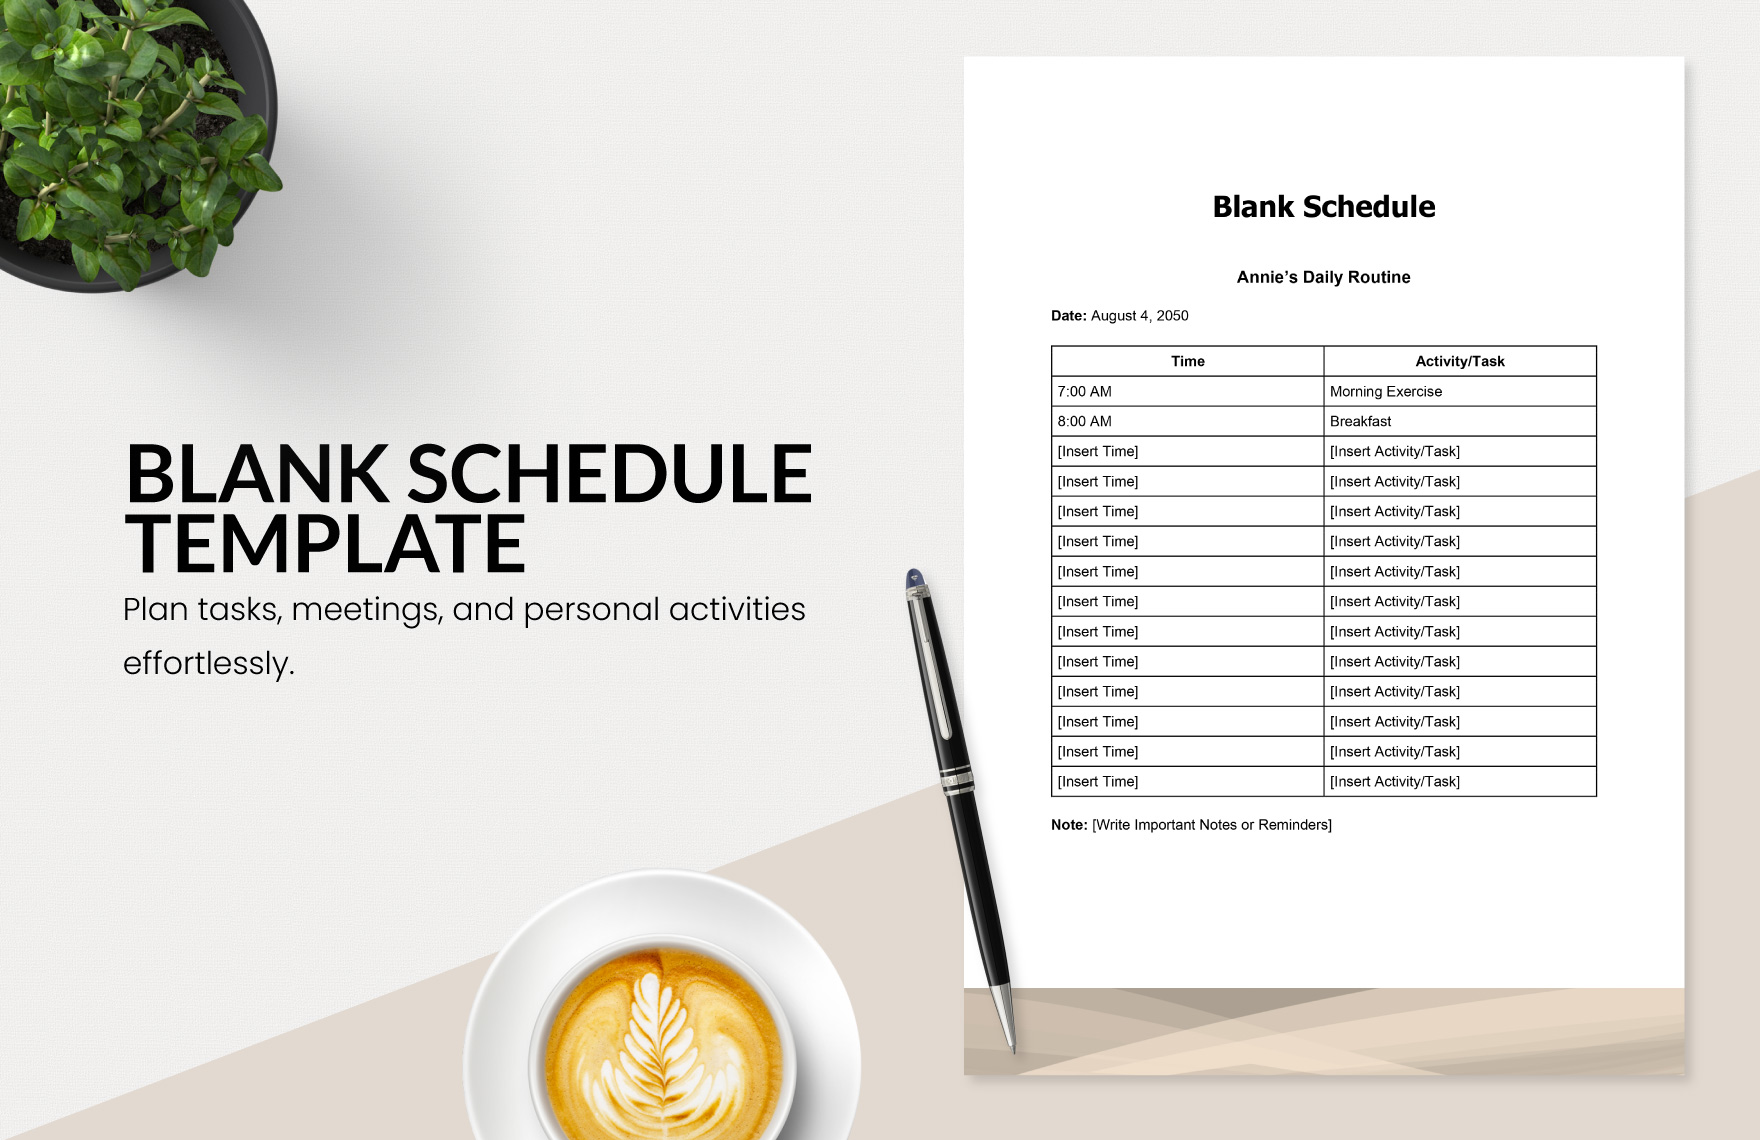
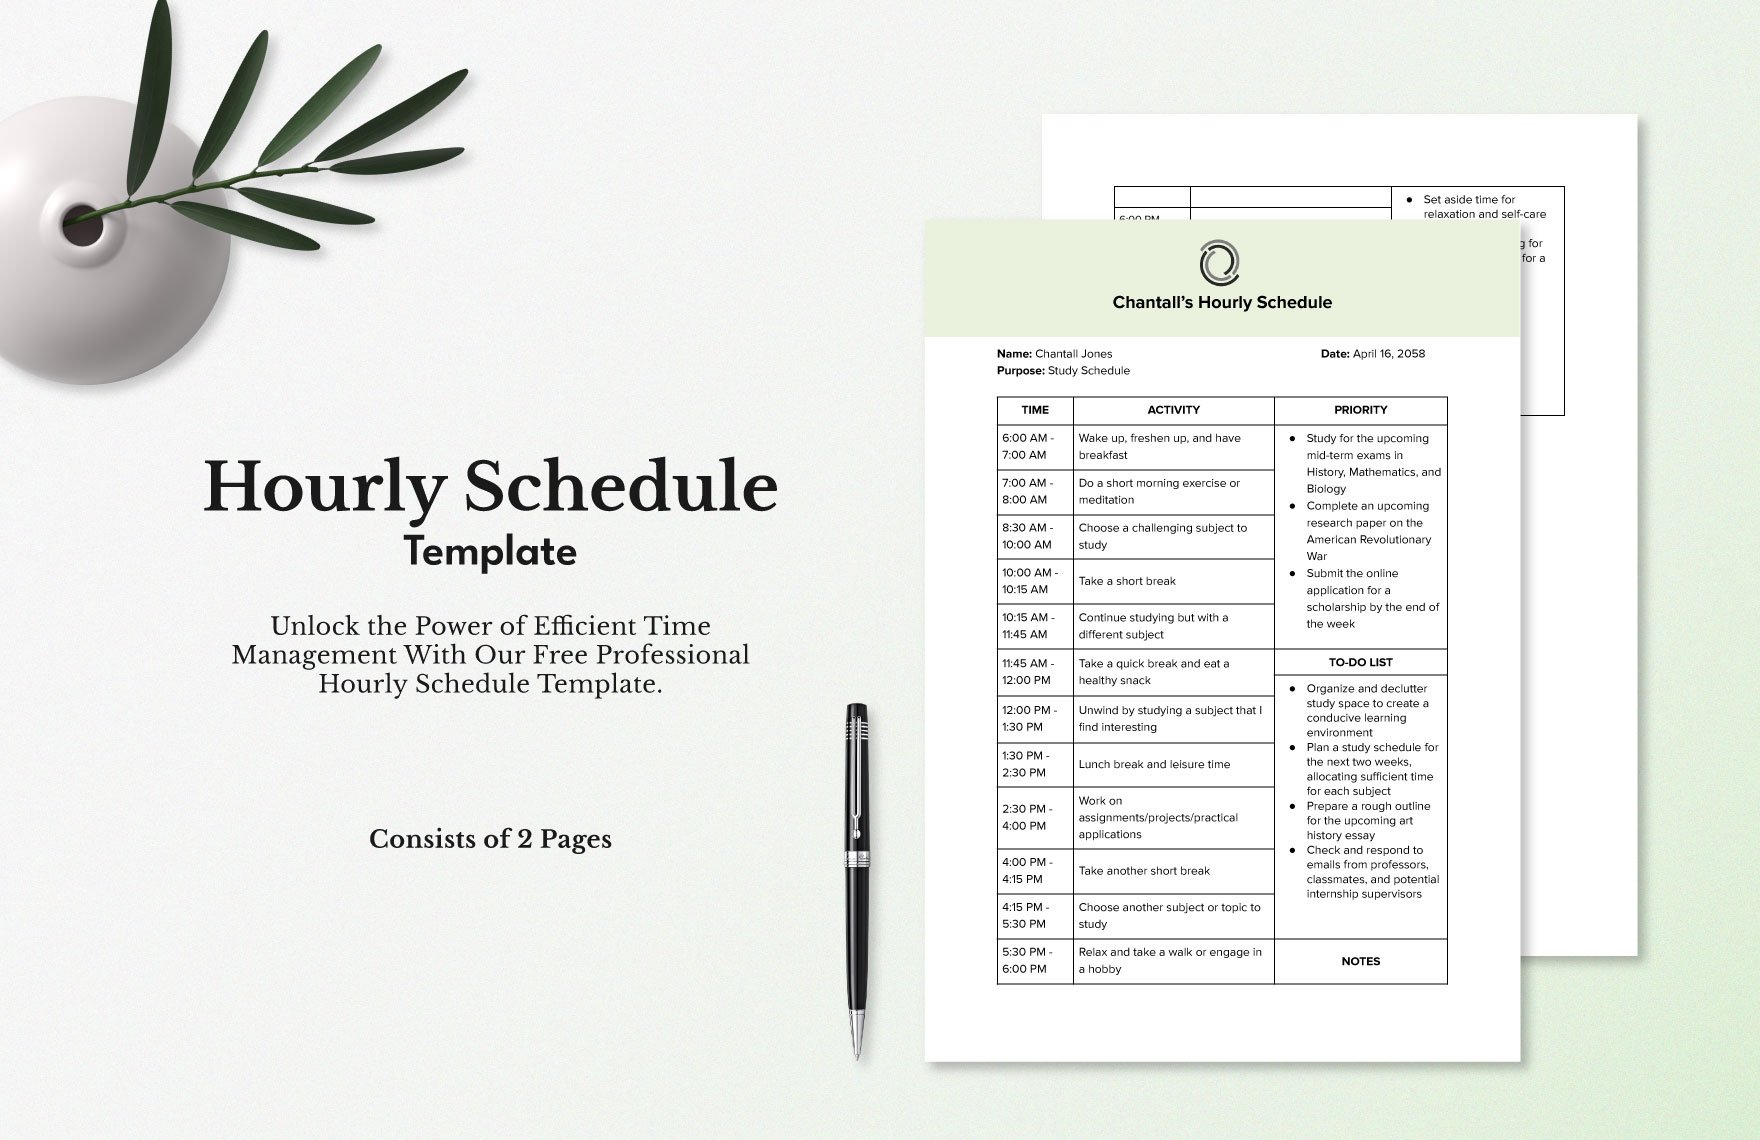
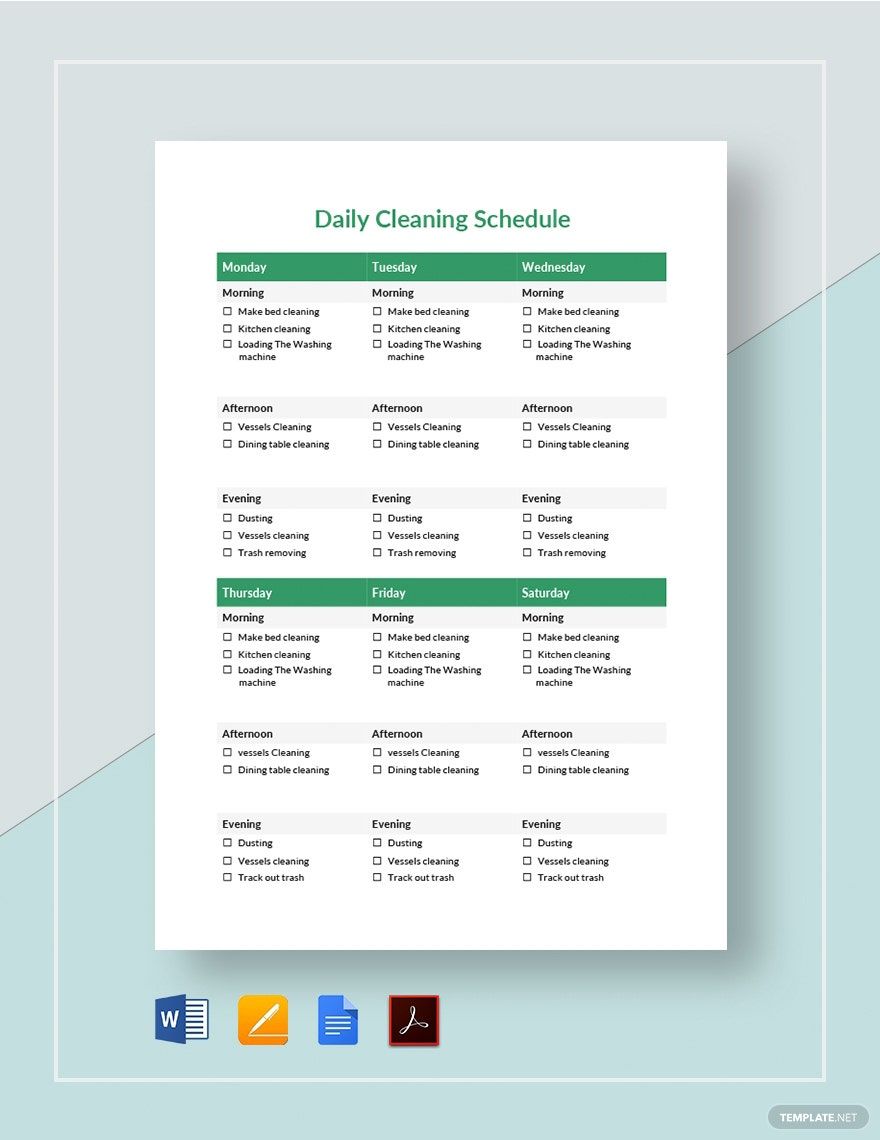
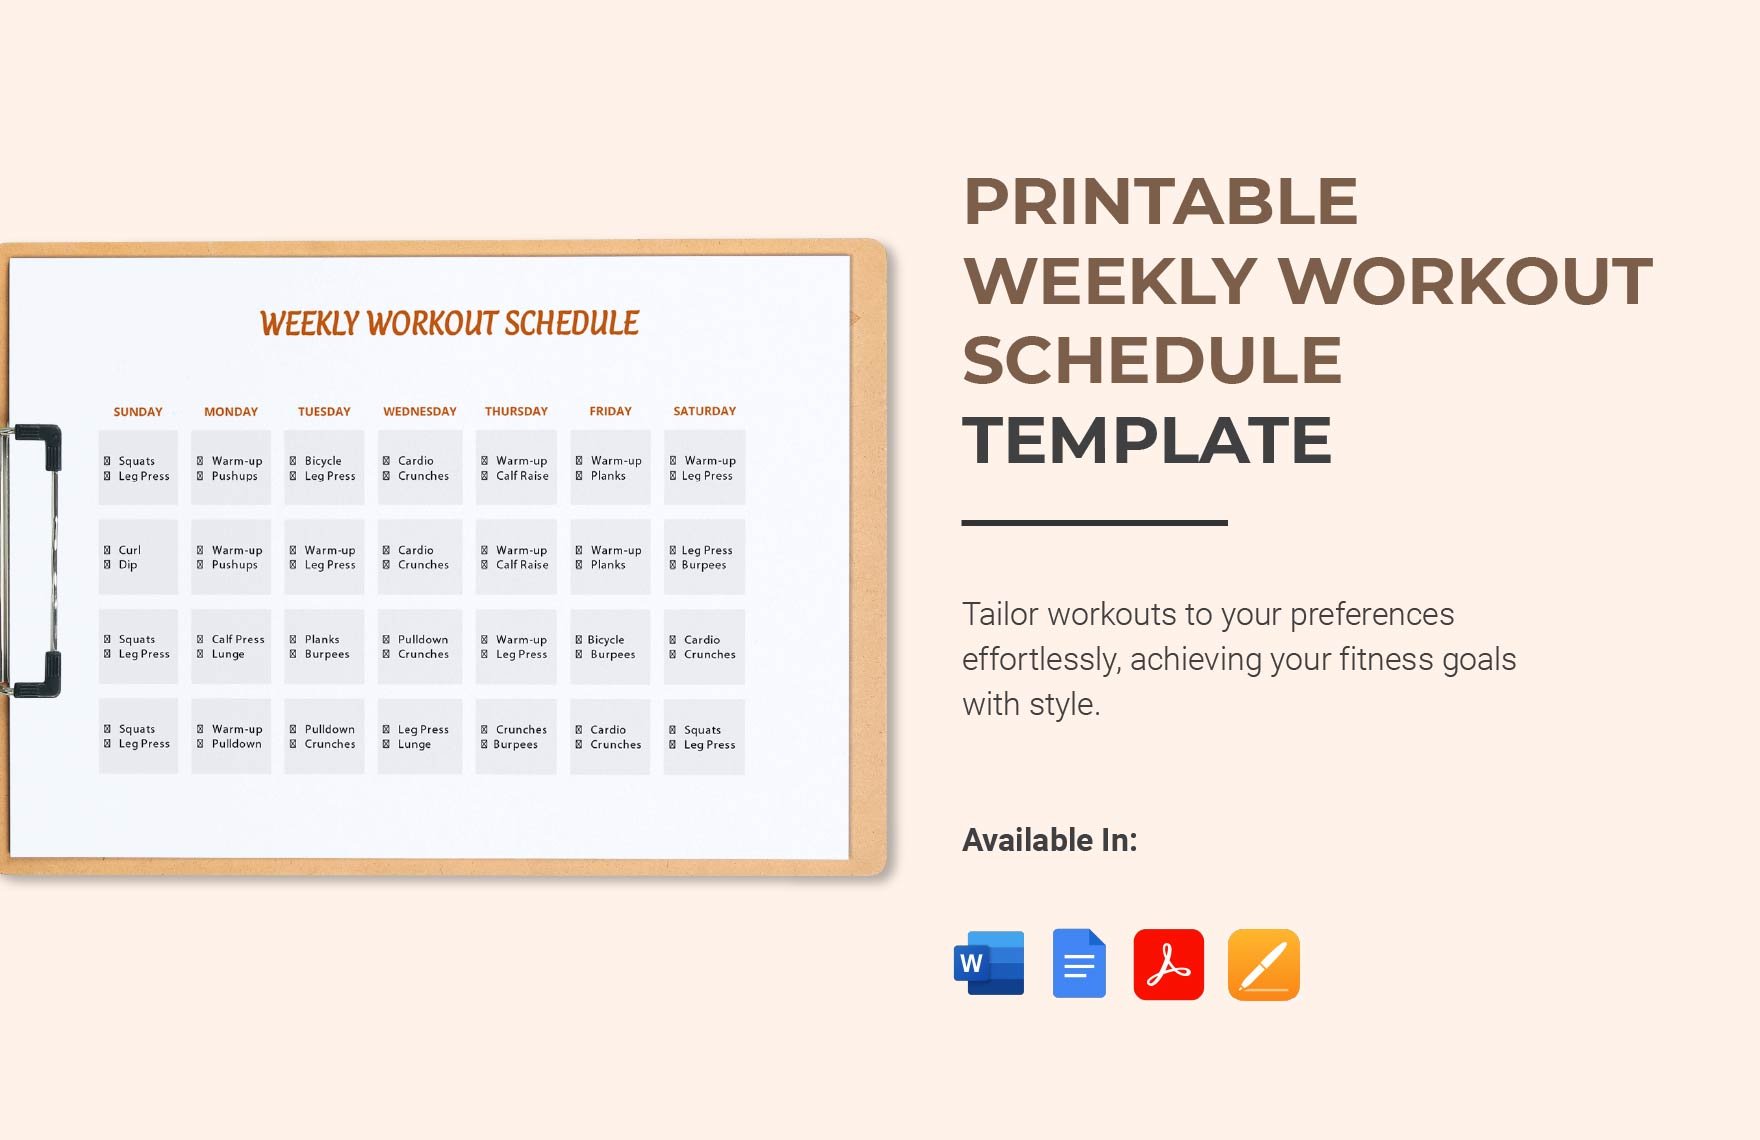
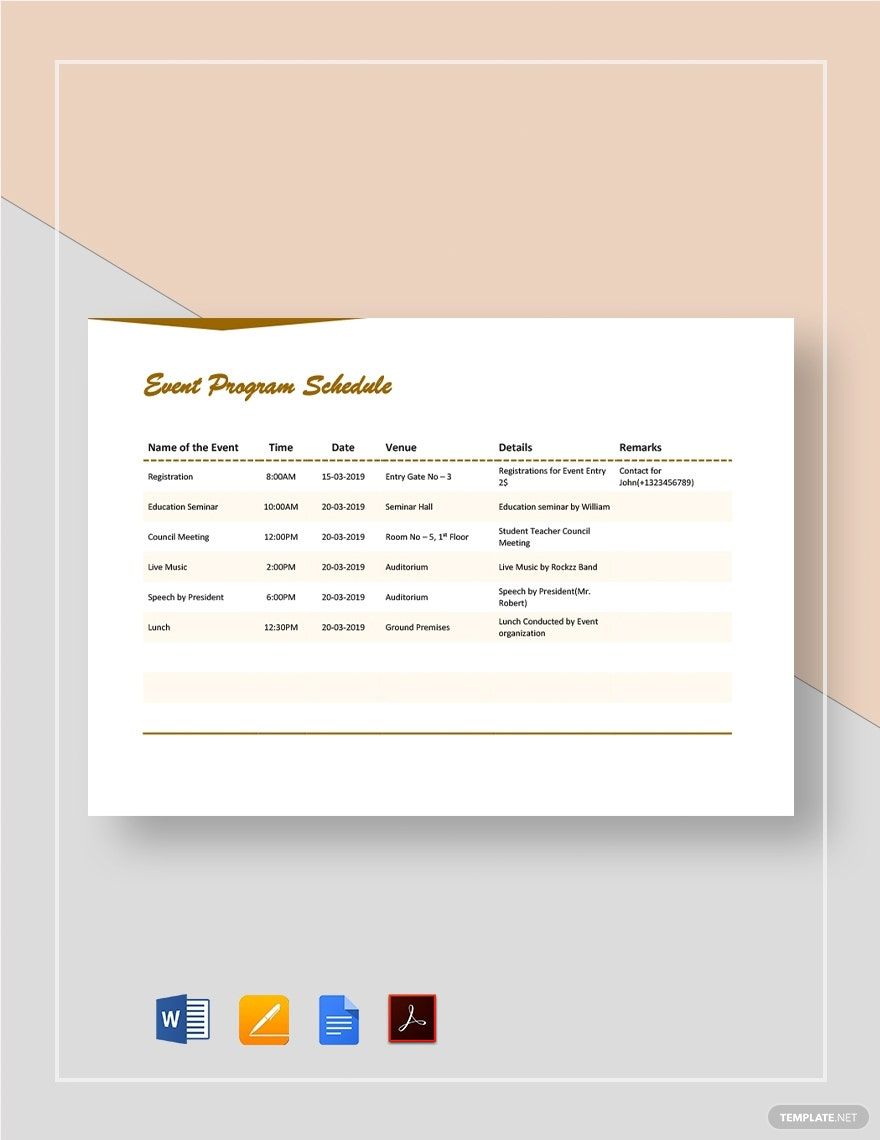
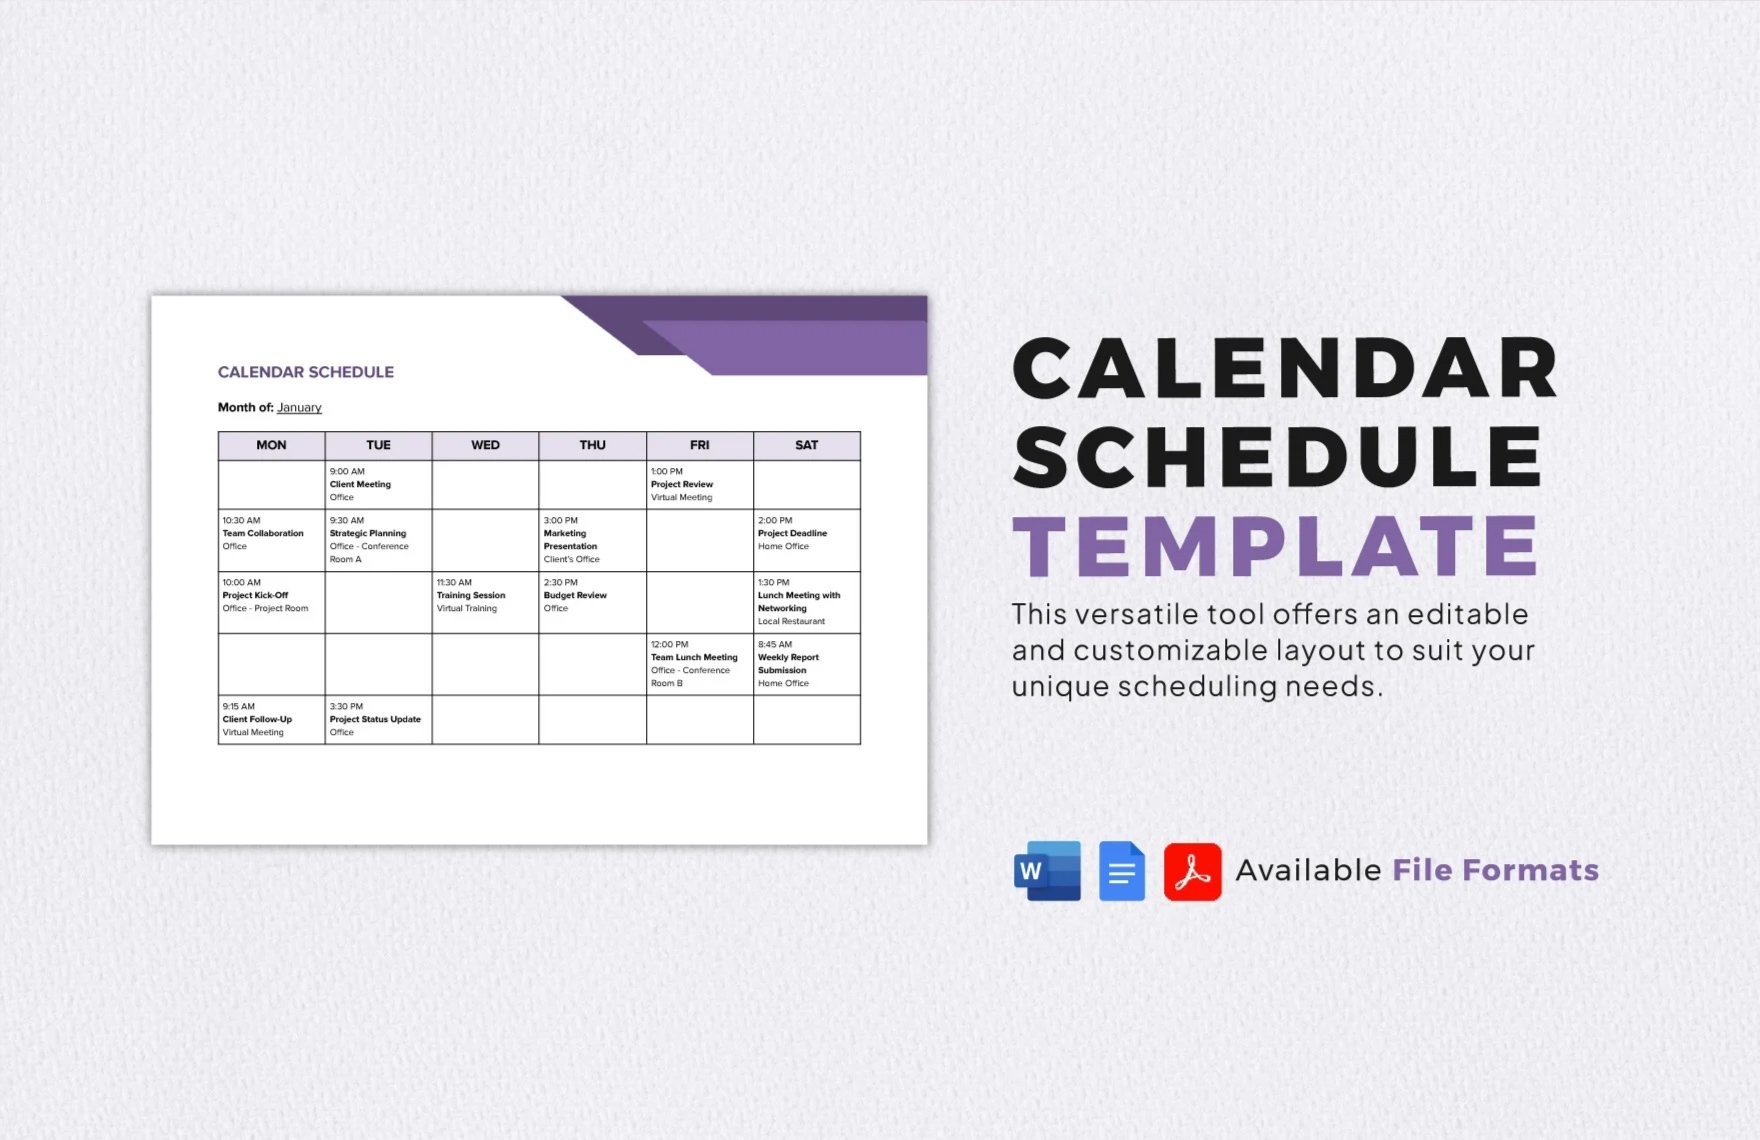
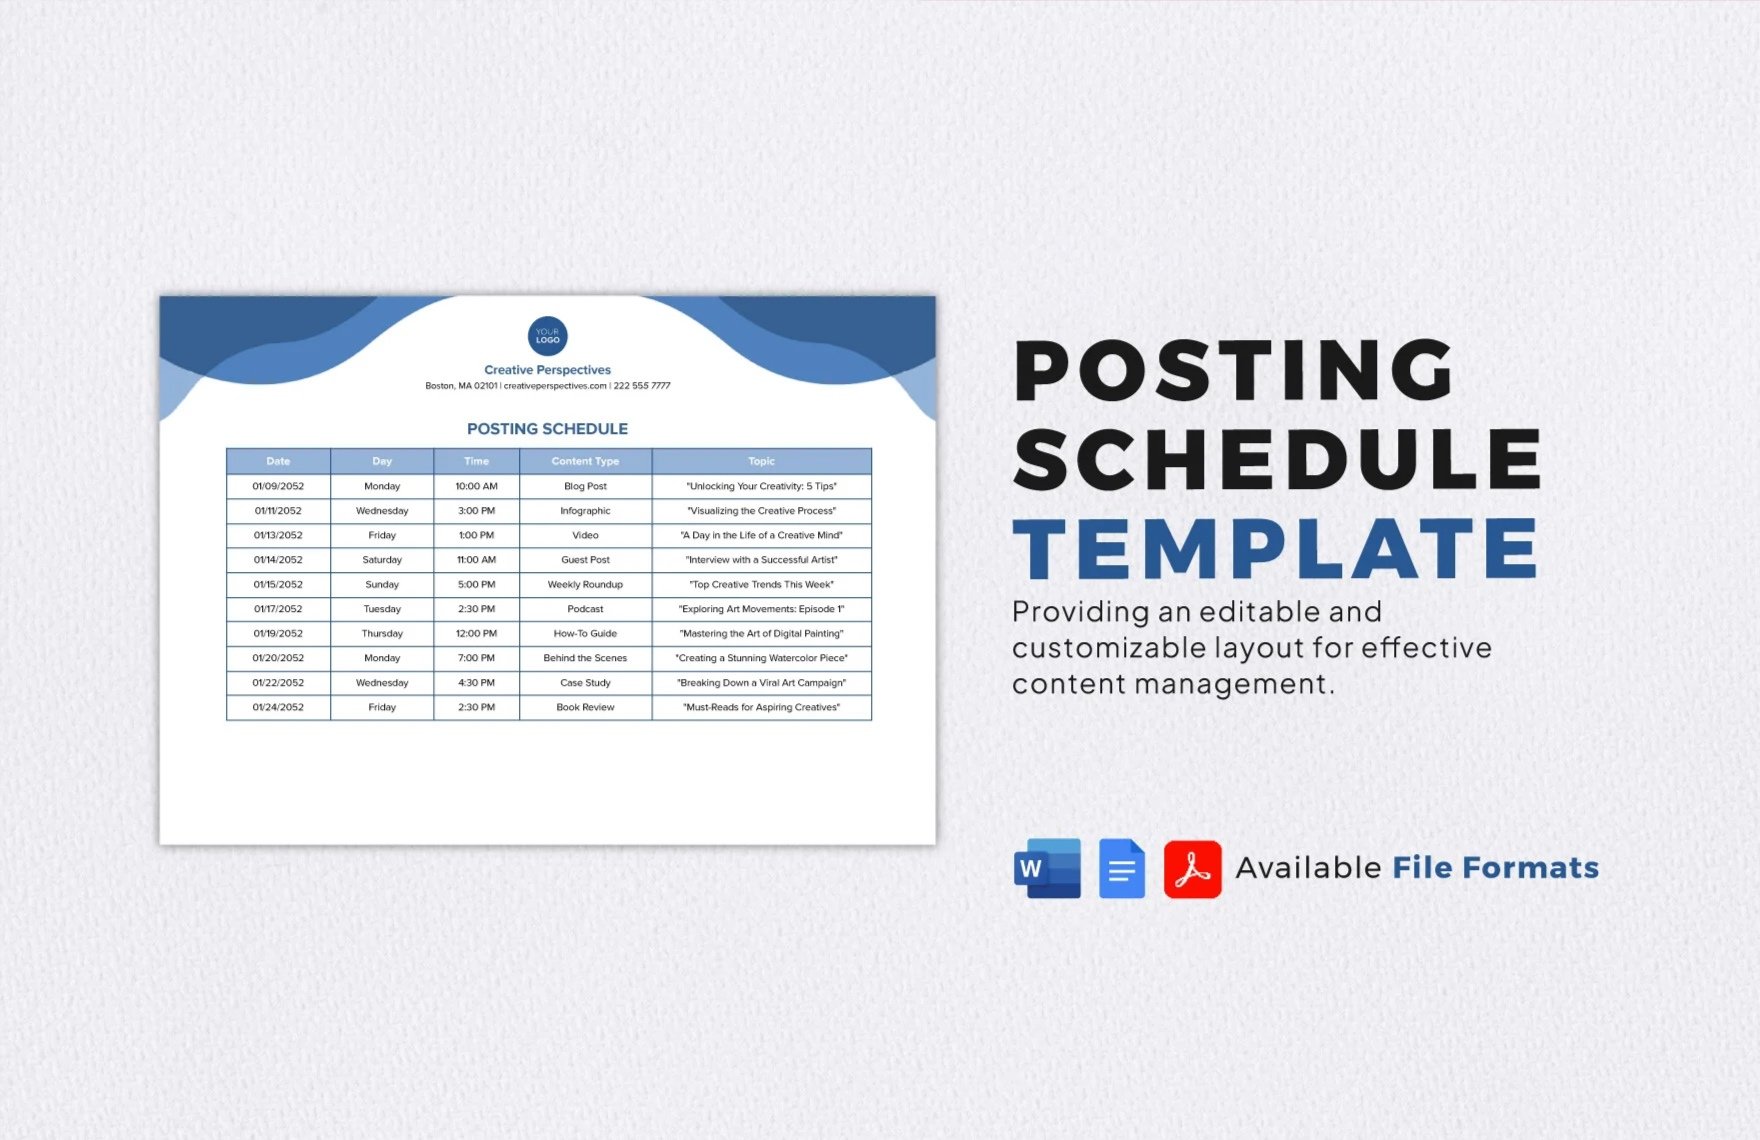
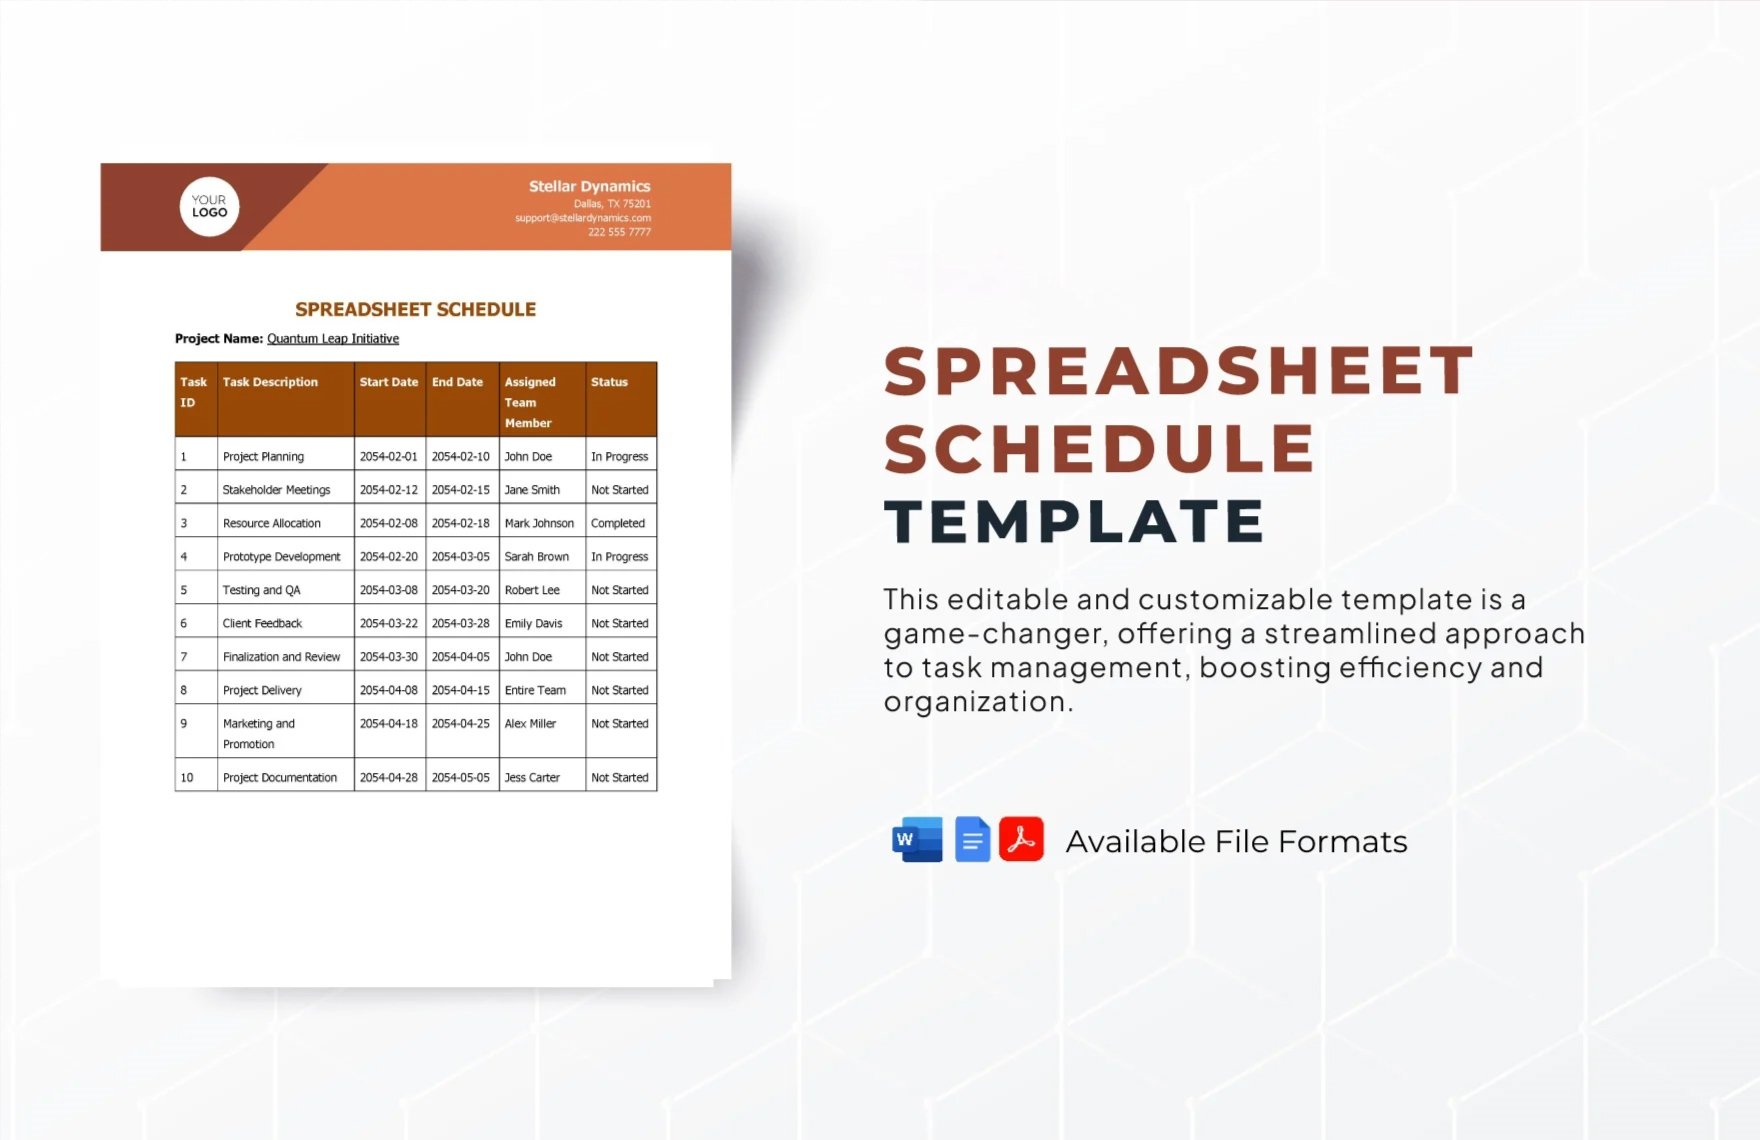
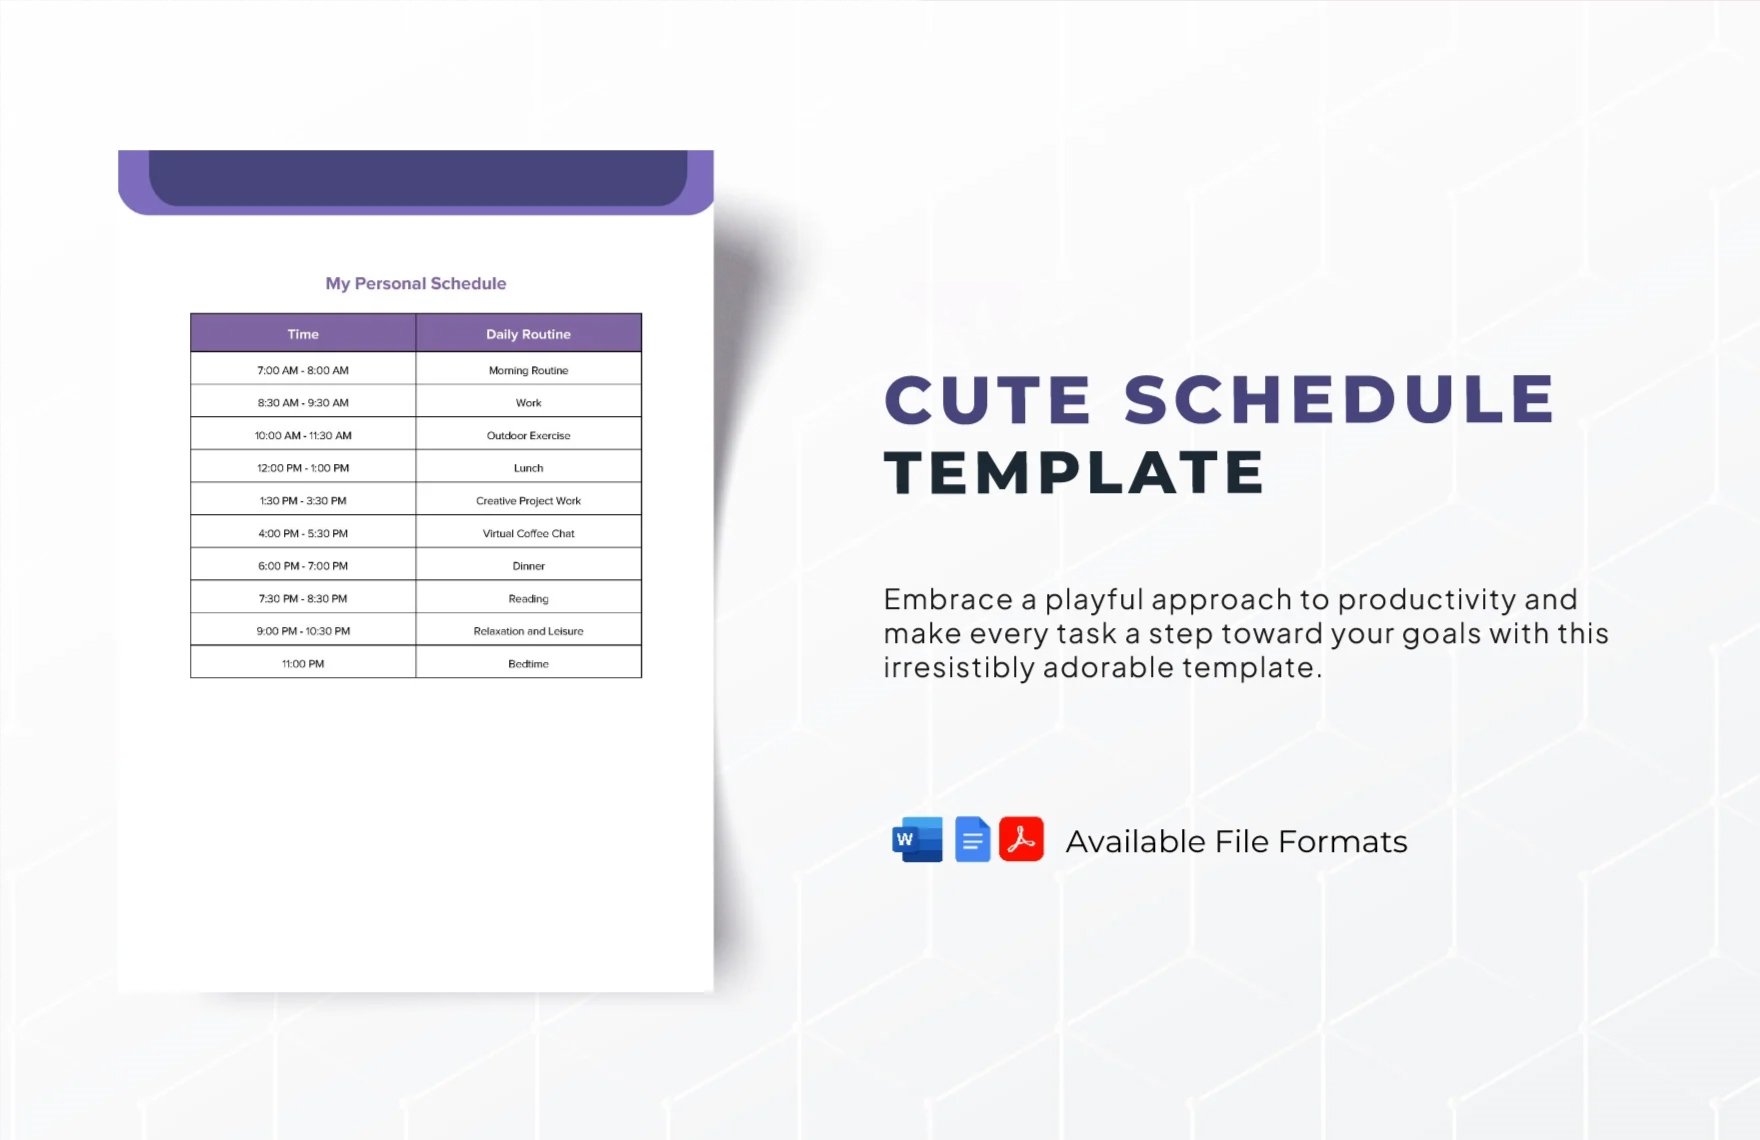
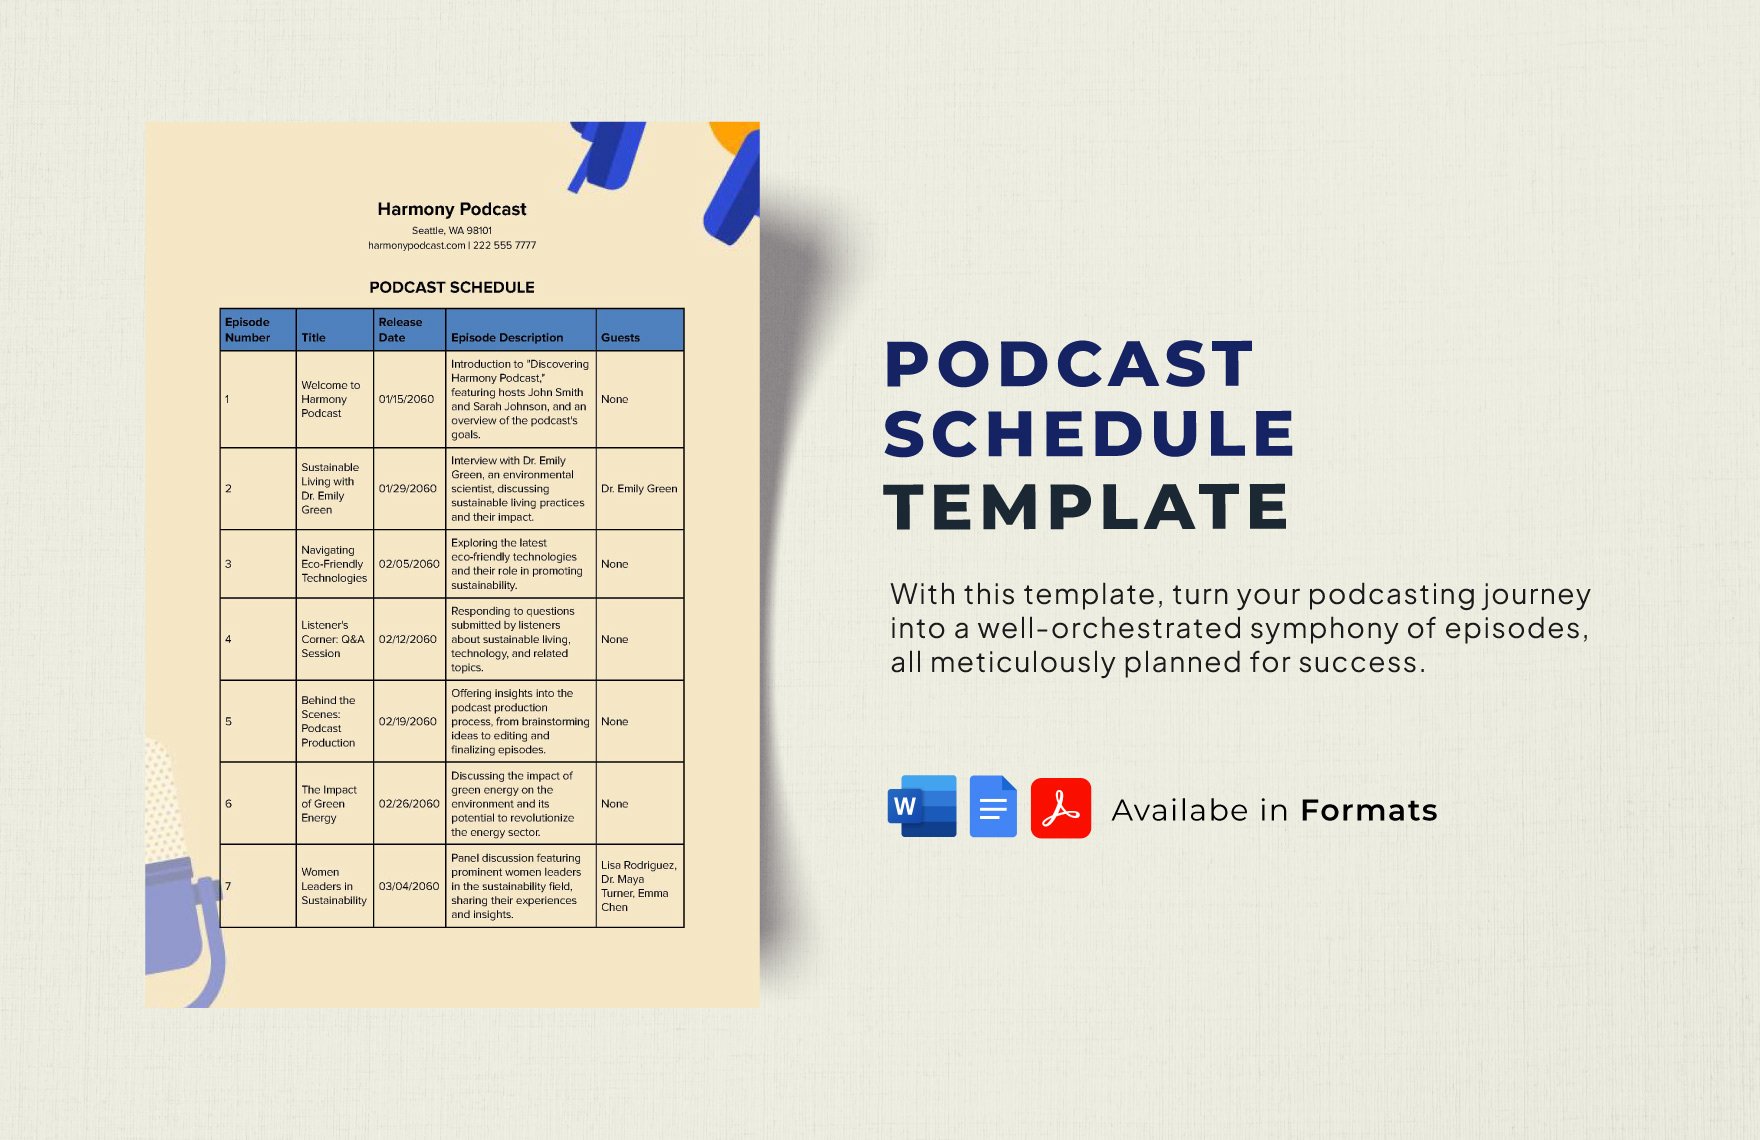
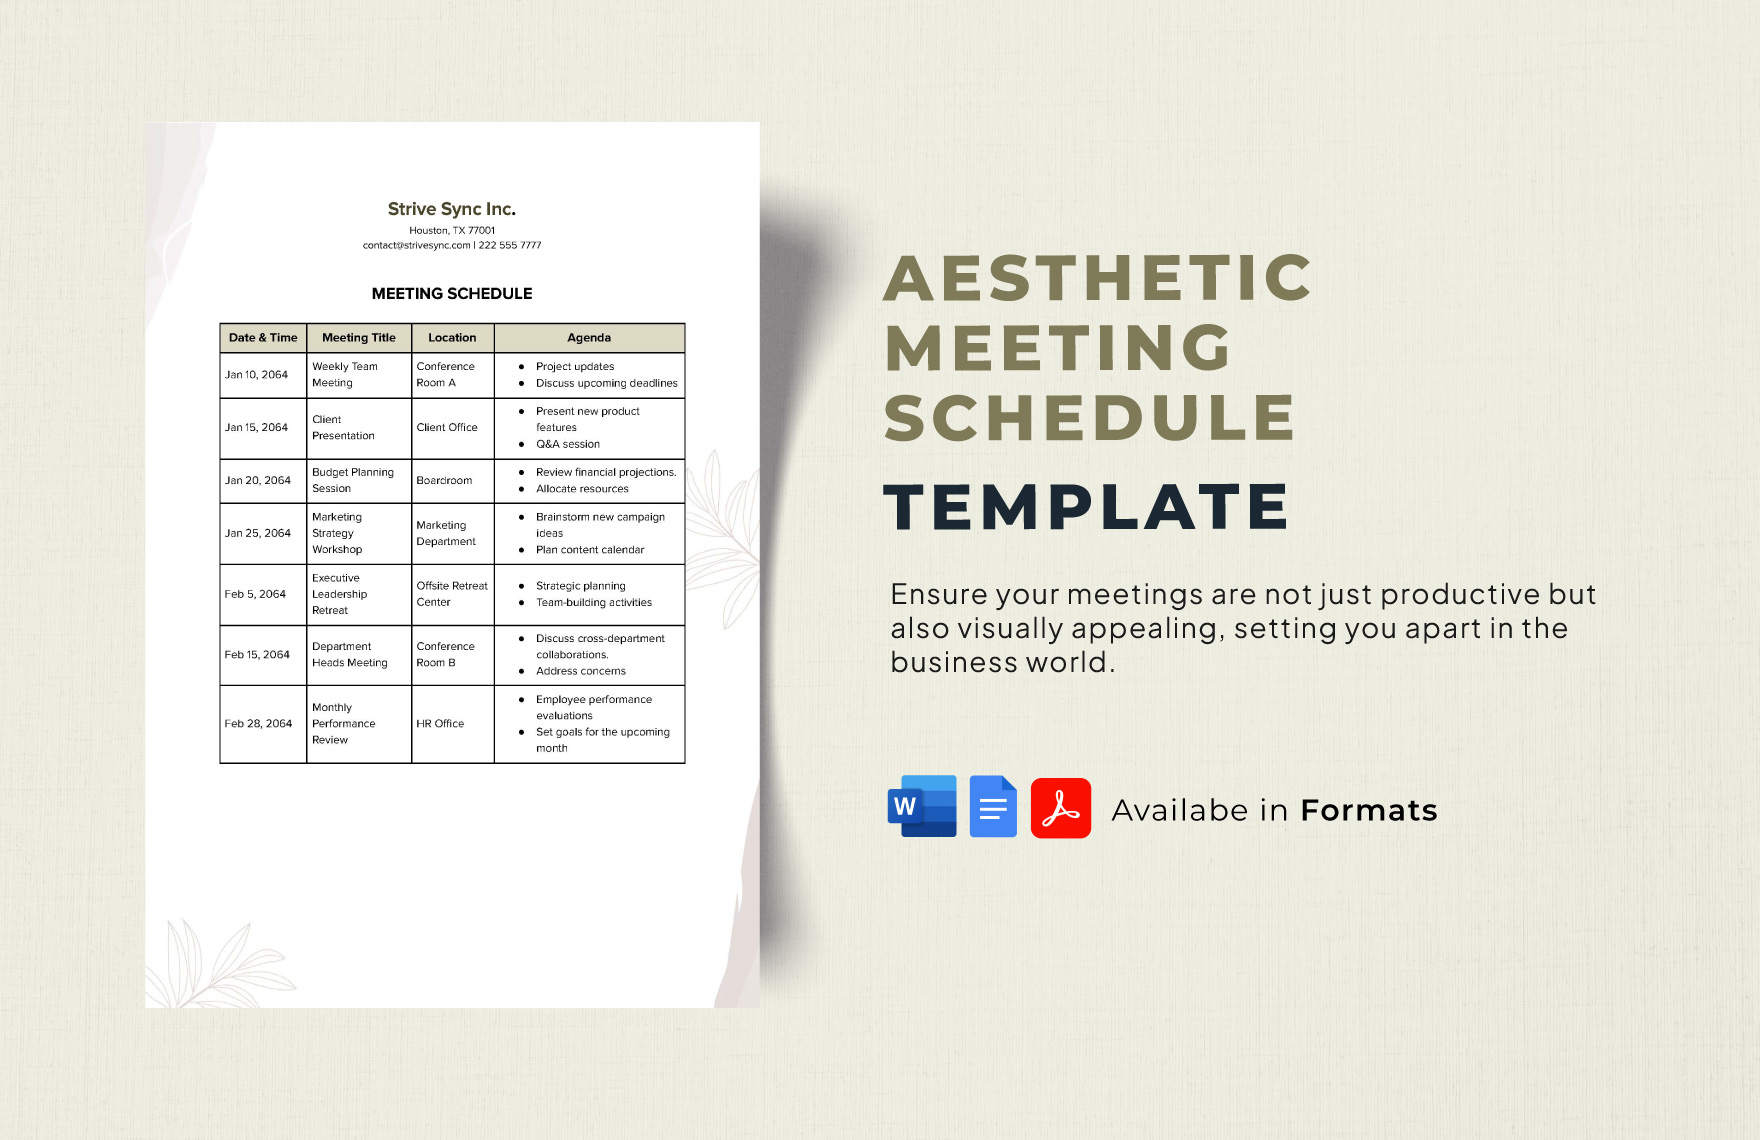
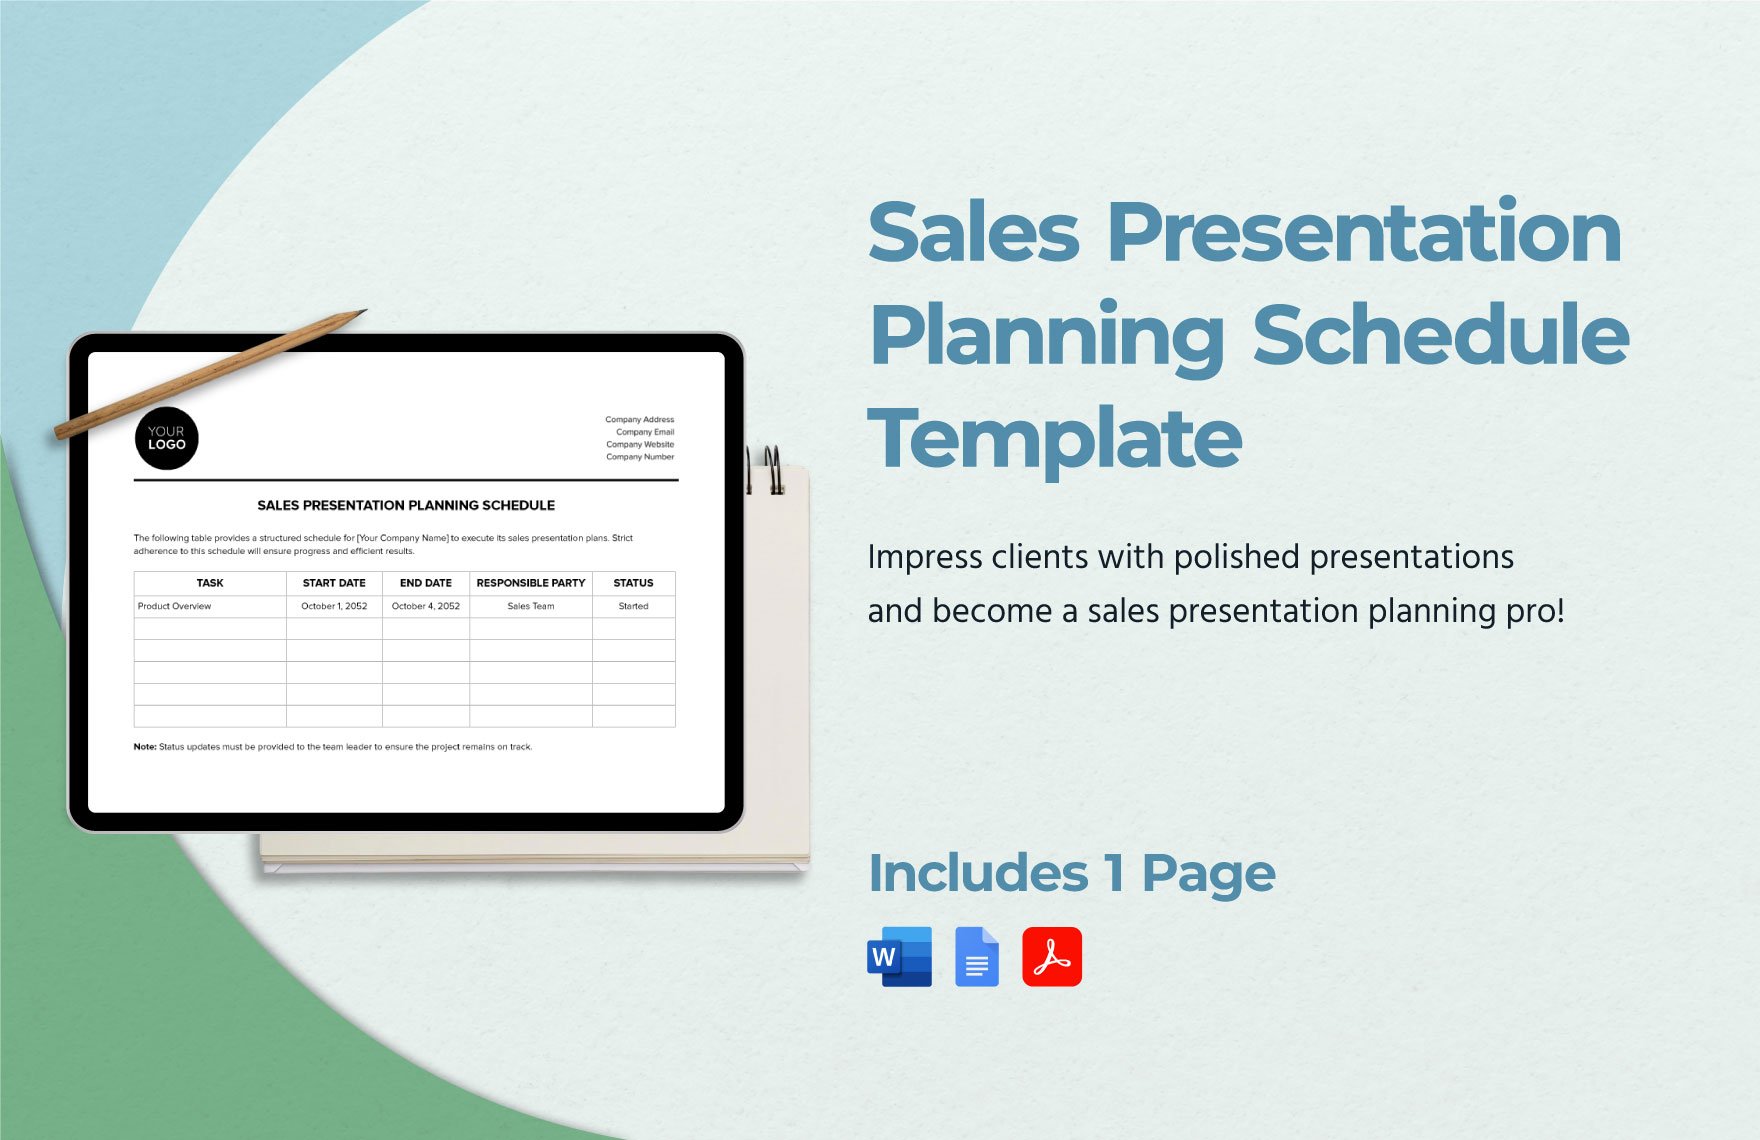
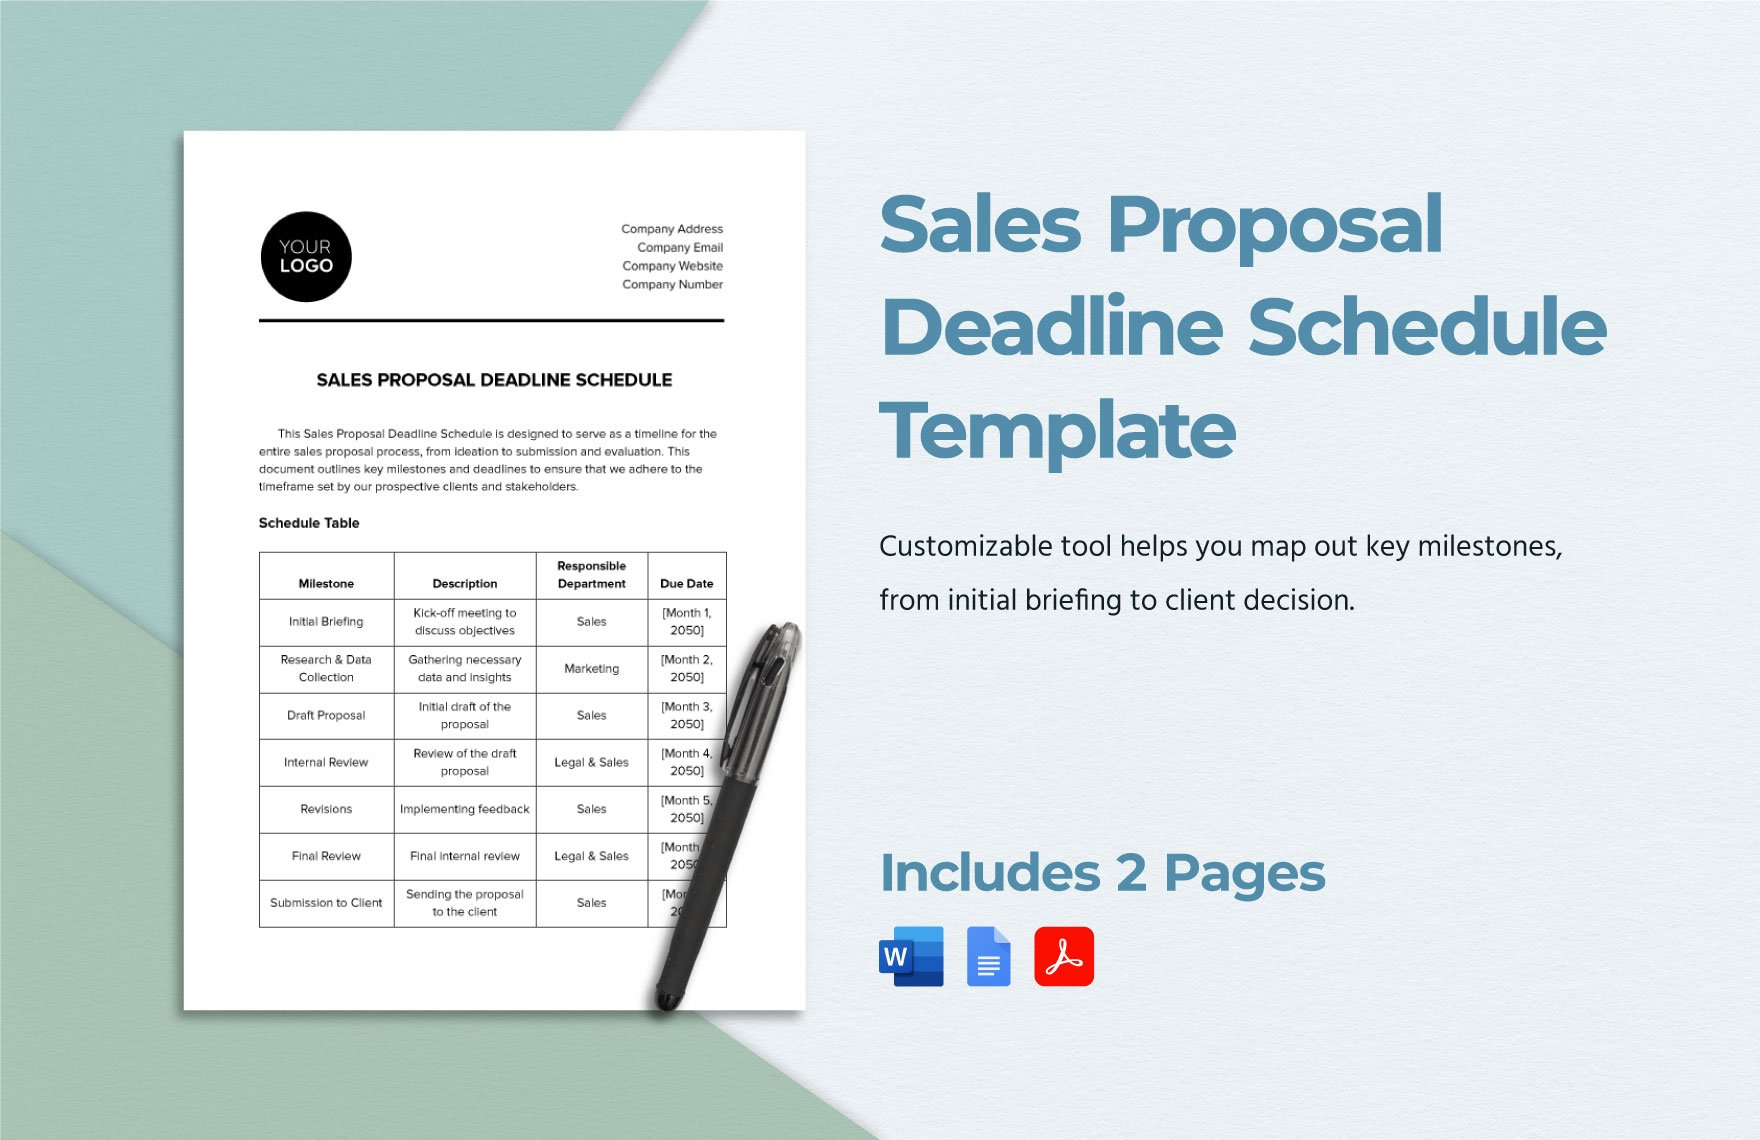
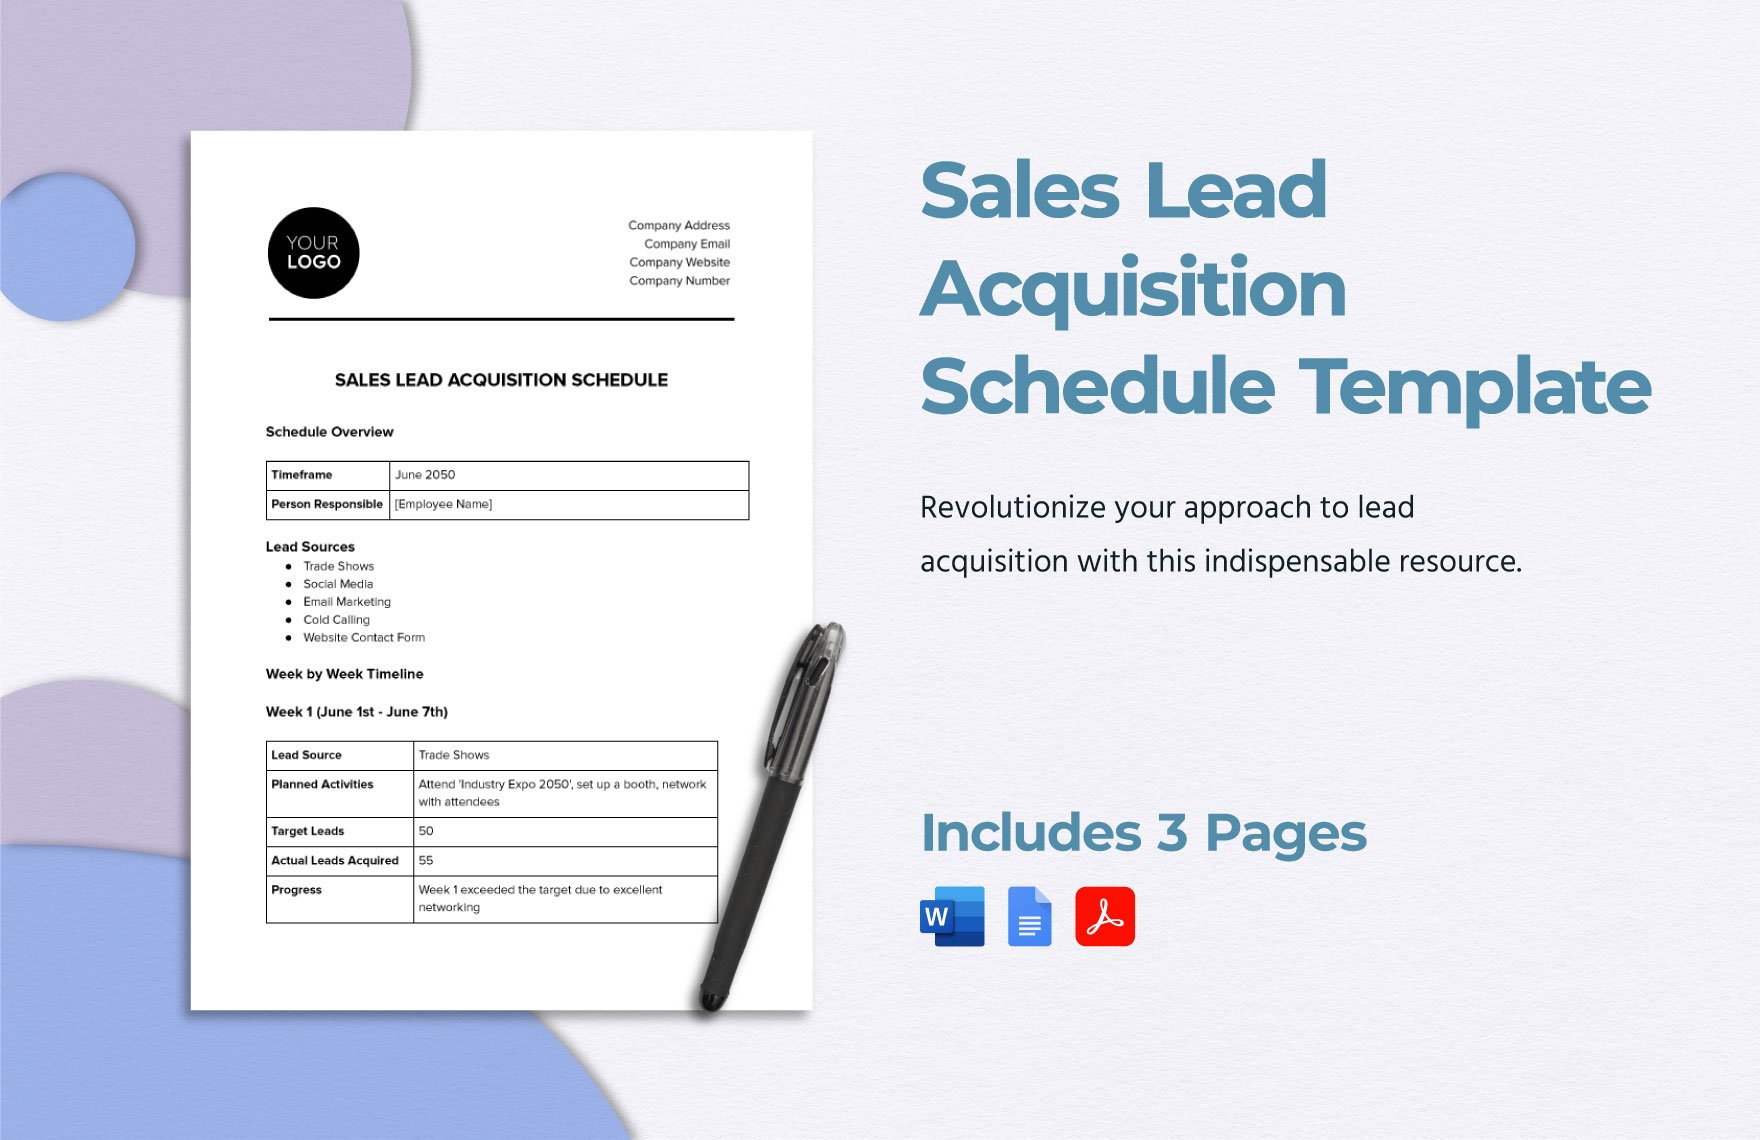
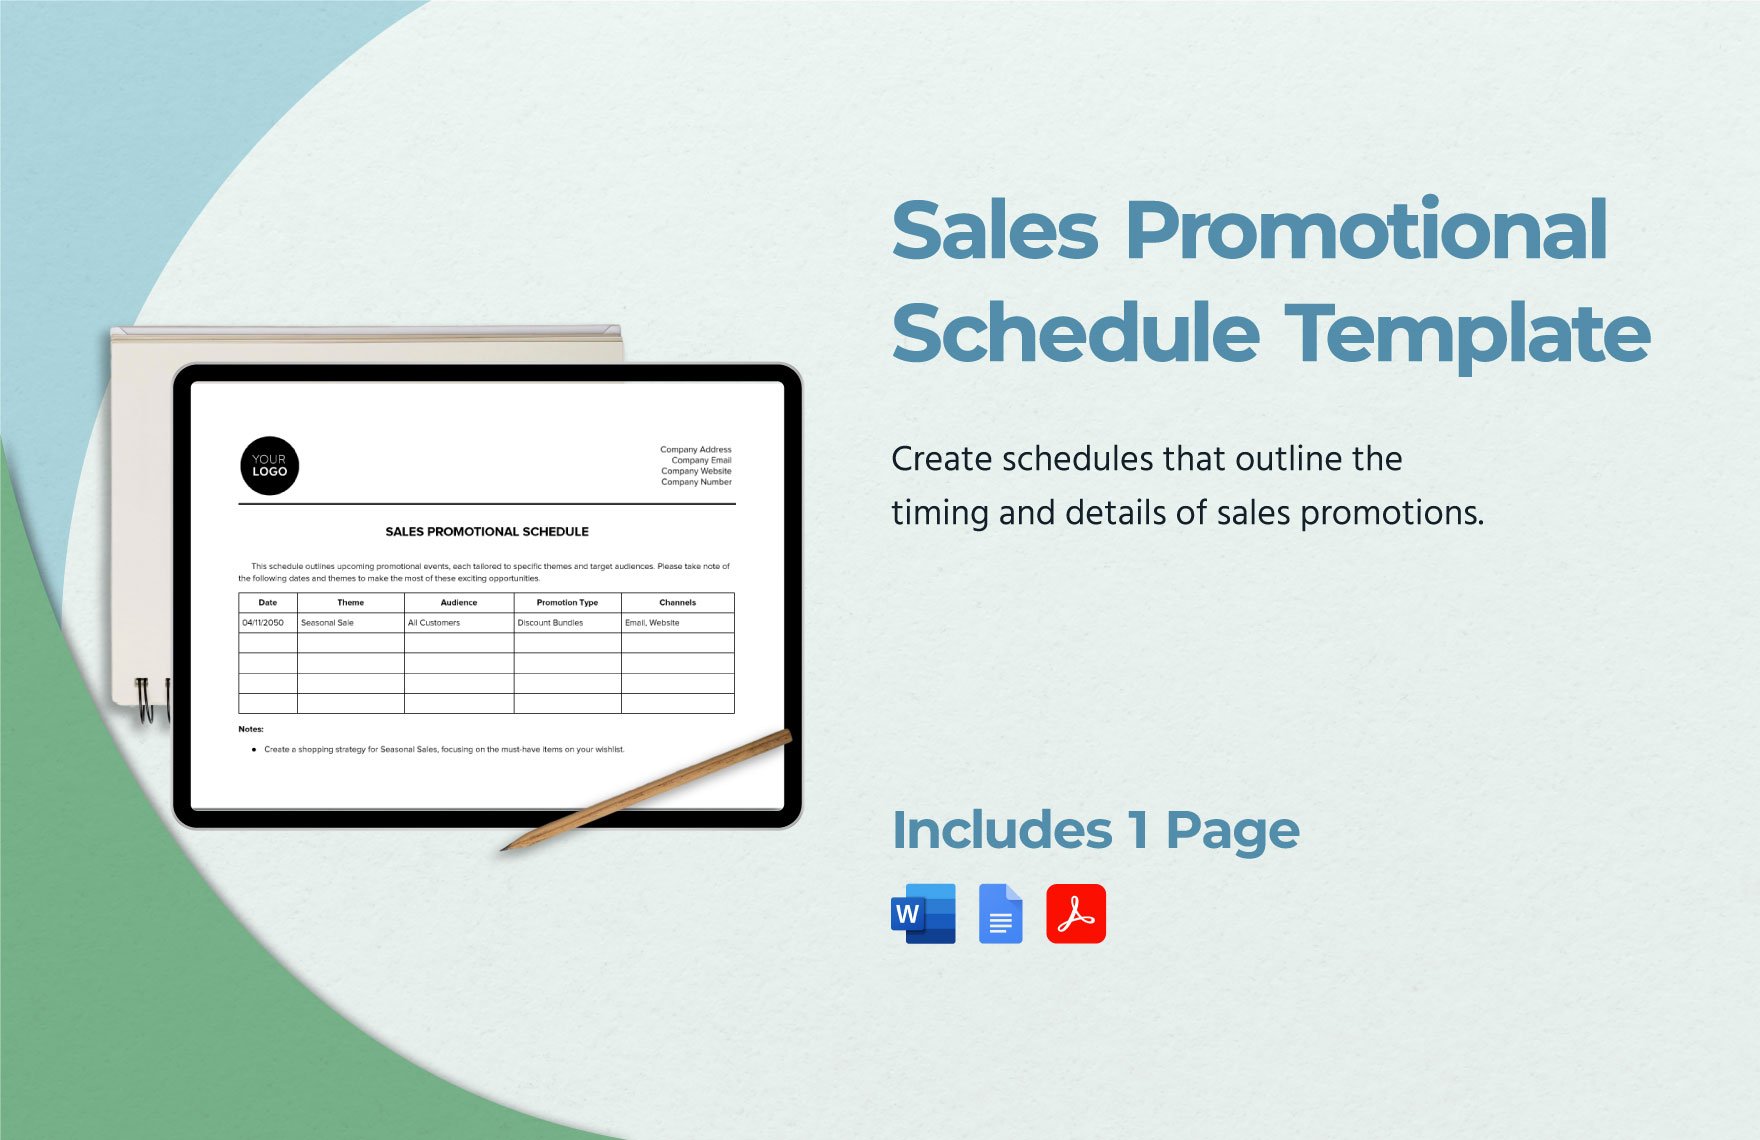
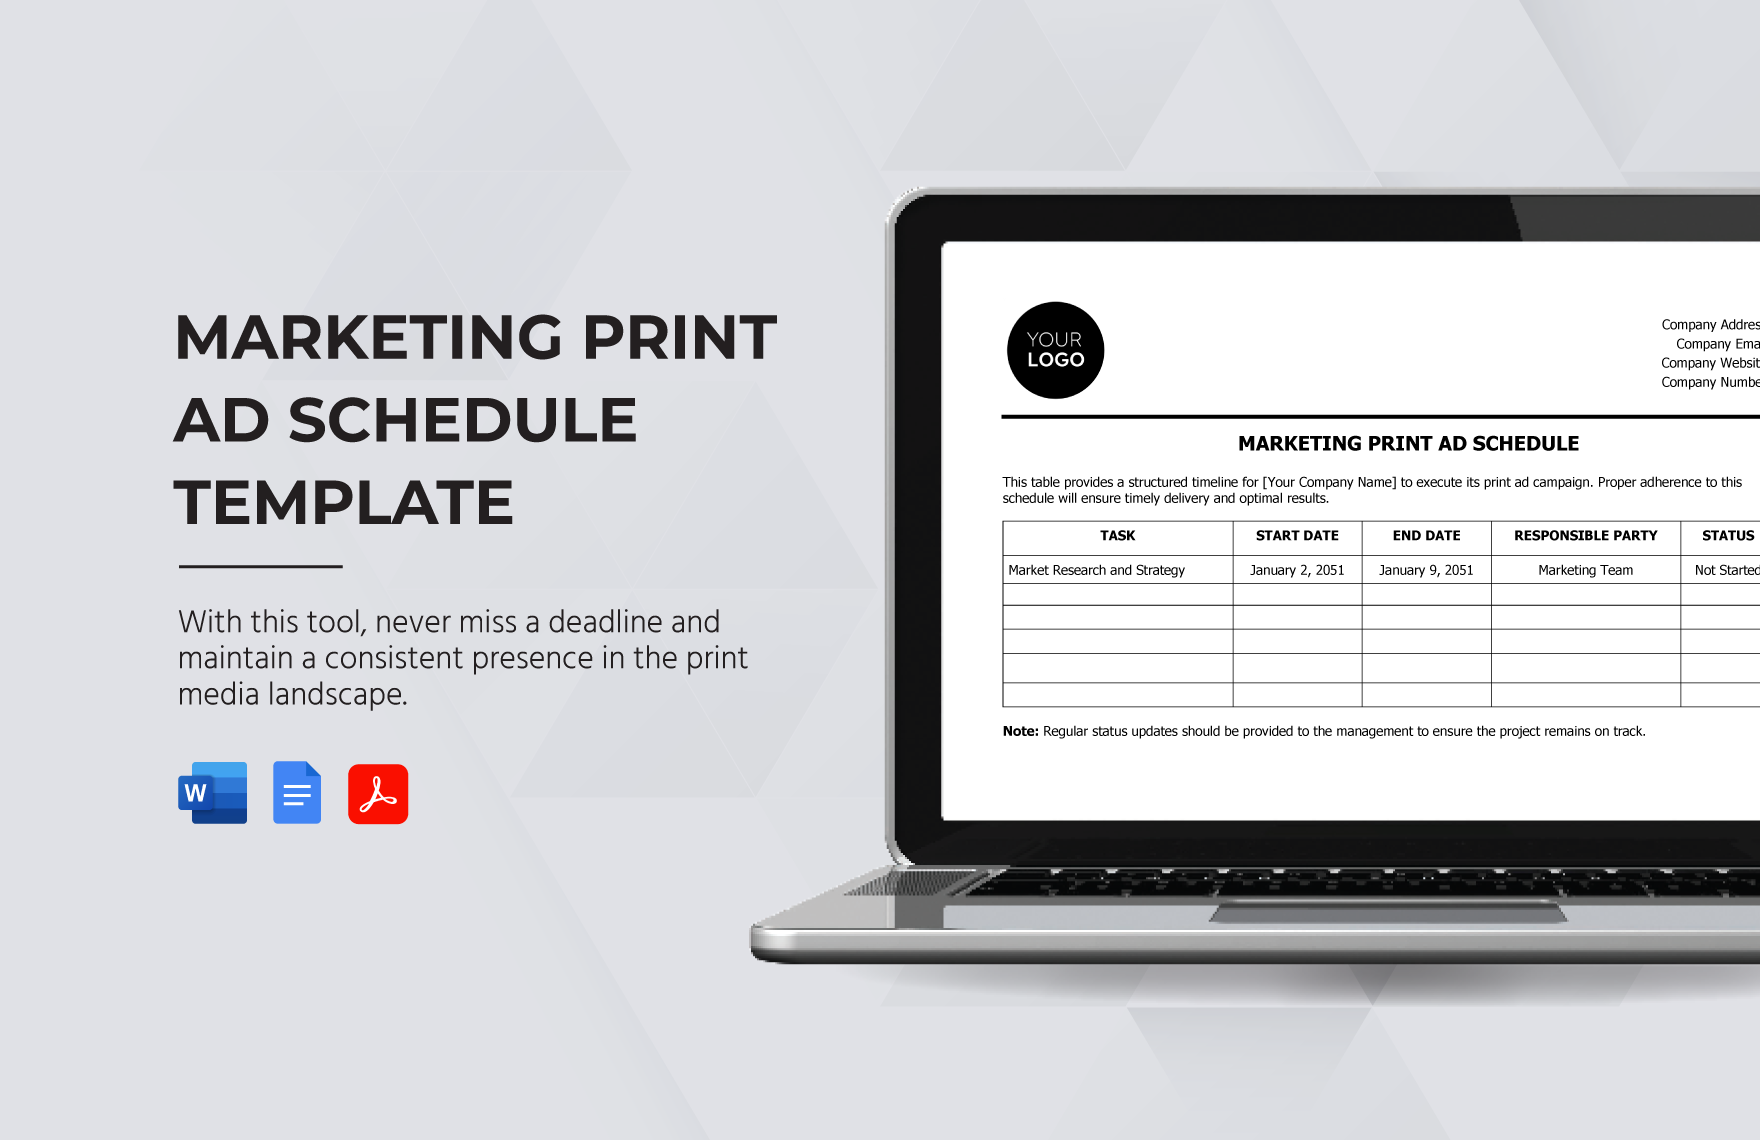
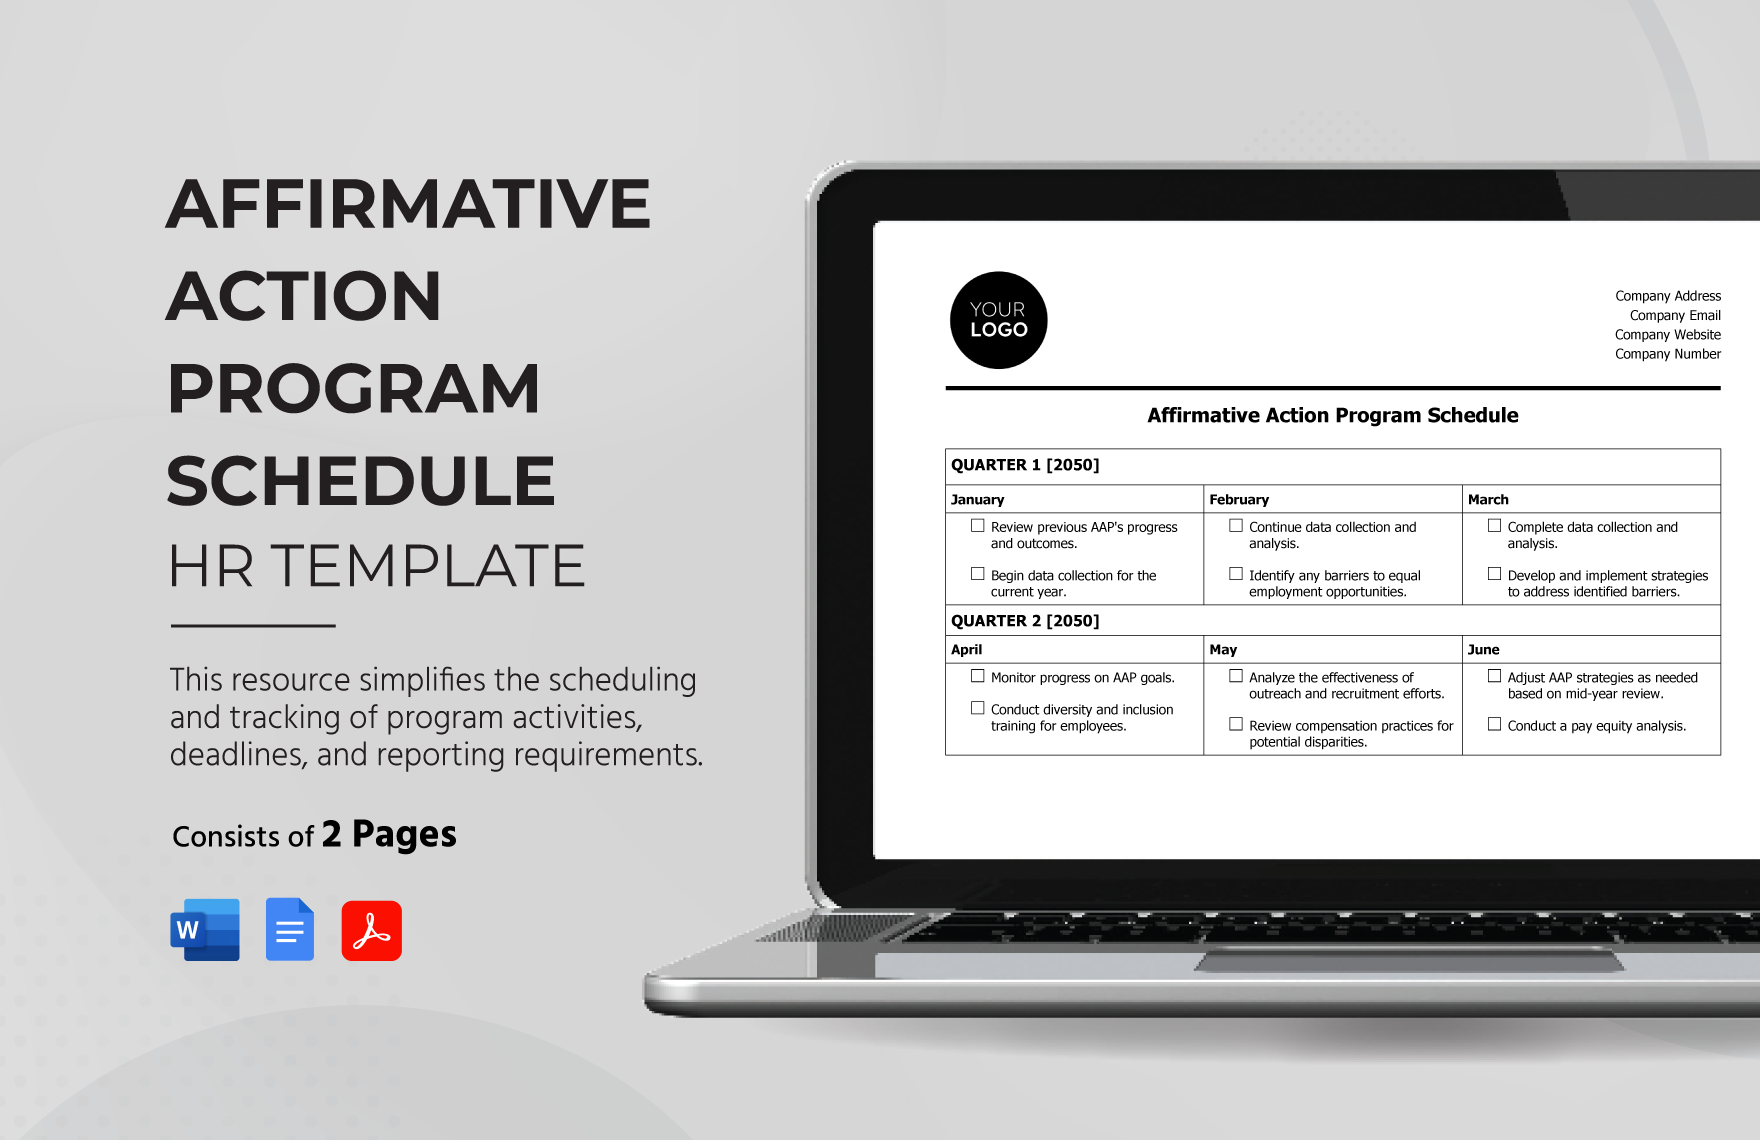
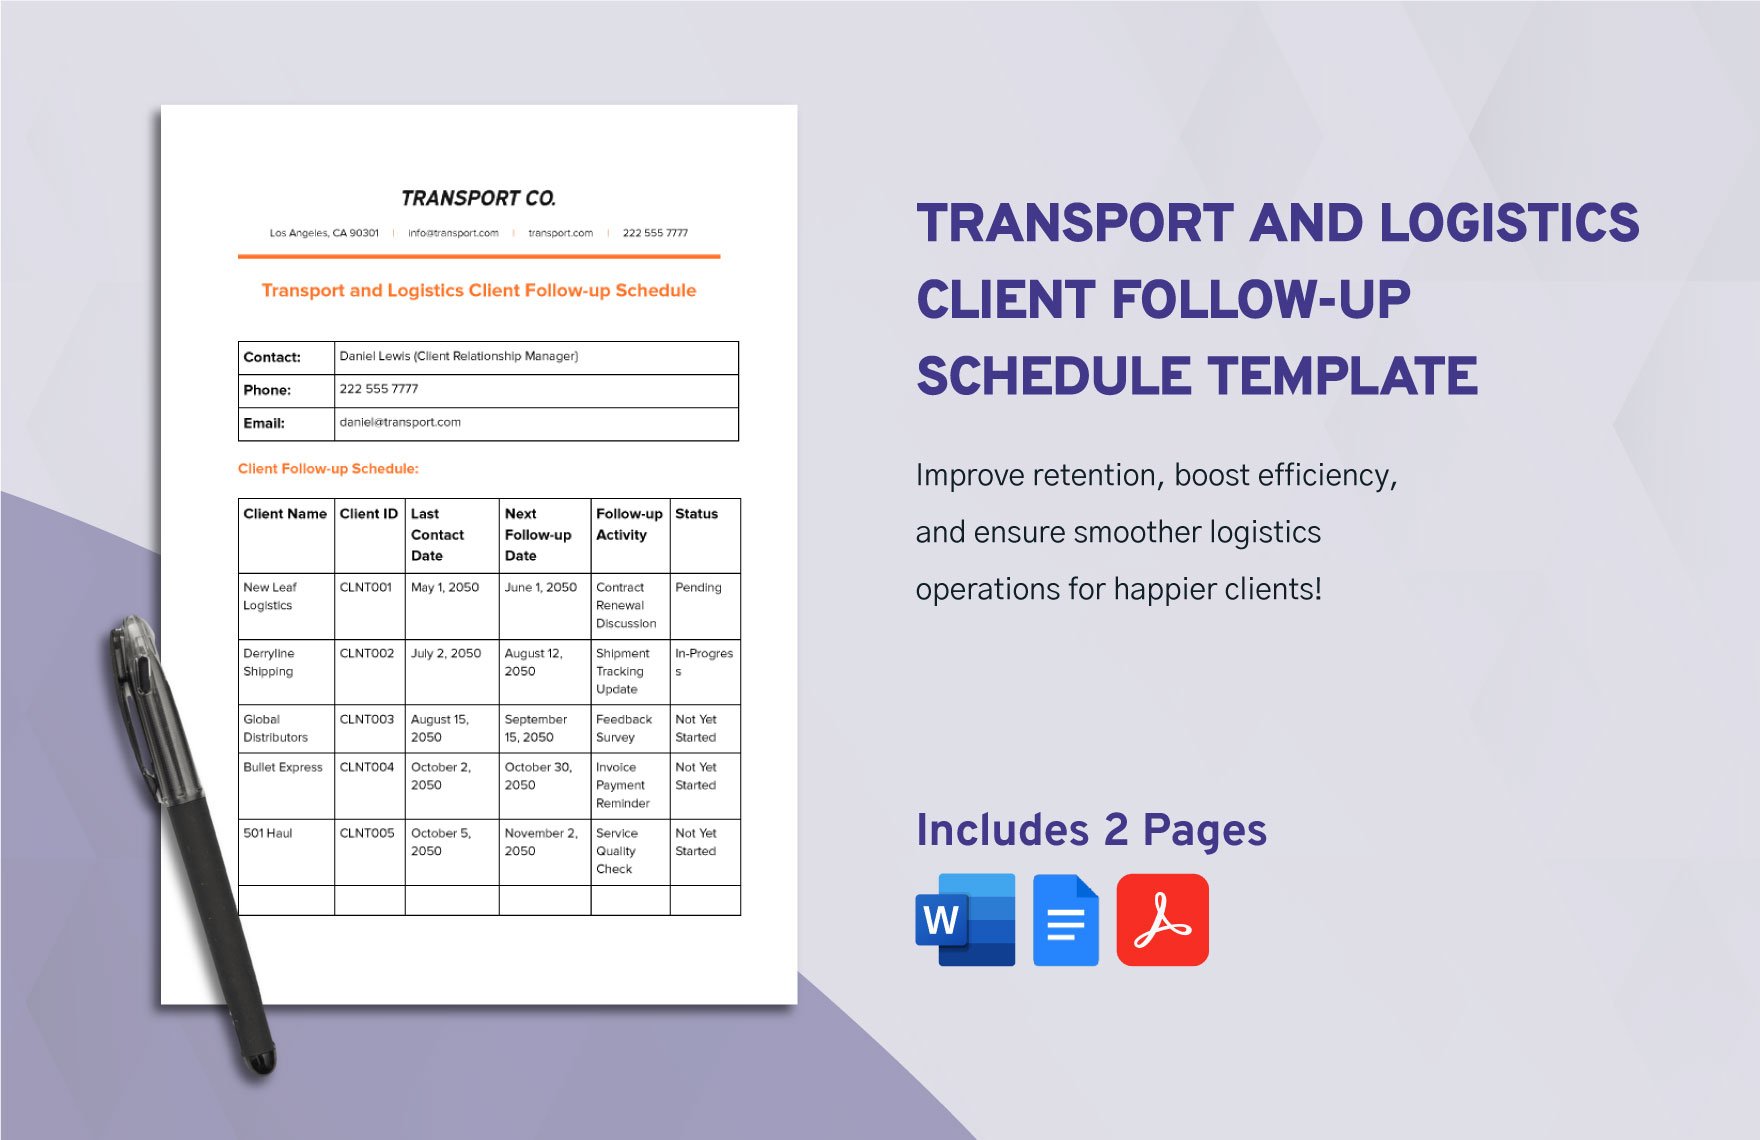
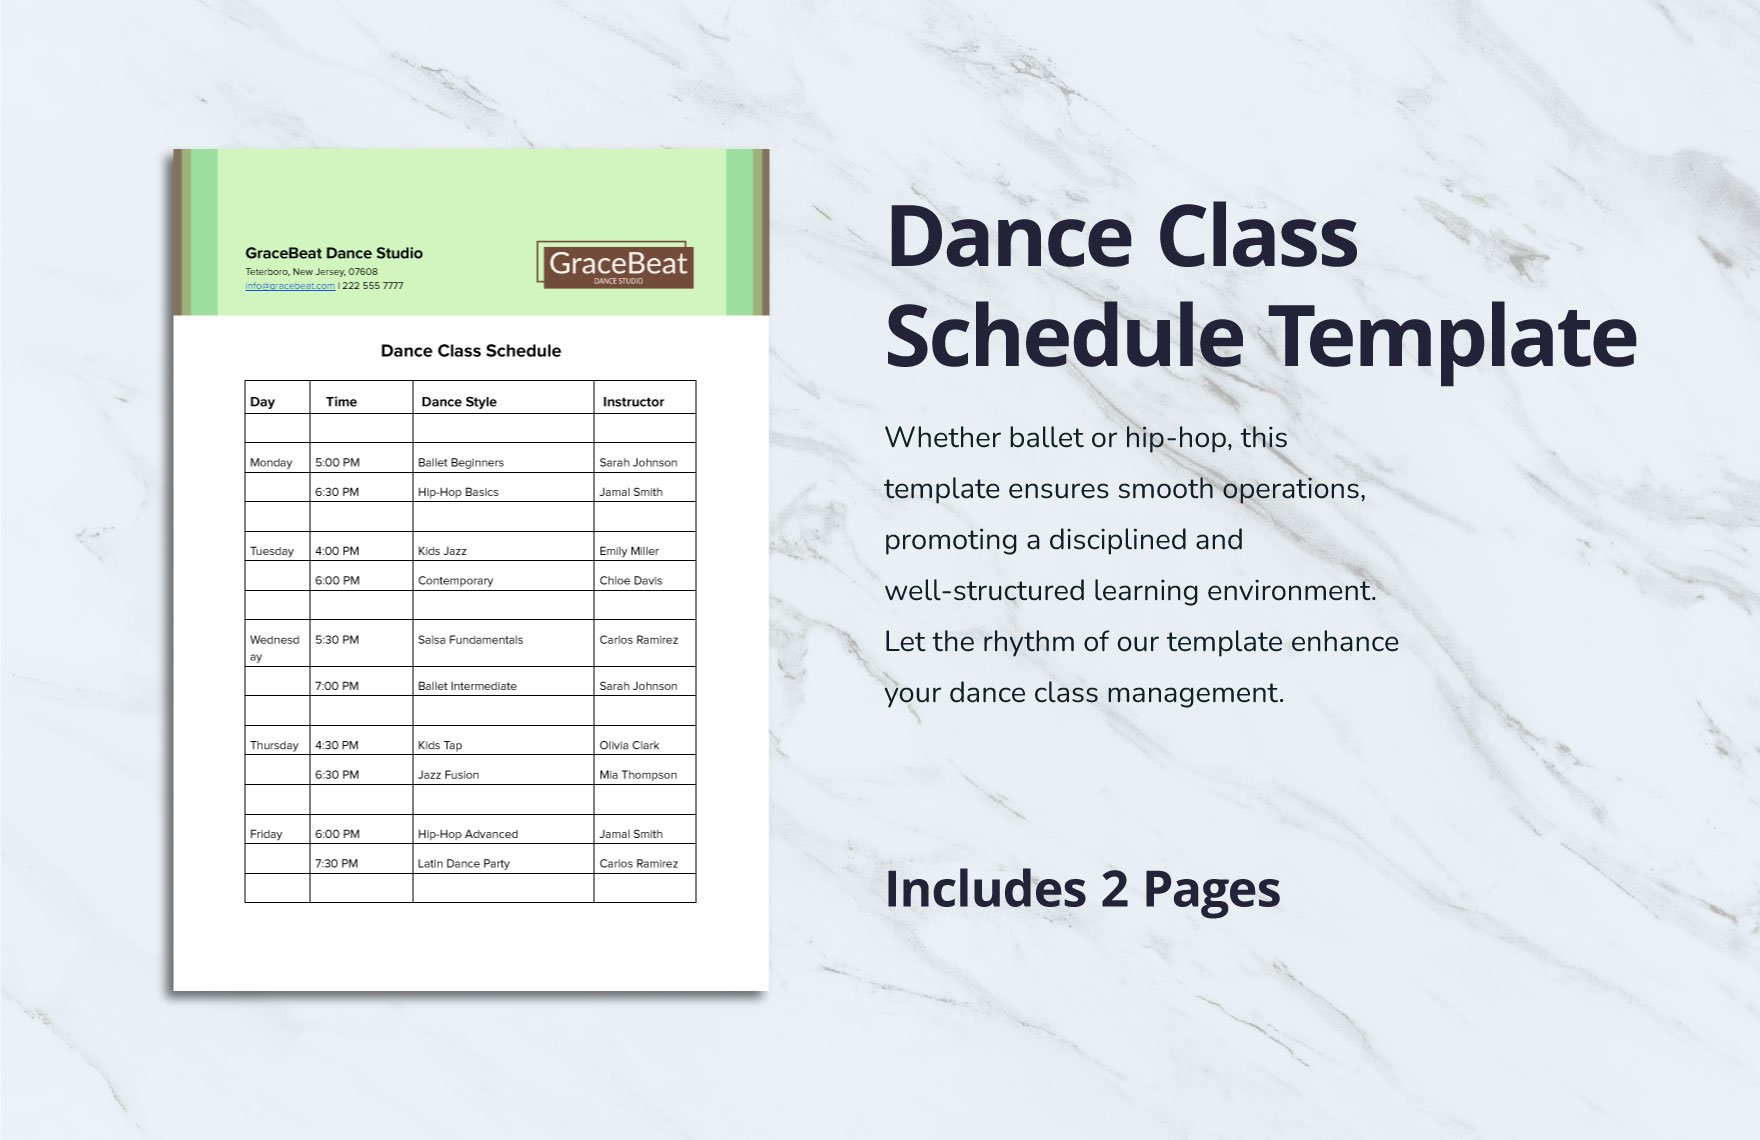
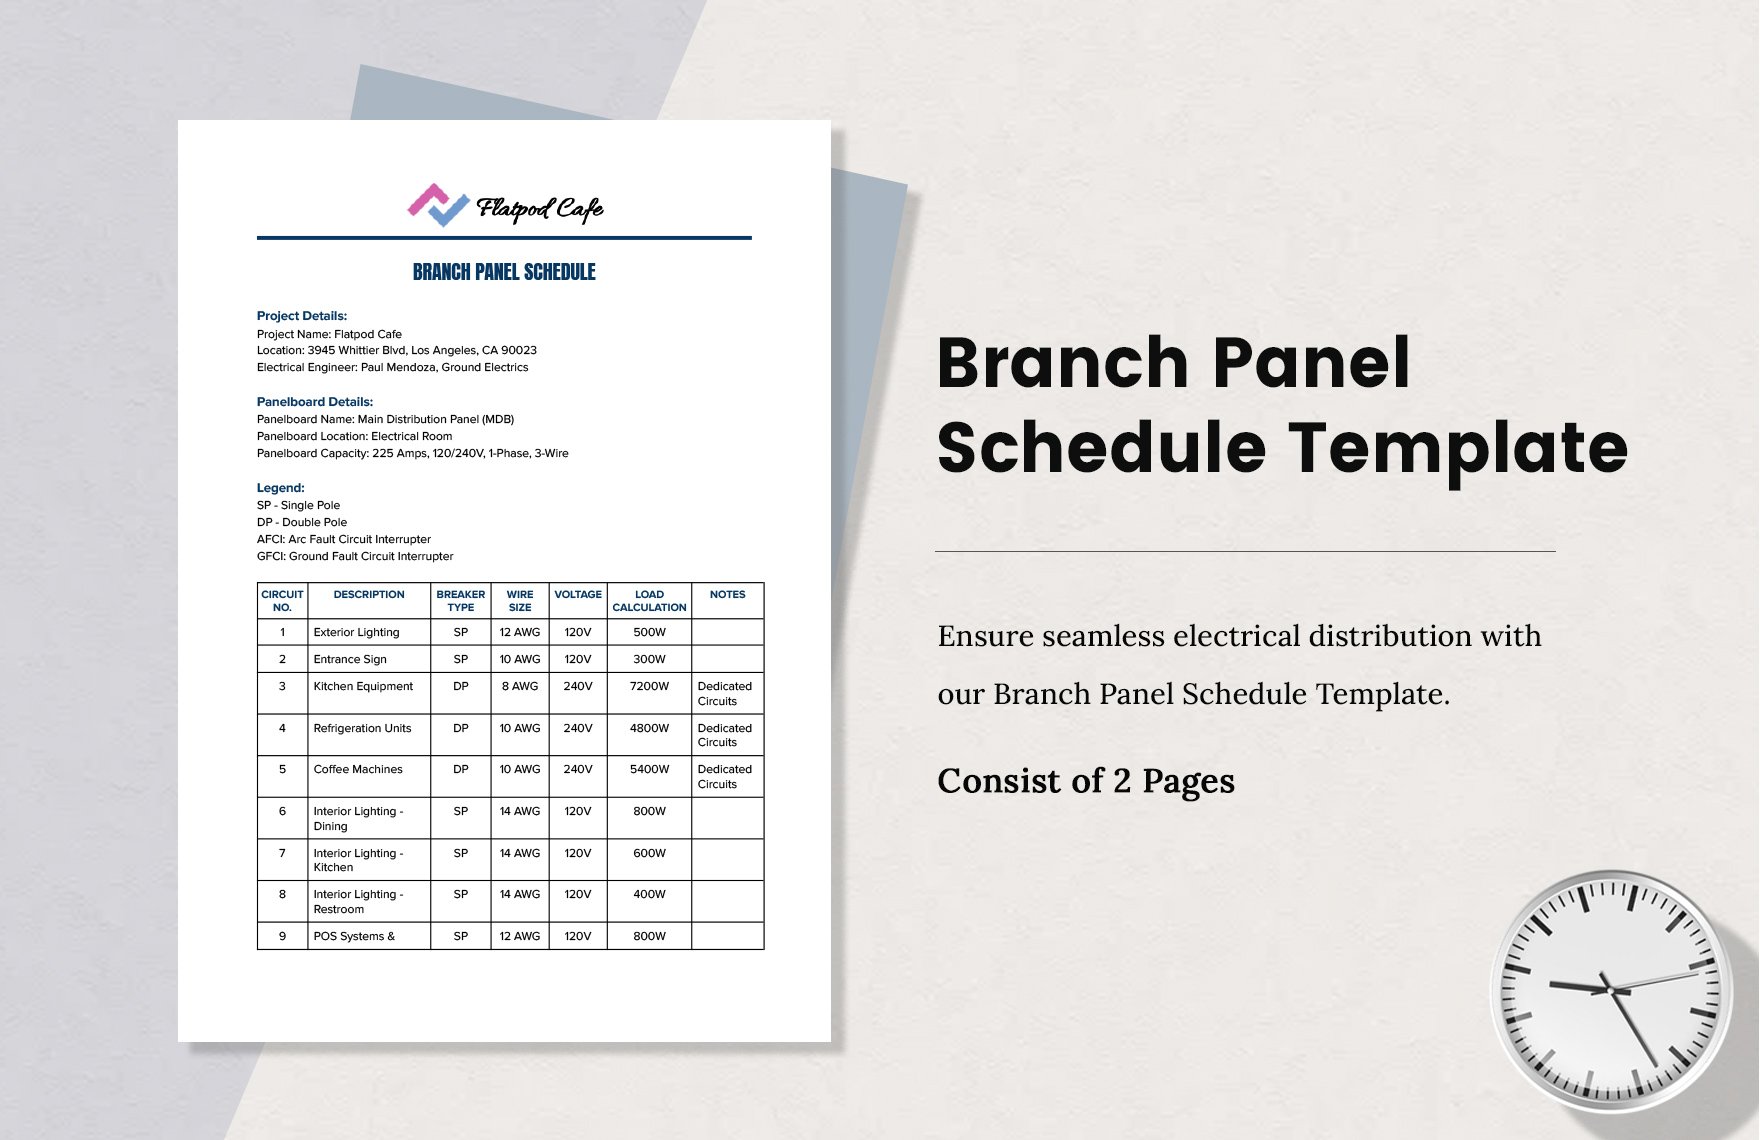
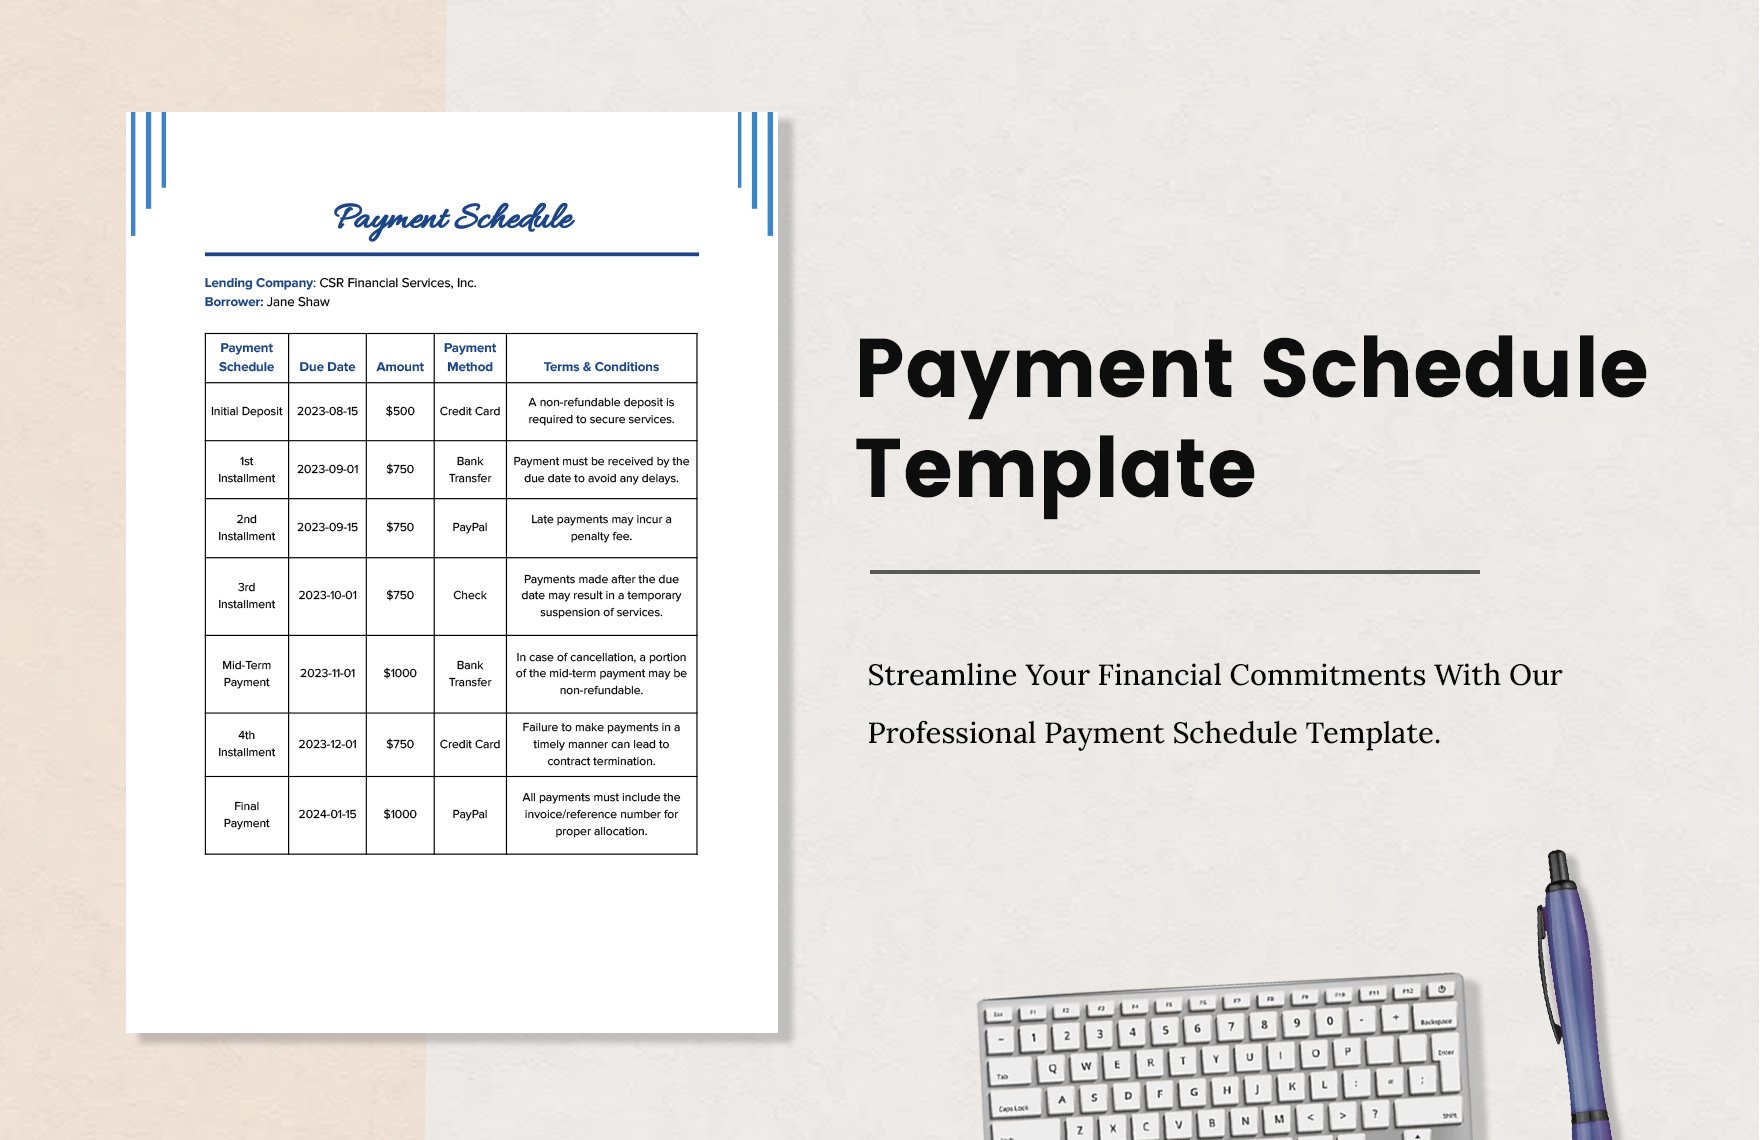
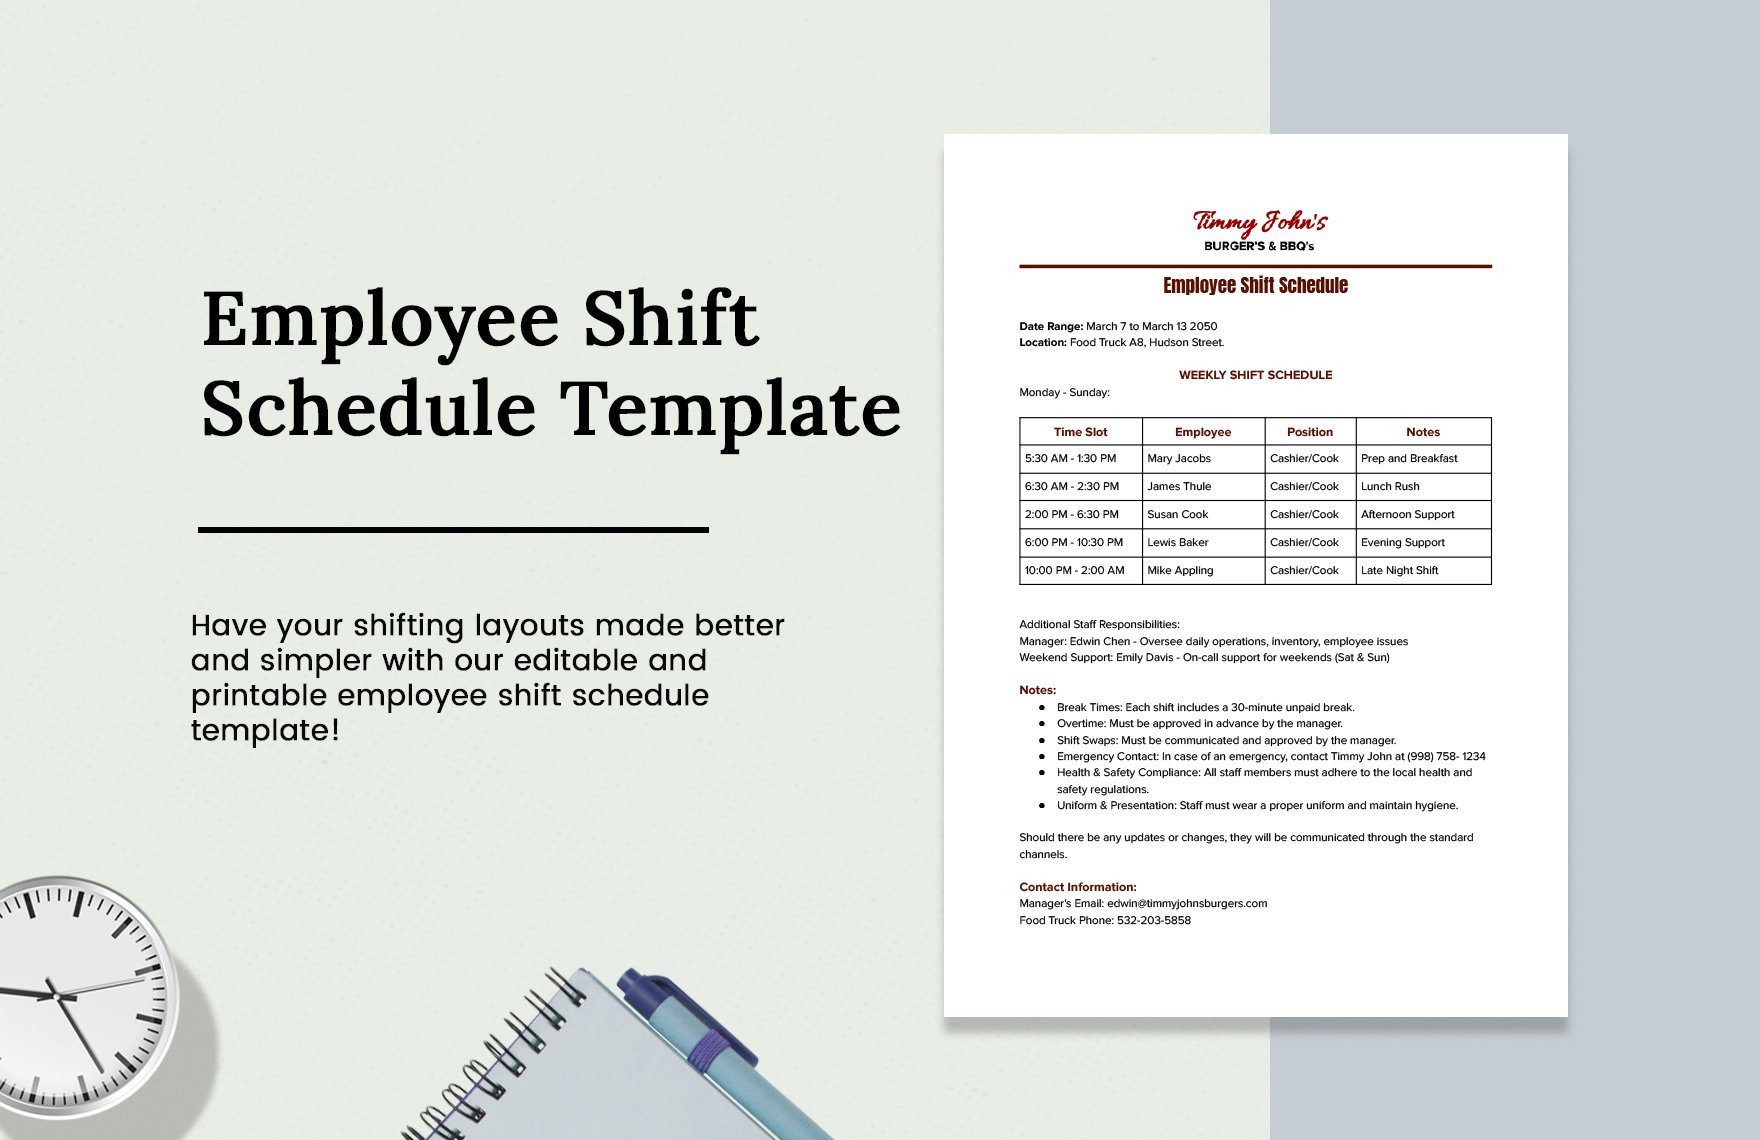
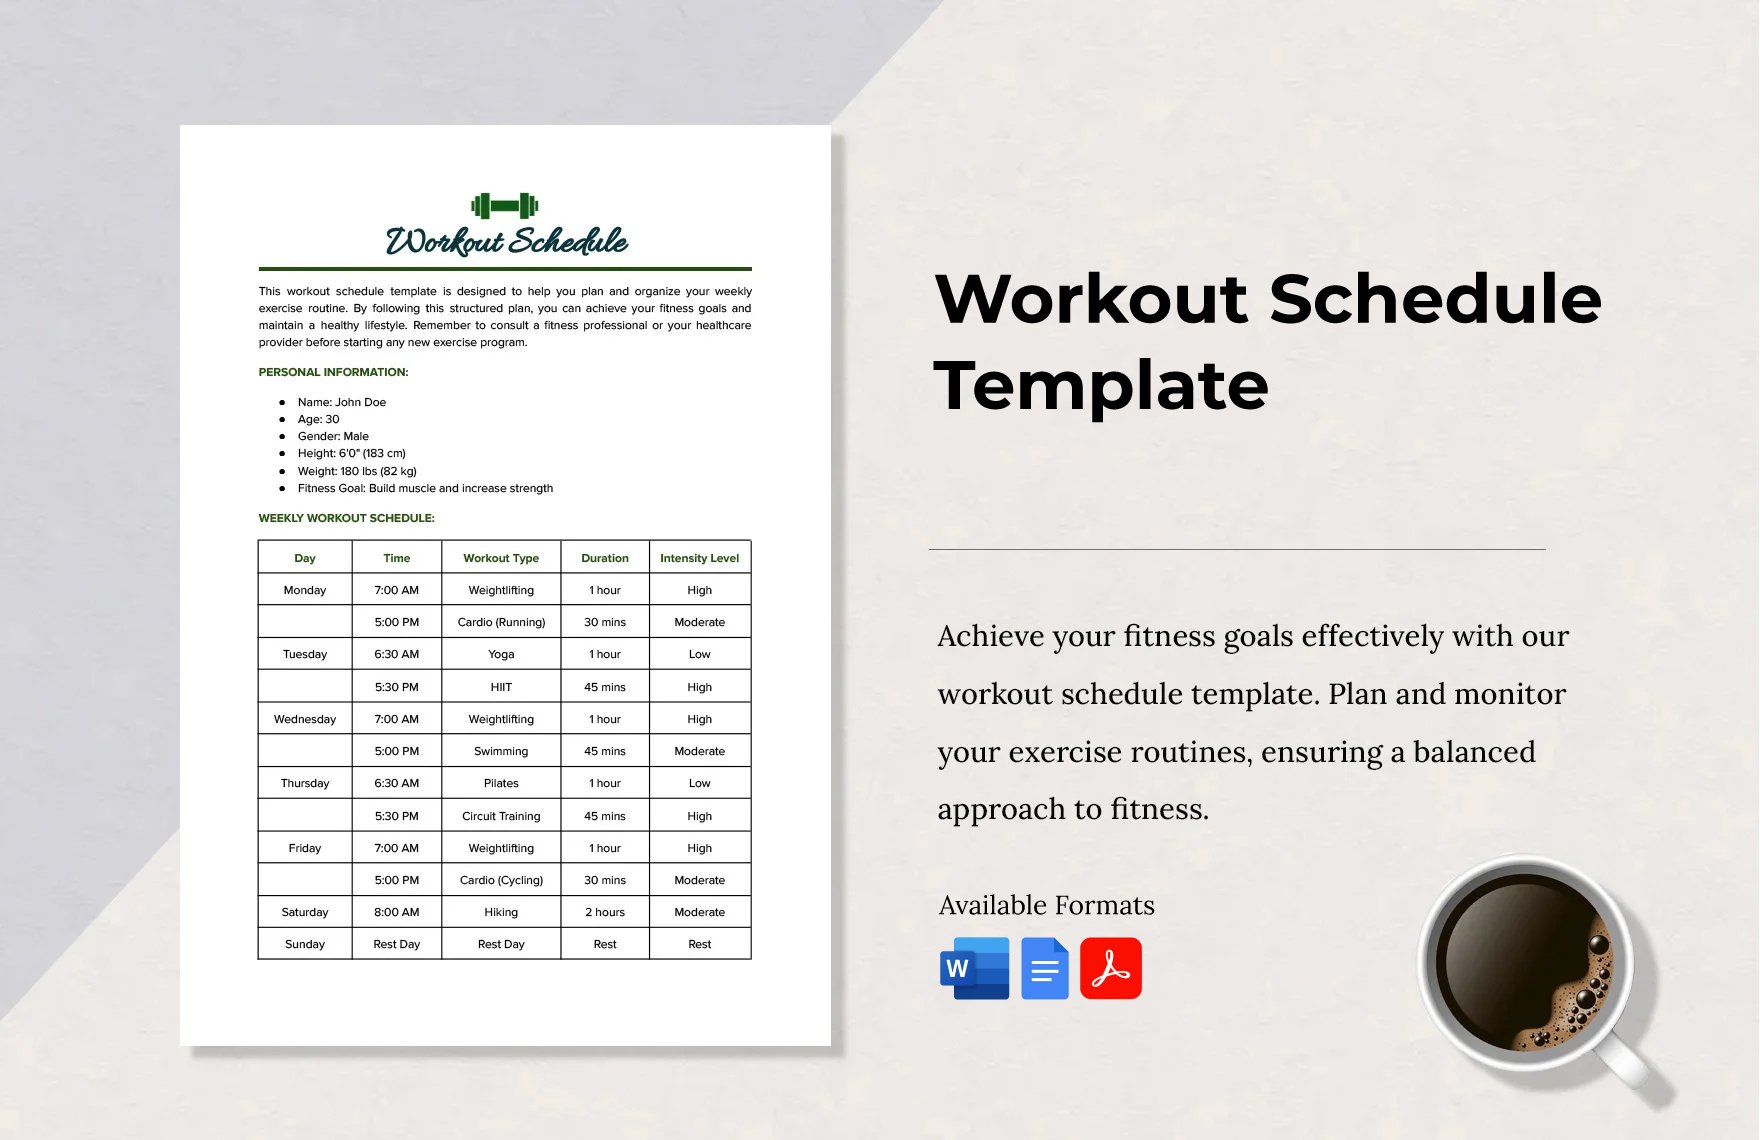
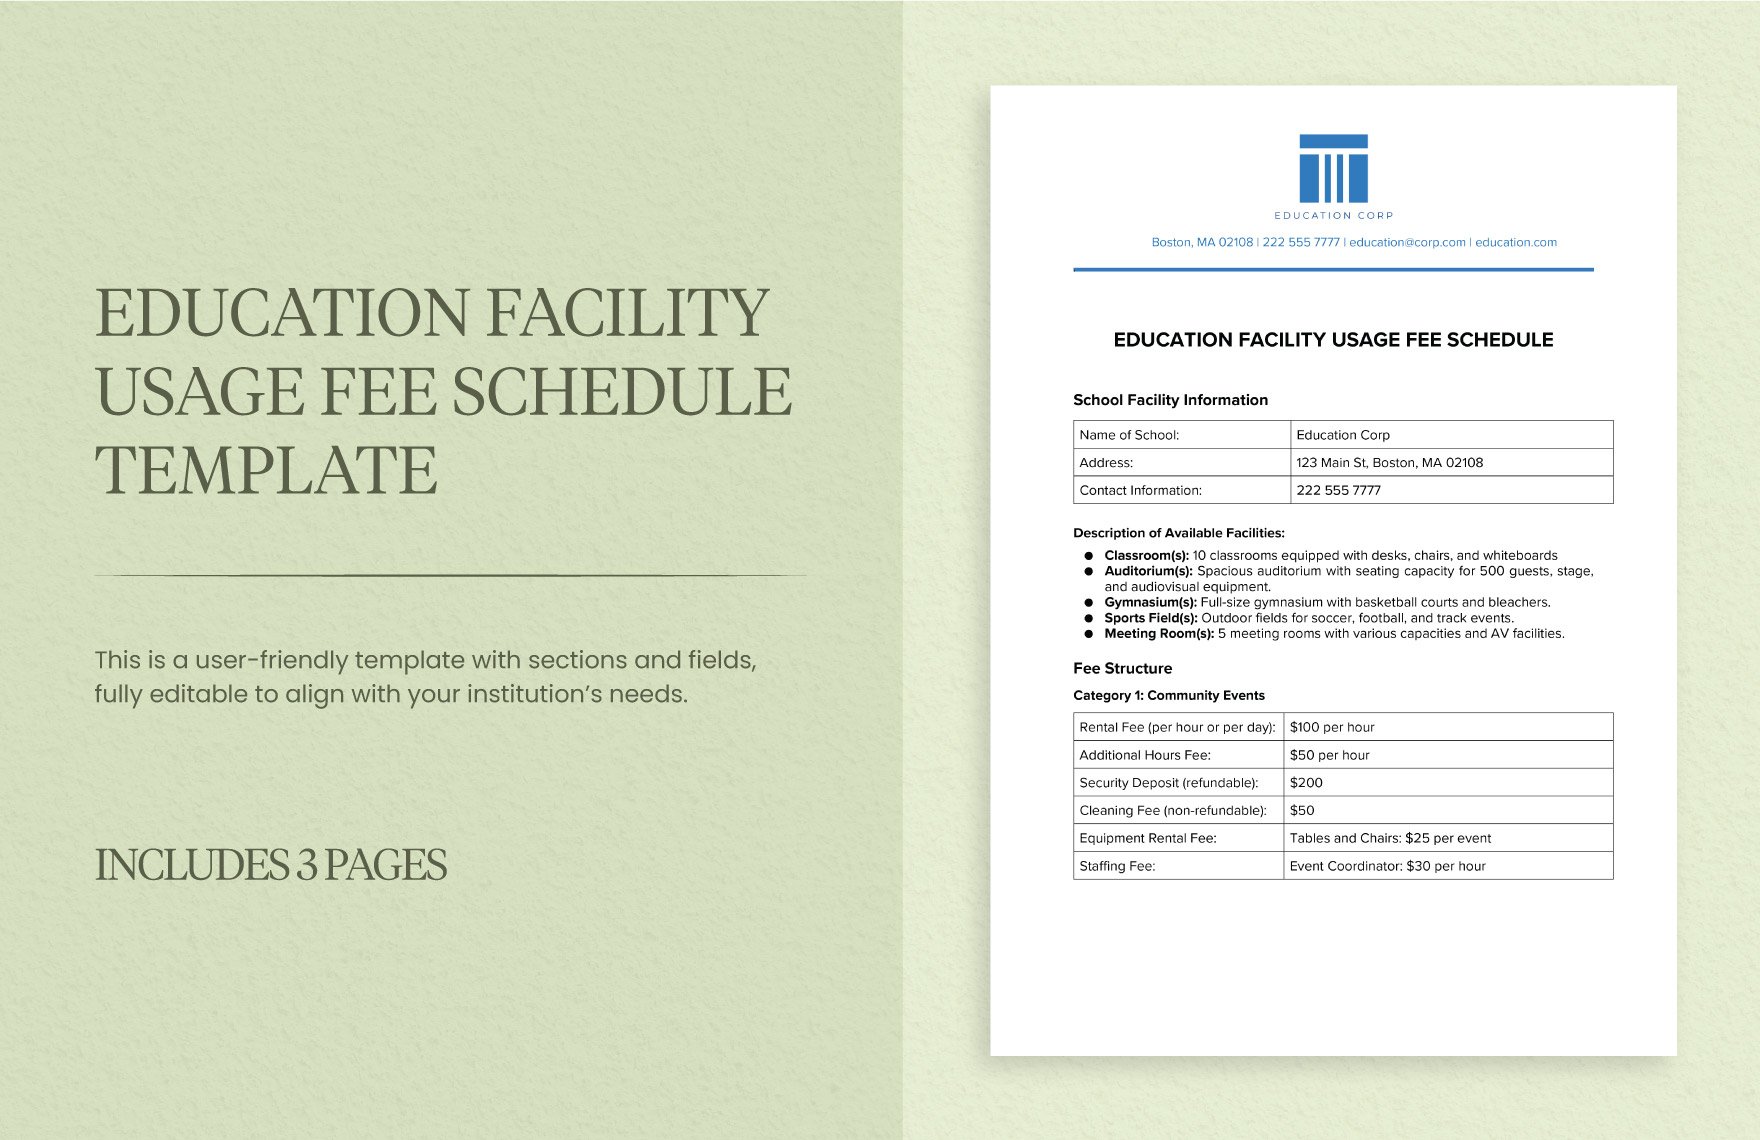
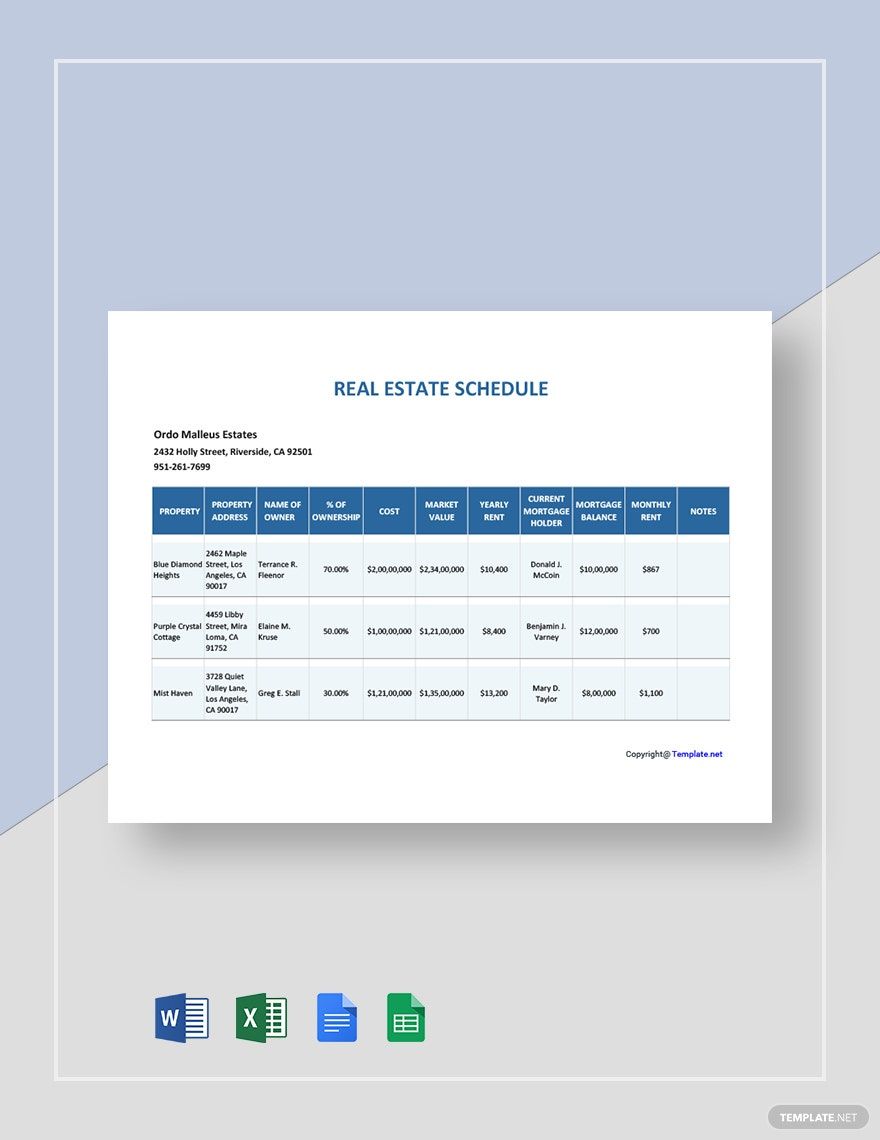
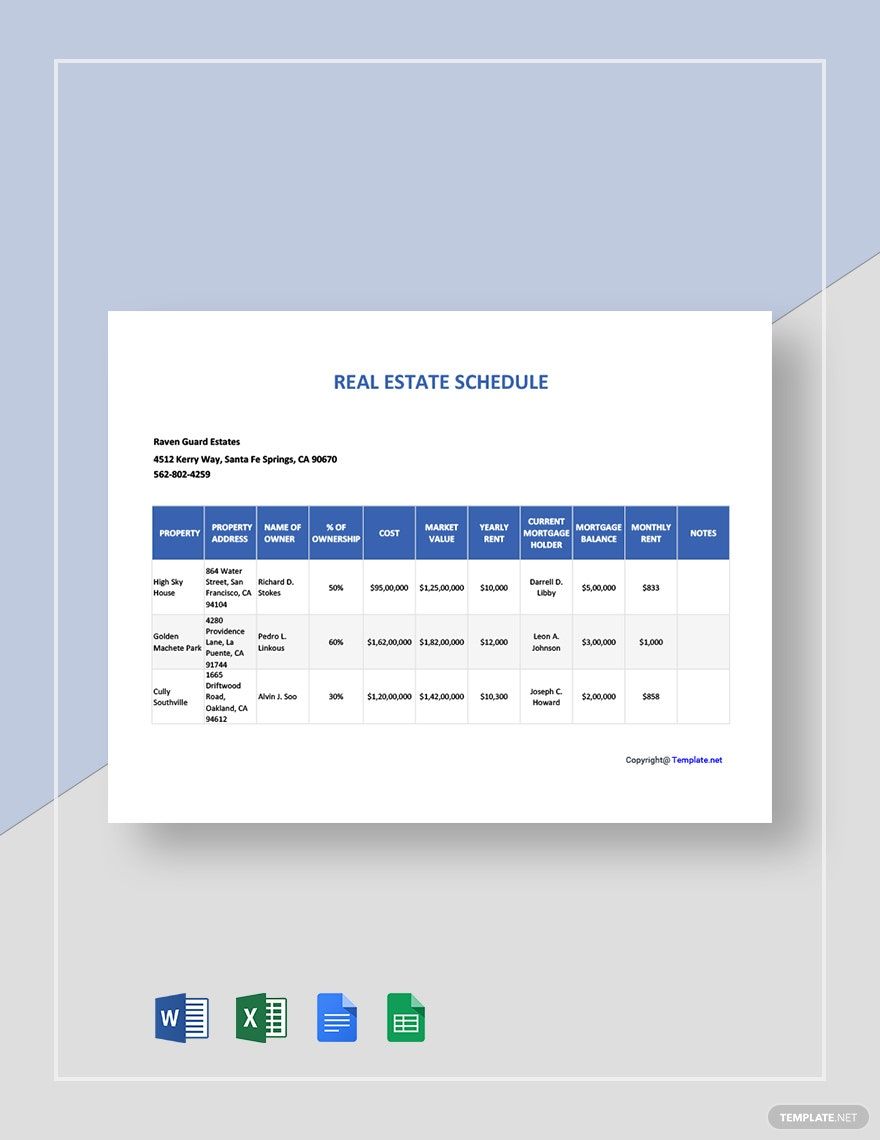
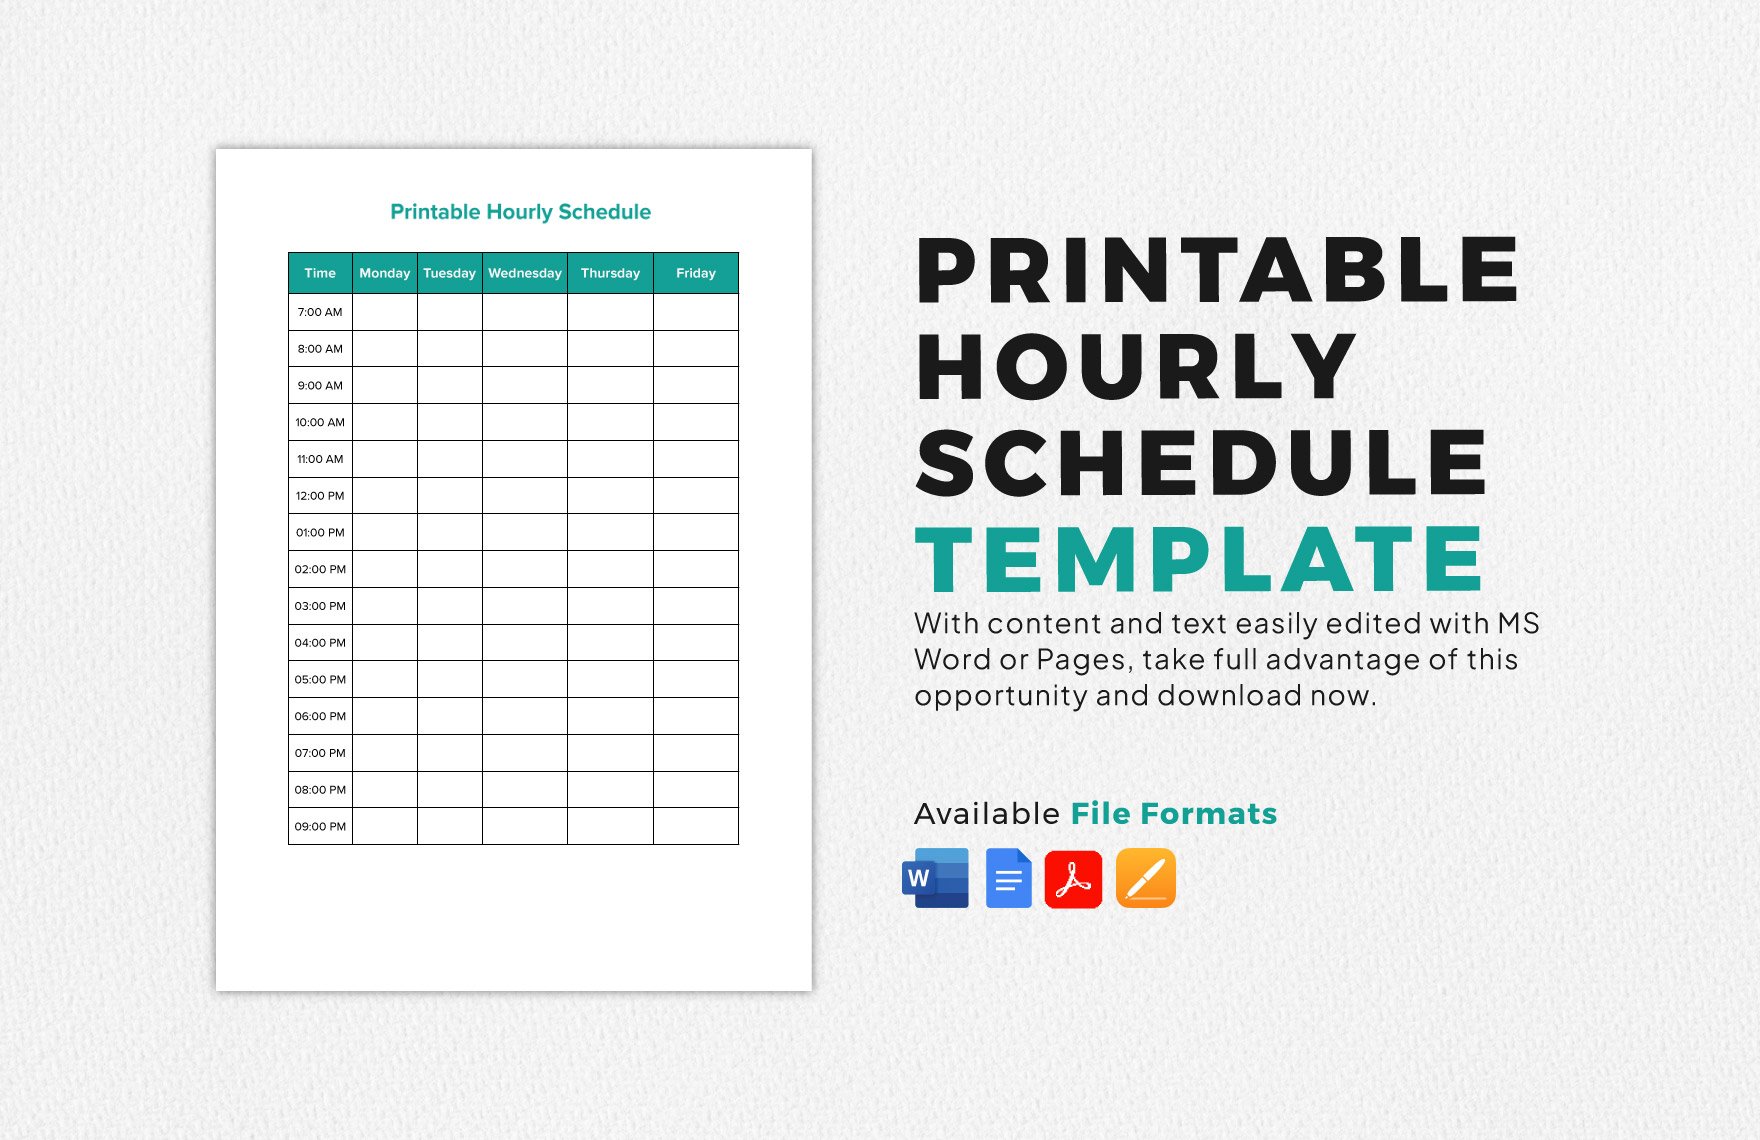
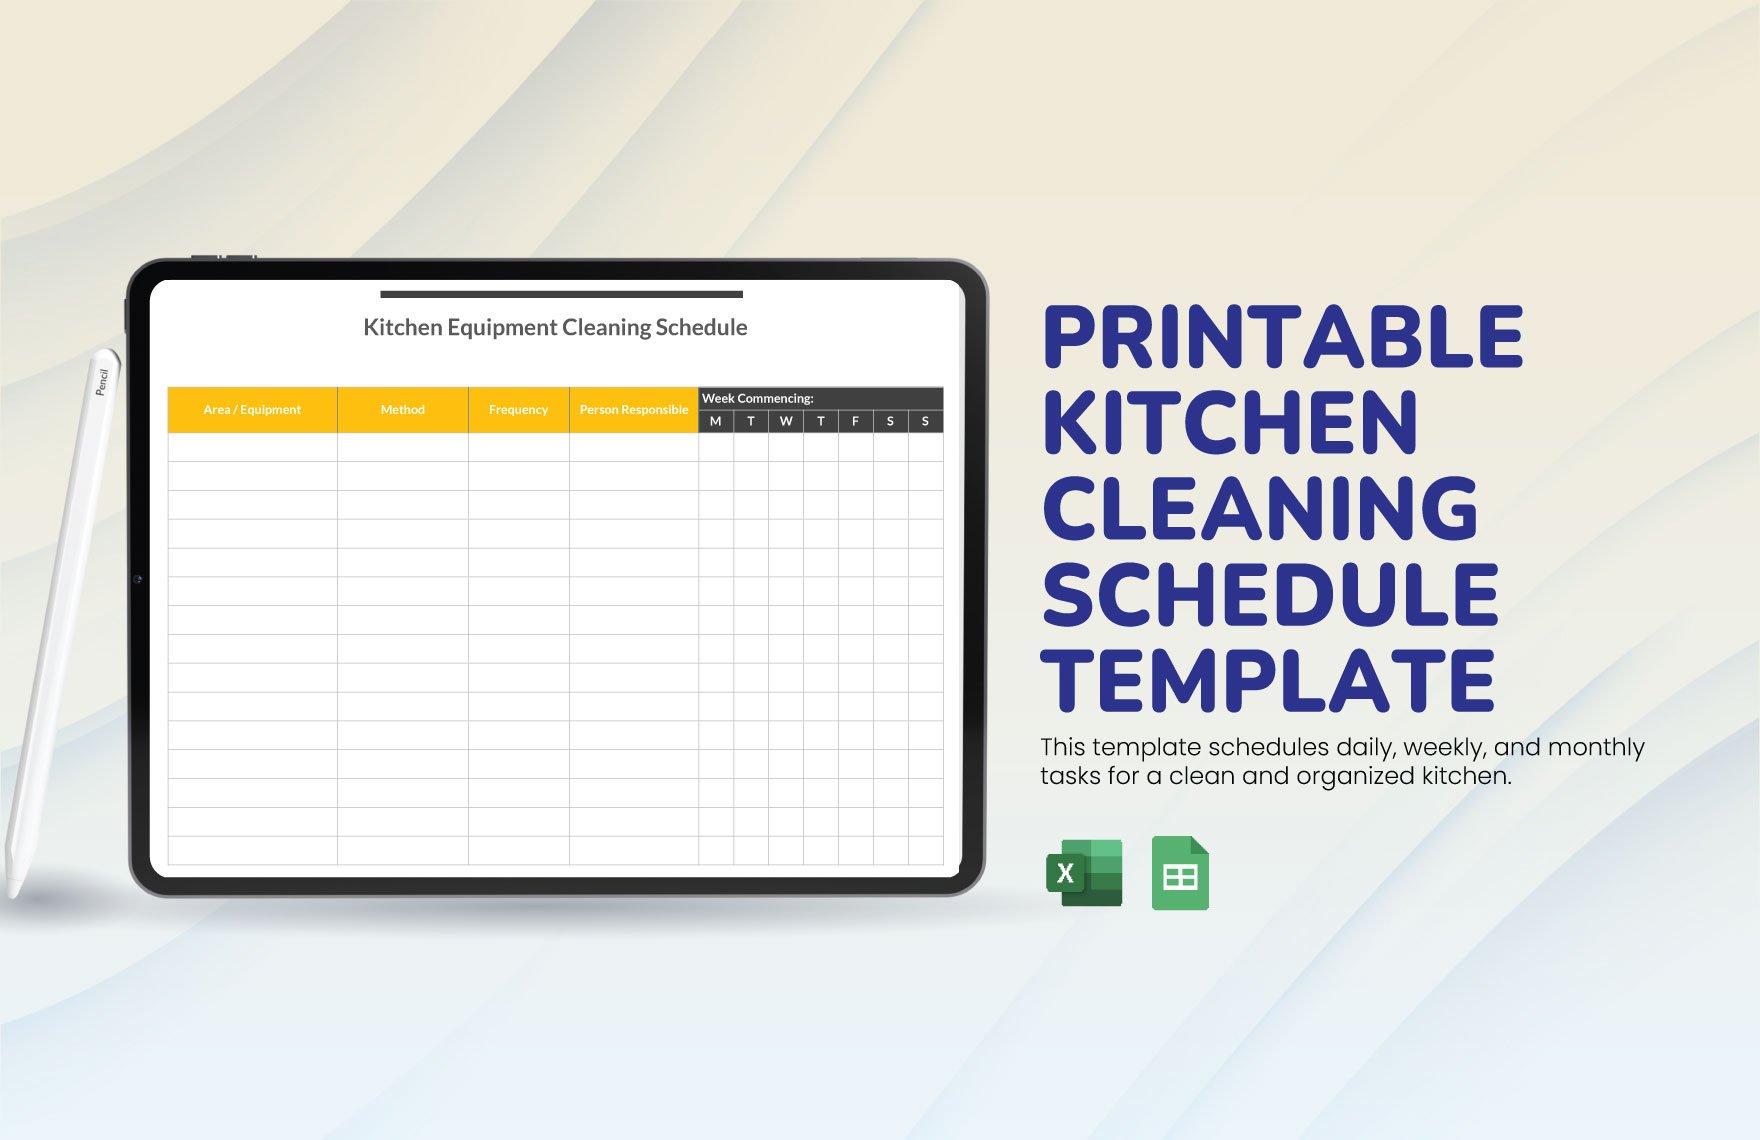
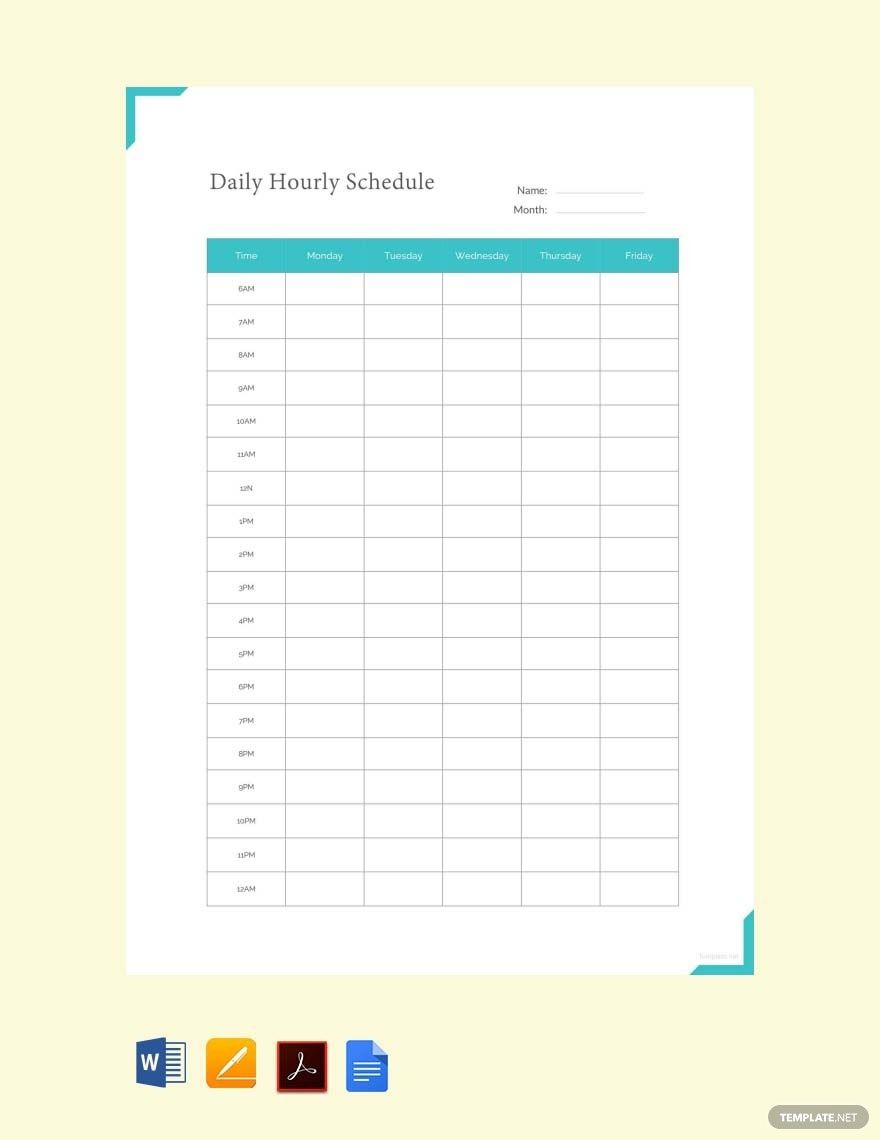
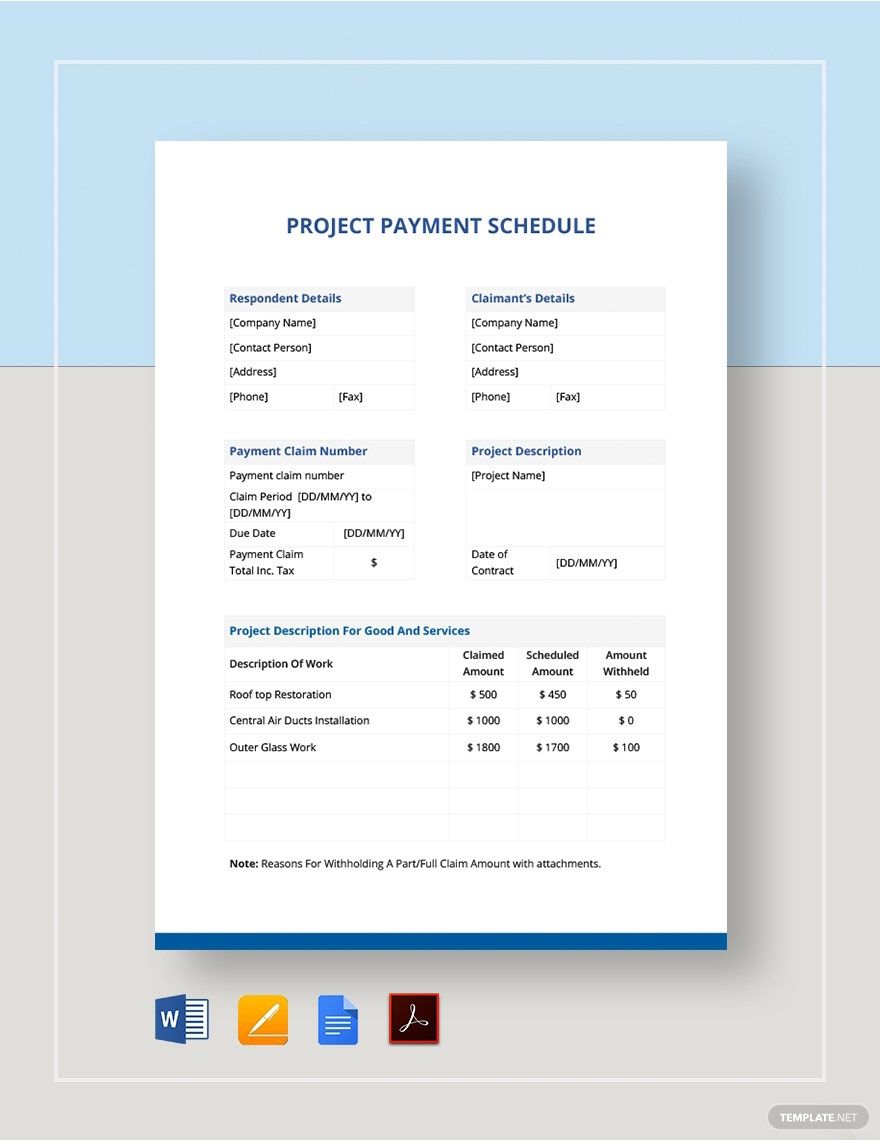
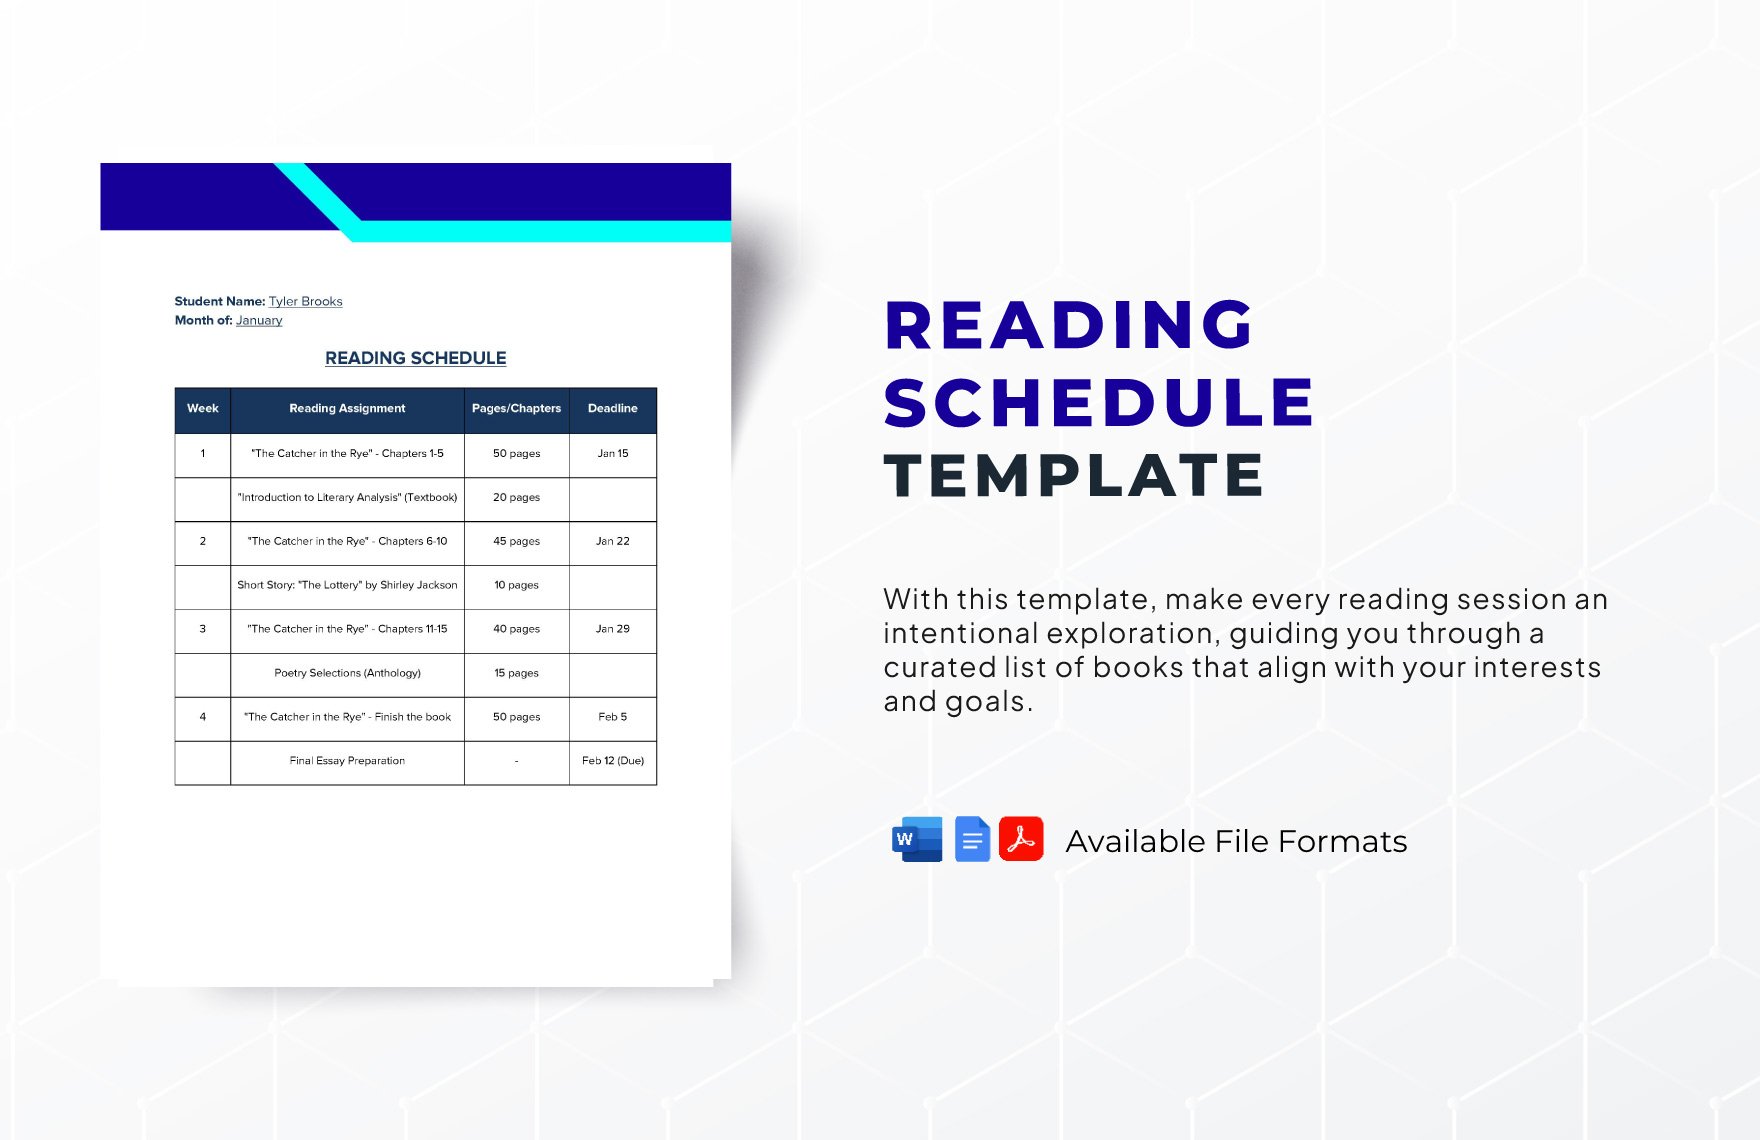
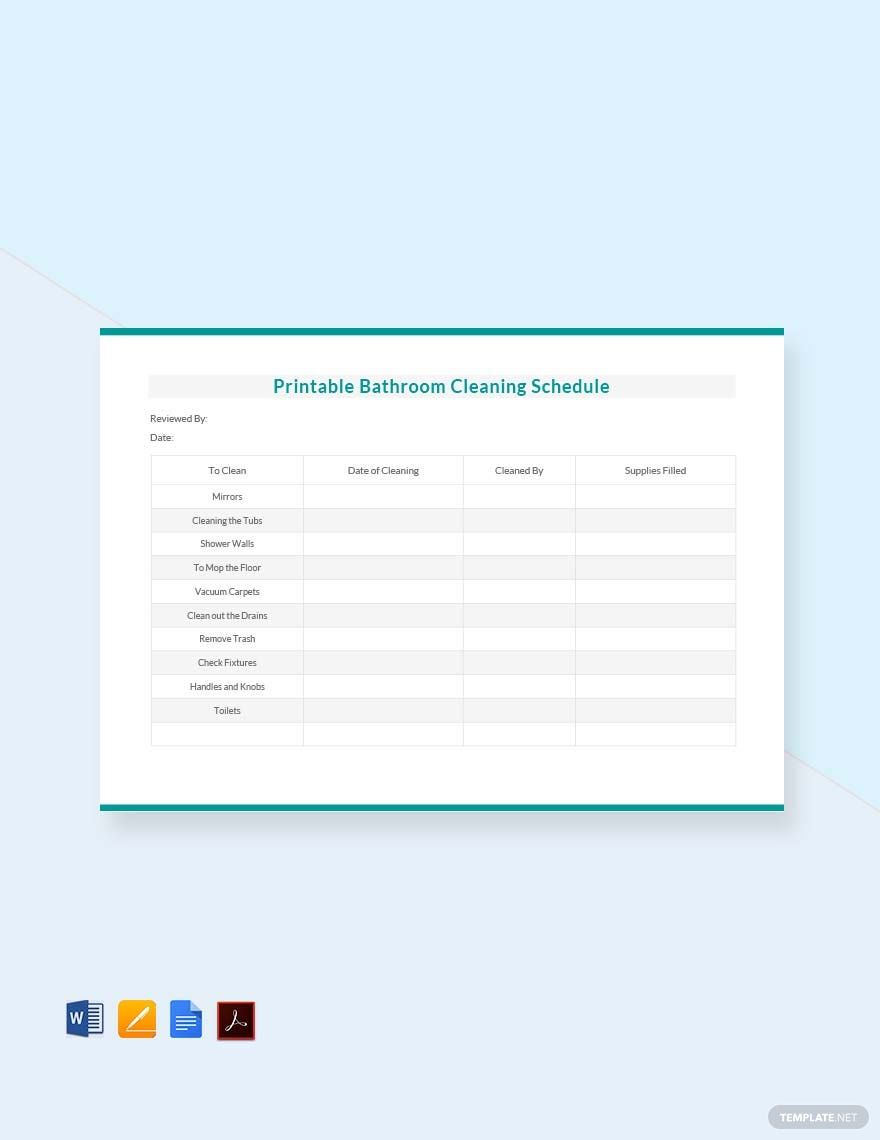
Scheduling has a corresponding impact on almost every individual—whether a business professional or a student. A proper schedule enables you to work on things that will help you achieve goals and objectives in life or at work. Hence, you will need to have a material wherein you can organize tasks you need to do on an hourly, daily, weekly, or monthly basis. With that, we present to you our well-crafted Printable Schedule Templates that contain preformatted layouts and designs and suggestive labels ready to customize in Google Docs. They are also print-ready in A4 & US sizes. Get the chance to organize your 24-hour tasks and activities in a snap by downloading our templates today!
How to Make a Printable Schedule in Google Docs
Being able to craft a schedule for tasks and activities is a great way or baseline of an individual's success, according to an article from Chron. So, if you need one, you might want to follow the tips on how to make a printable schedule that we provide below.
1. Pick an Orientation
Begin your printable schedule-making process by picking an orientation that you will use for your schedule document. You can either choose a portrait or landscape format. However, make sure that your preferred style will be able to cater to the length and weight of your content. For instance, if you are going to make a yearly work schedule, then it would be best for you to select a landscape orientation since this has more space than the other one.
2. Layout in Google Docs
Once you already have an available orientation for your printable schedule, the next thing you need to do is to layout your document through adding tables. In doing so, you can make use of Google Docs. Although this application focuses more on typesetting, this is more than that. Google Docs enables you to construct tables and charts that perfectly fits your needs.
However, your columns and rows depend on the type of schedule you are going to make. For example, you wish to create a weekly schedule for your appointments. Thus, you can have four or five rows that mirror with the number of weeks in a month. It would also be best to add small tables for reminders and notes section.
3. Fill Out Labels
If your printable schedule tables are ready, it is now time for you to fill out your blank schedule with labels. This section means to write days, weeks, or months—whichever is relevant to the type of printable schedule you make. Like, if you will make a printable daily schedule, then the labels you will incorporate in your printable schedule are the 7days of the week and its corresponding dates. Nonetheless, make sure that the timeline for your printable schedule is concise.
4. Encode Essential Tasks
When you finish filling out each column or rows of your printable schedule with labels, the next thing you need to do is to encode and specify regular or fixed tasks. By this, indicate the appointments that you mostly do on a daily, weekly, or monthly setting. Start by writing the fixed time of each meeting—8:00 AM: Music Class. You may also include the address of the place you are going to have your appointment. You can even encode routines and activities in your printable shift schedule with colors to make your schedule document appealing.
5. Produce Schedule Docs
Once everything is good to go, the last thing left for you to do is to produce your printable schedule. There are two ways you can keep your printable appointment schedule—printing copies of it and save it on your mobile phone or personal computer. If you want a printed copy, you can display it in your bedside table attached to your calendar. But, if you're going to keep it on a device, make sure that your editable schedule is in good quality.
