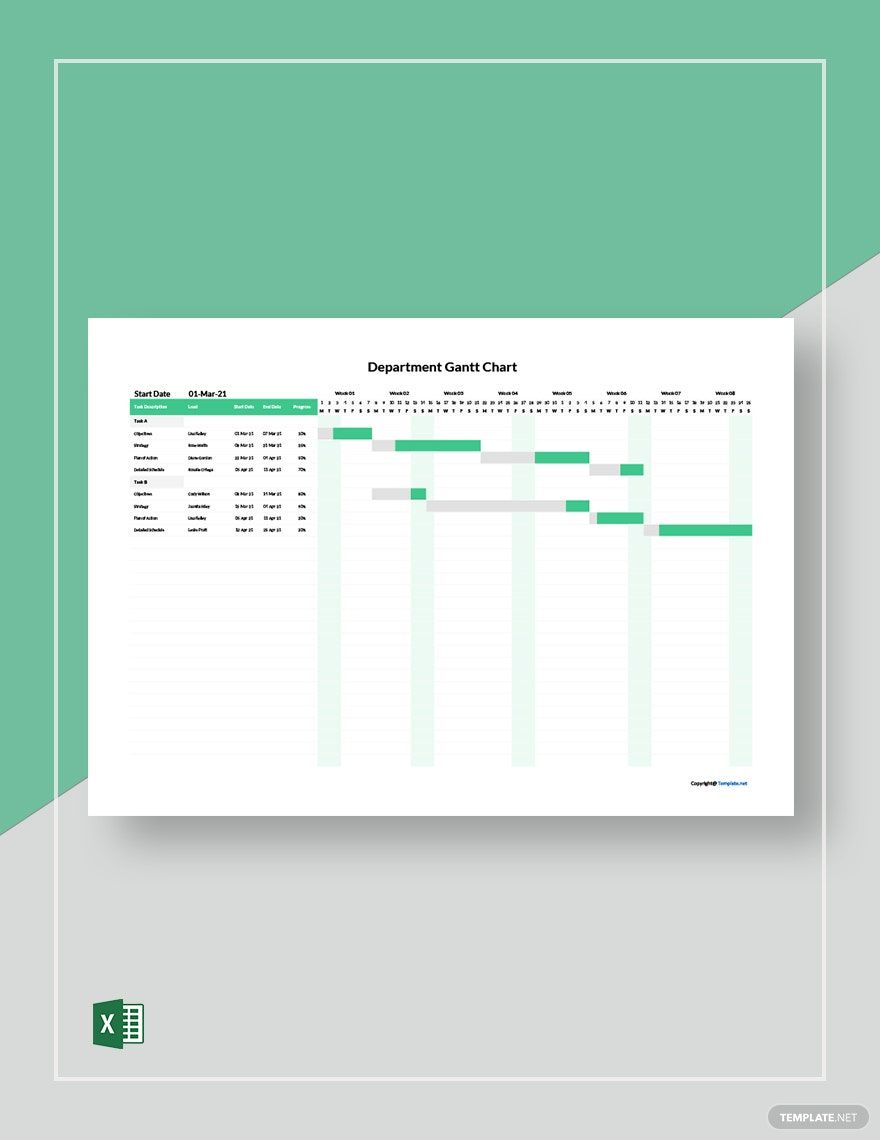
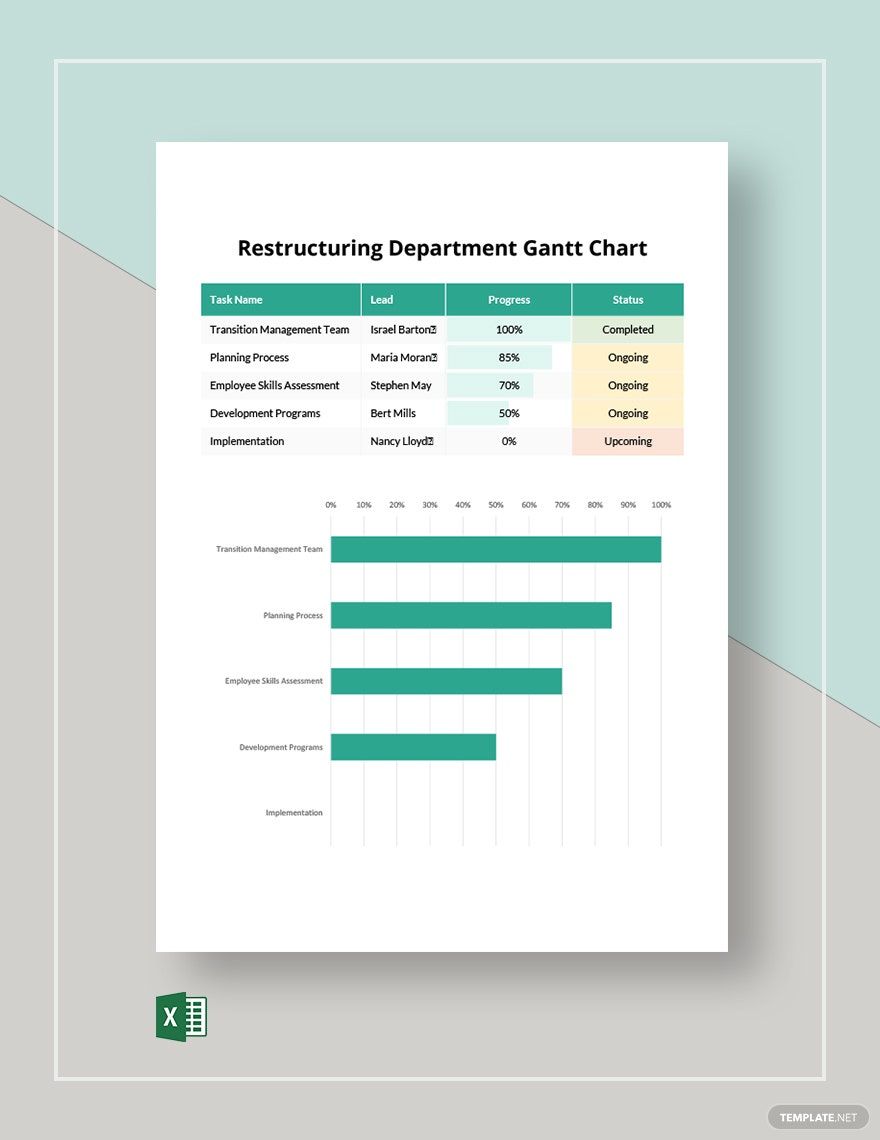
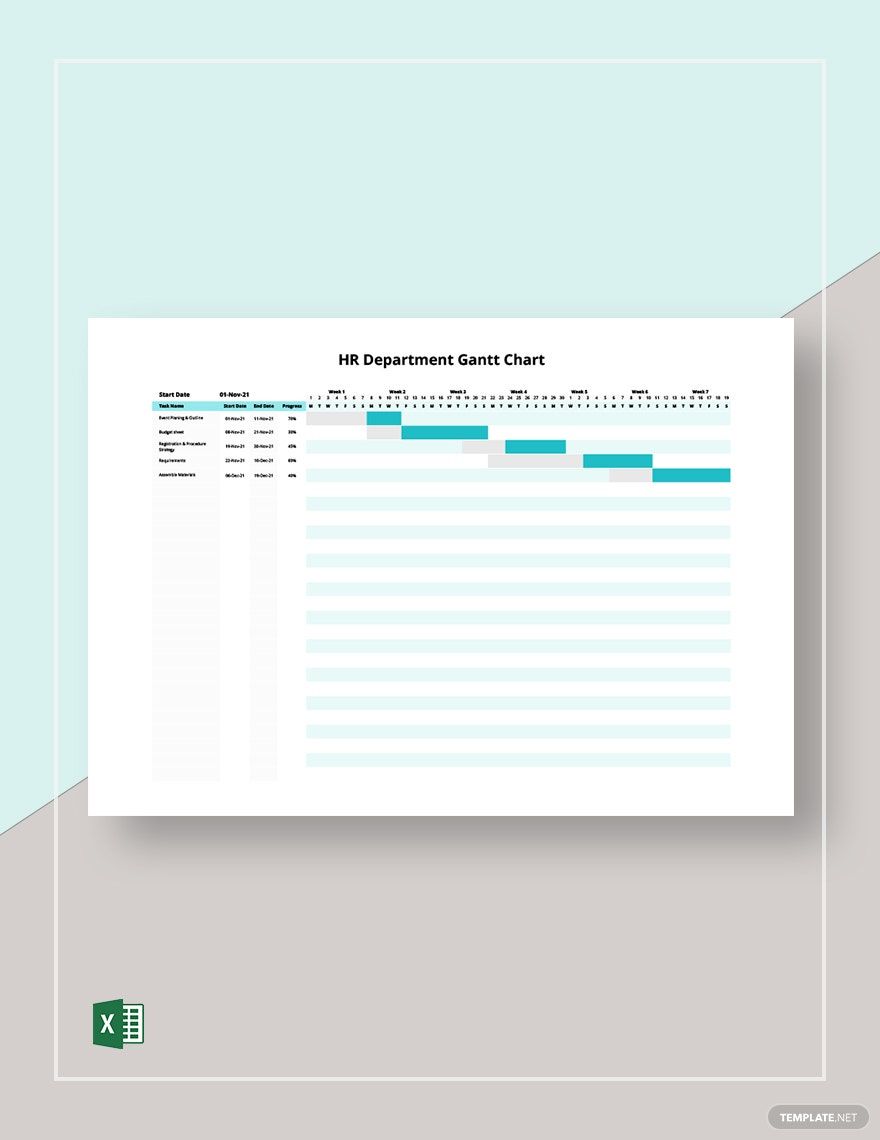
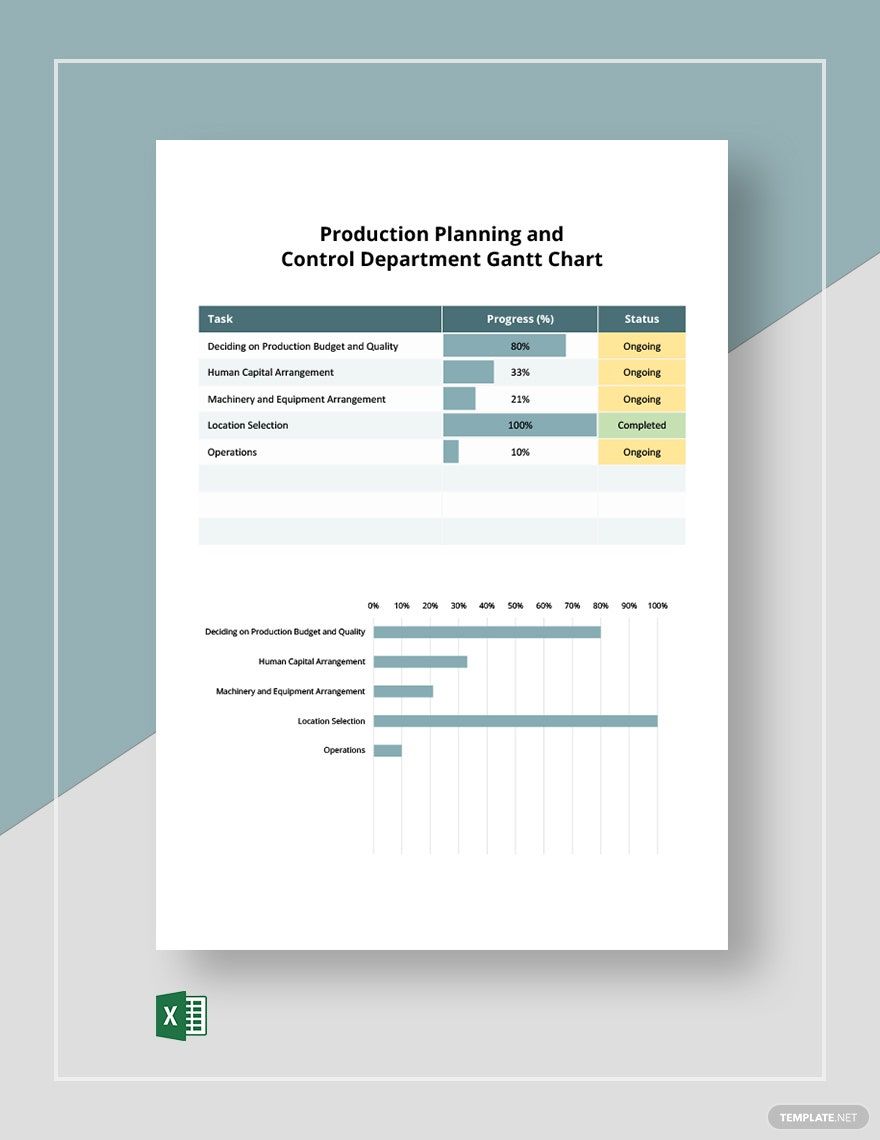
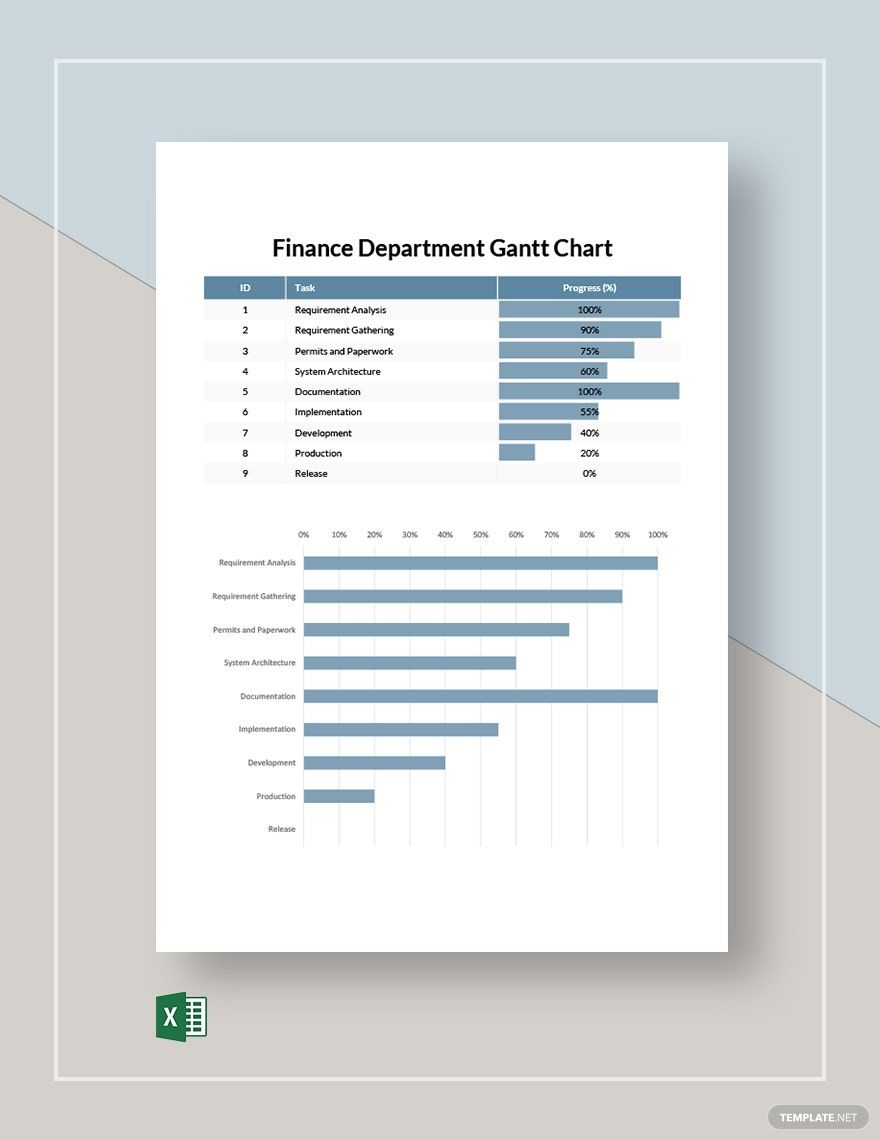
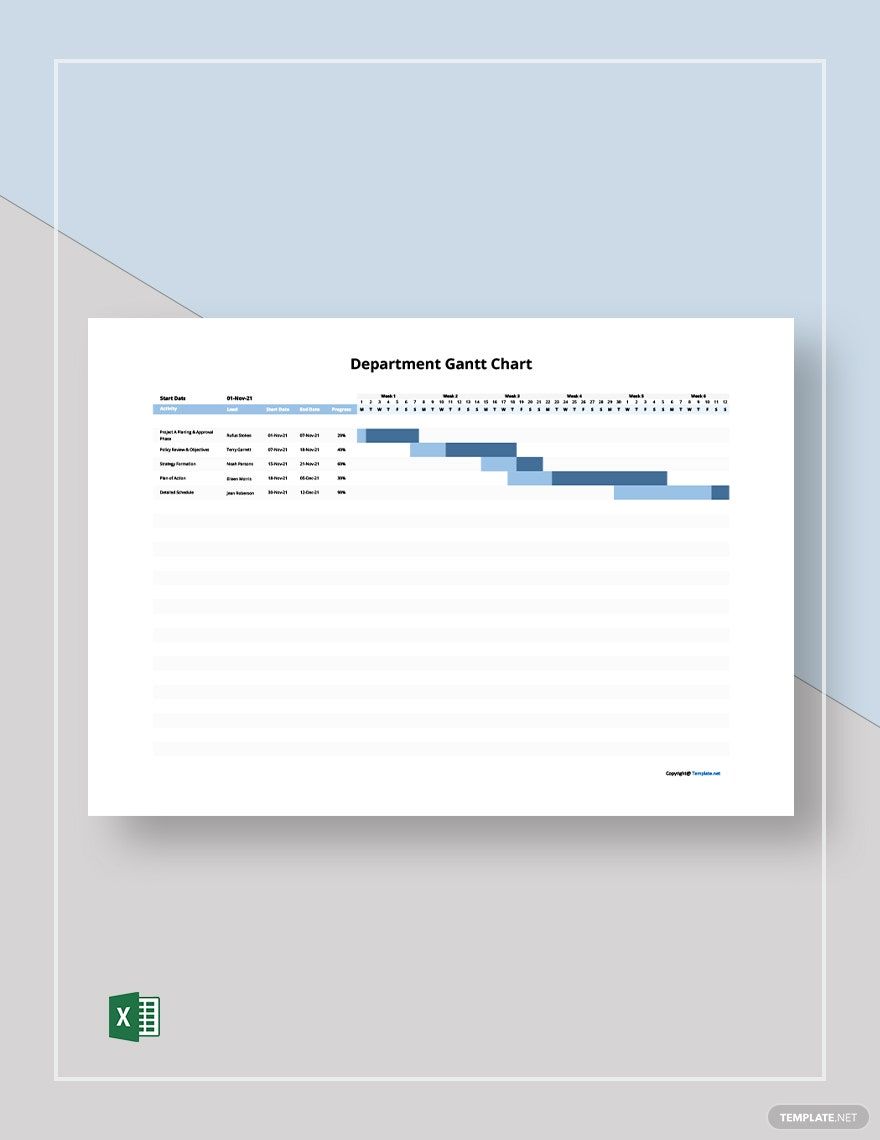
In every department of an organization, there are simple tasks and large projects that need to be planned and executed. To achieve a successful implementation, a Gantt chart is a commonly used project tracking tool to aid you in your tasks and projects. We want to help you create one through our beautiful Department Gantt Chart Templates in Excel file formats. Our templates are highly customizable, providing you convenience in inputting your tasks and schedules. You can even choose the device where you want to work on with your file, may it be on your desktop, laptop, or mobile phone. Grab any of our templates to get started!
How to Create a Department Gantt Chart in Excel
As Michael Hyatt remarks, “What gets scheduled gets done.” This is simply true in every aspect of our personal lives as well as for our respective organizations, especially when it comes to working for a certain project. A Gantt chart may be a simple tool, but it helps in project scheduling. It is a visual presentation of your plans in terms of schedules and milestones.
So to help you in building your plans or create a well-drafted Gantt chart, below are some tips that you might find helpful.
1. Lists the Objectives and Tasks
Before anything else, create a list of the tasks and objectives needed to accomplish the project goal. For example, if you are in the design department and you are tasked with the development and design of a website for a client, the items that may be included in your list are scope definition, wireframing, sitemap creation, content creation, incorporation of visual elements, testing, and launching.
2. Determine the Duration of the Project
For each task or activity, set the most feasible time of completion. You must also determine the duration of the whole project to provide completion date estimates to the client. Do not forget to give allowances for expected delays in the process, and consider the effects of anticipated risks for your schedule.
3. Plot the Tasks in the Chart
Now that you have identified the relevant tasks and activities and their corresponding schedules, you can already plot them in your chart. Typically, the weeks or months are presented in a row above the chart, while the tasks are listed in a column on the left side of the chart. The corresponding duration of each task must then be reflected below the row for the weeks or months.
4. Determine the Critical Path
Lastly, determine the critical path of your Gantt chart to ascertain the minimum time needed to complete the project. It provides a clear direction on what activities must happen next and who is assigned to handle them. You can also avoid competing priorities and you will get the direction of your tasks once you identified the critical tasks. The team members will also be informed of the tasks needed to be prioritized and can better manage the resources.


