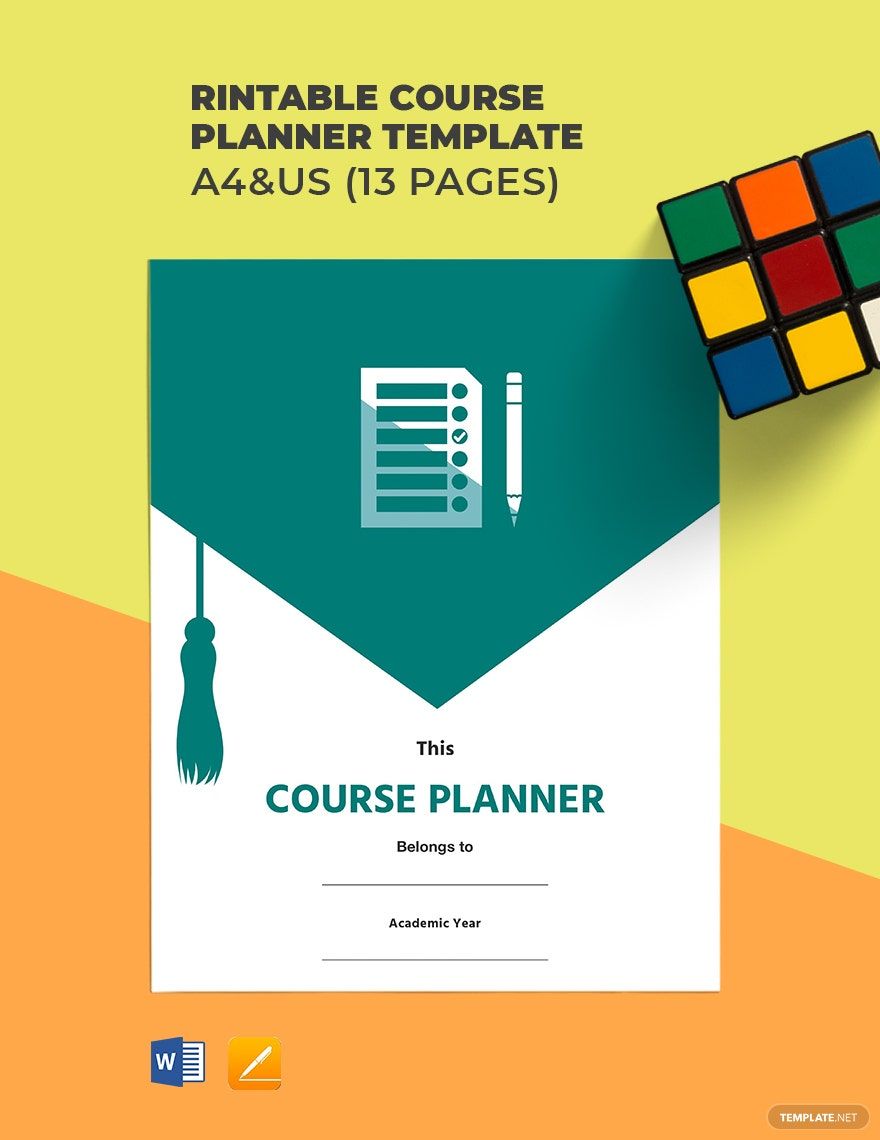
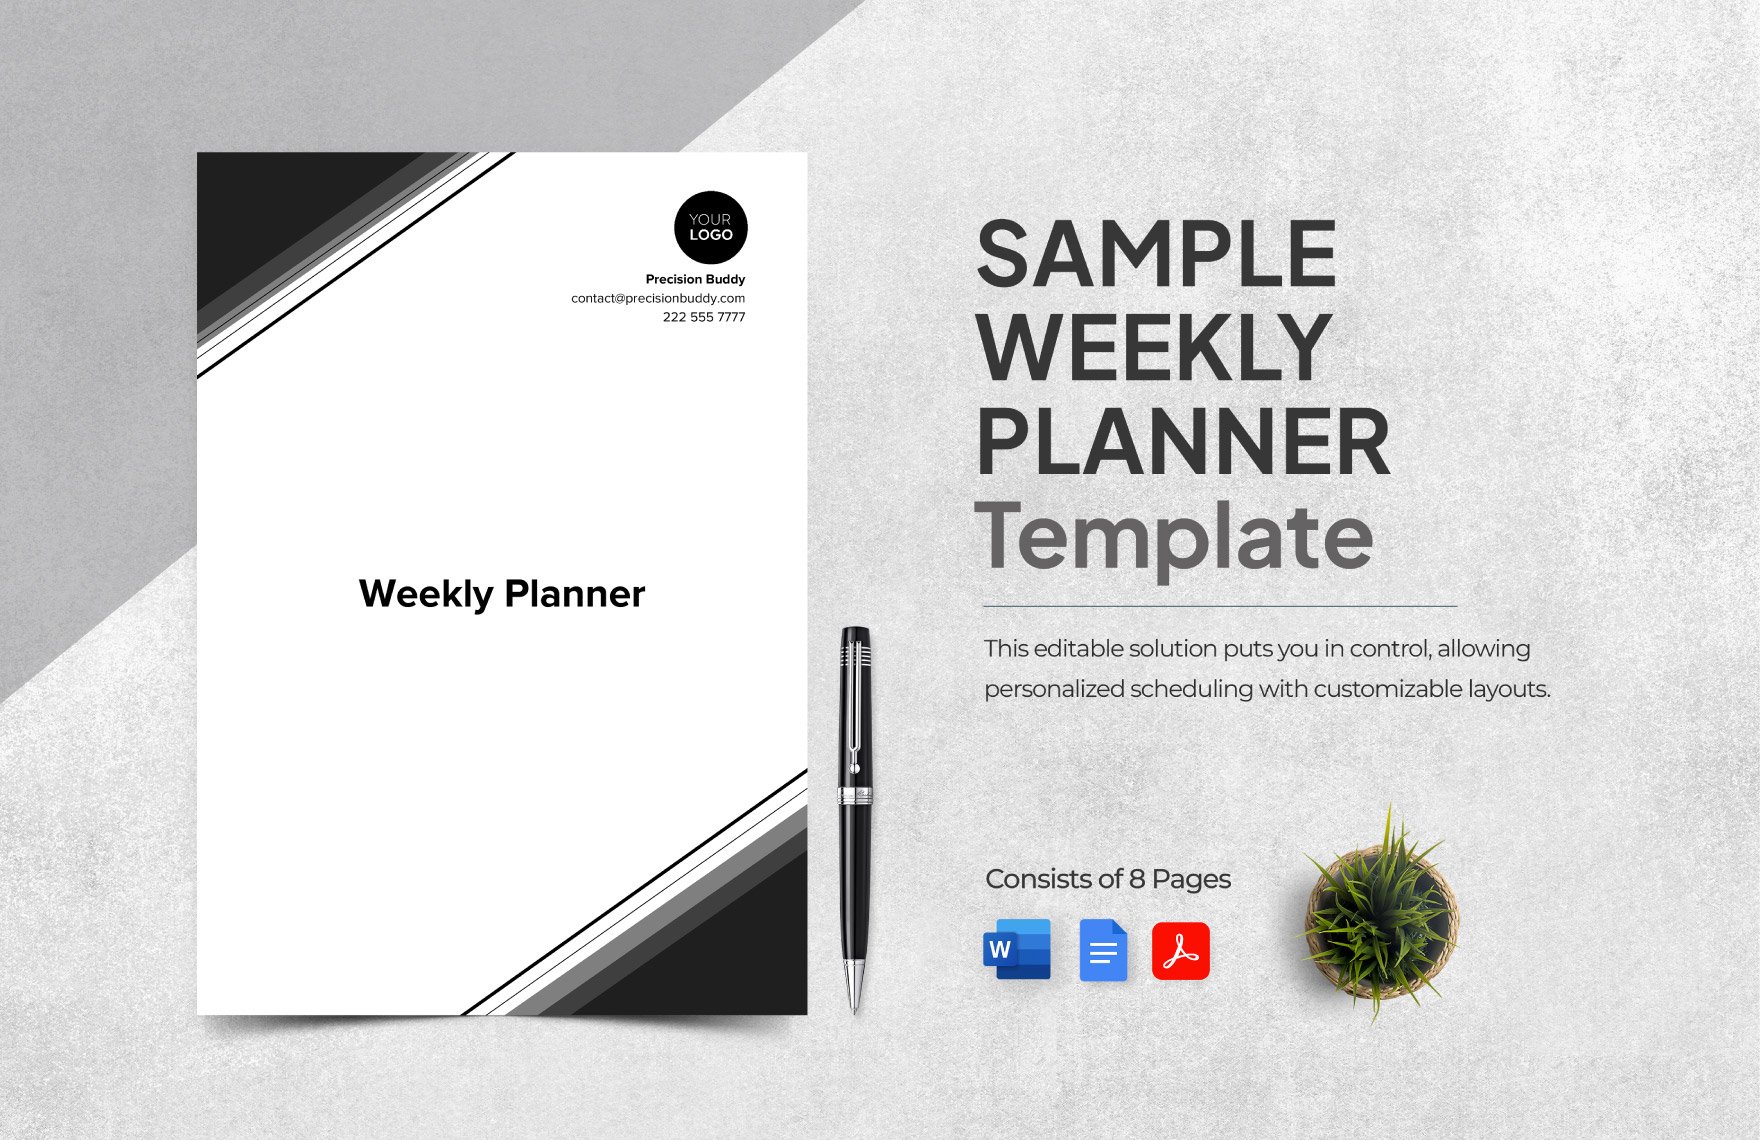
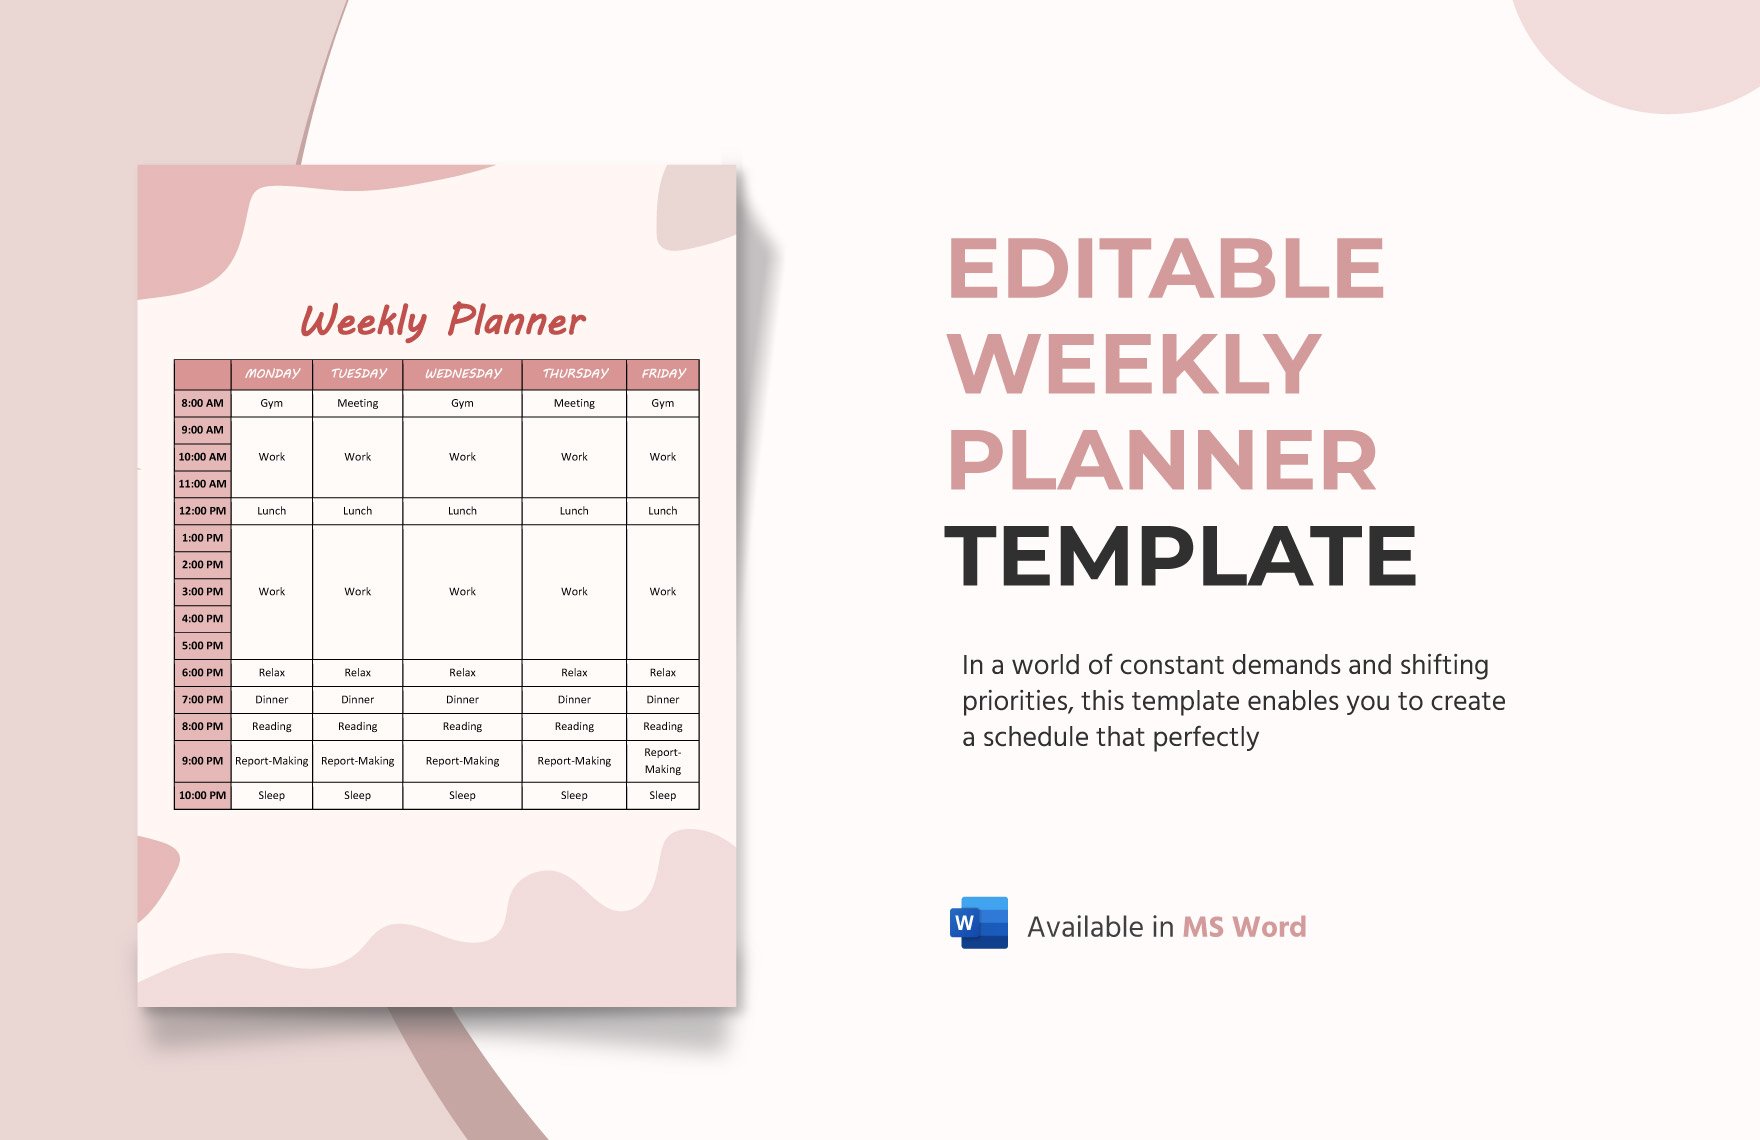
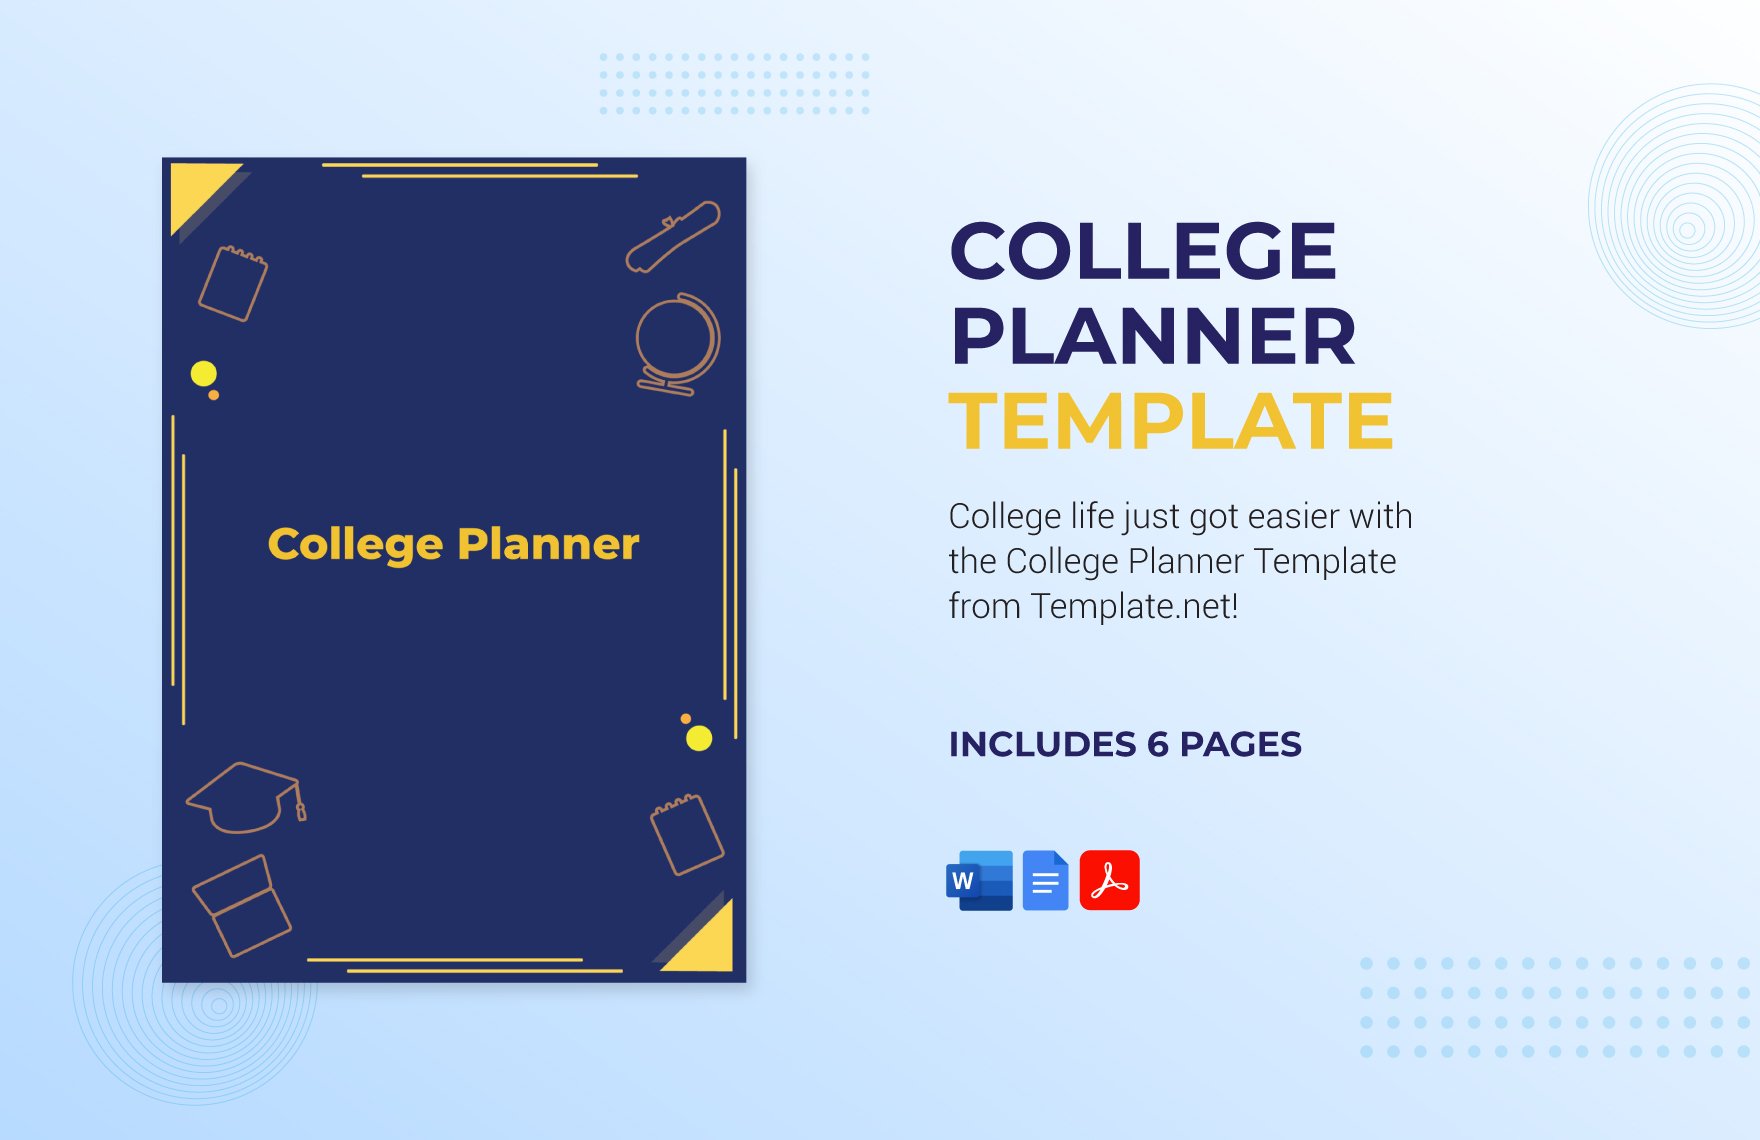
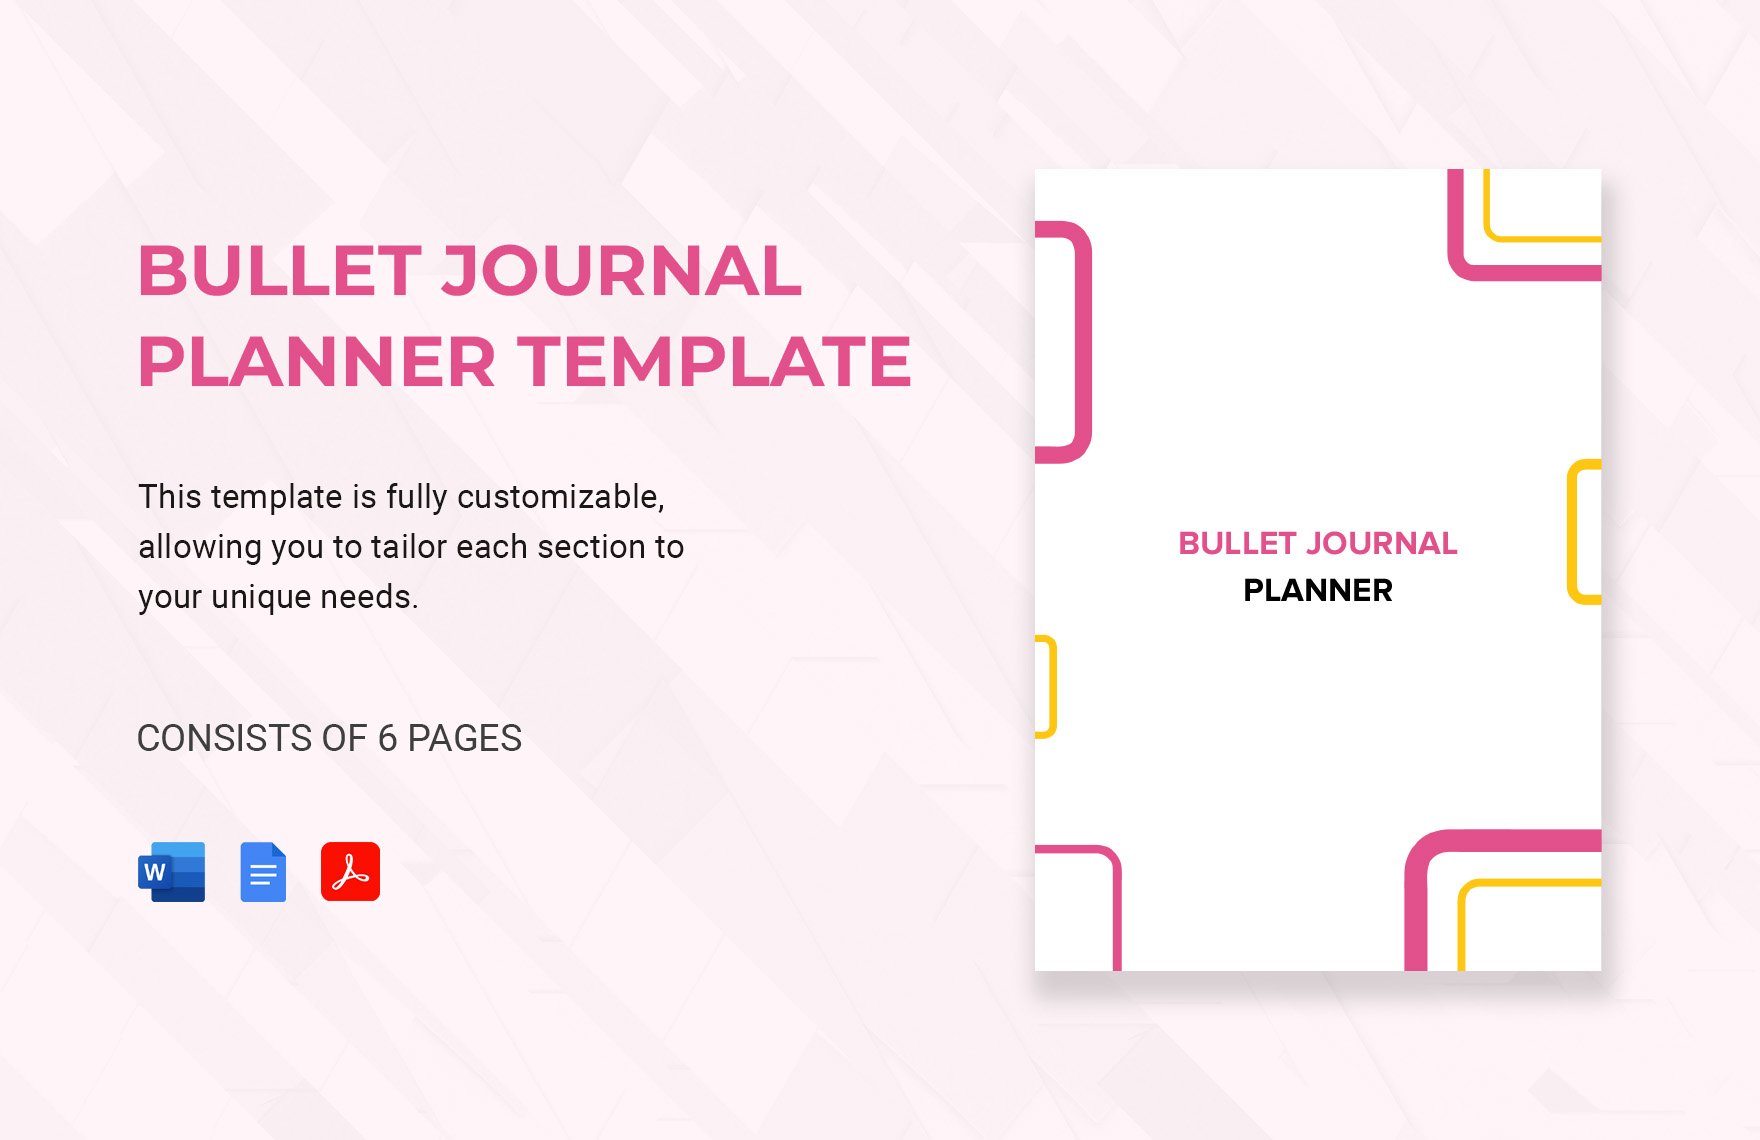
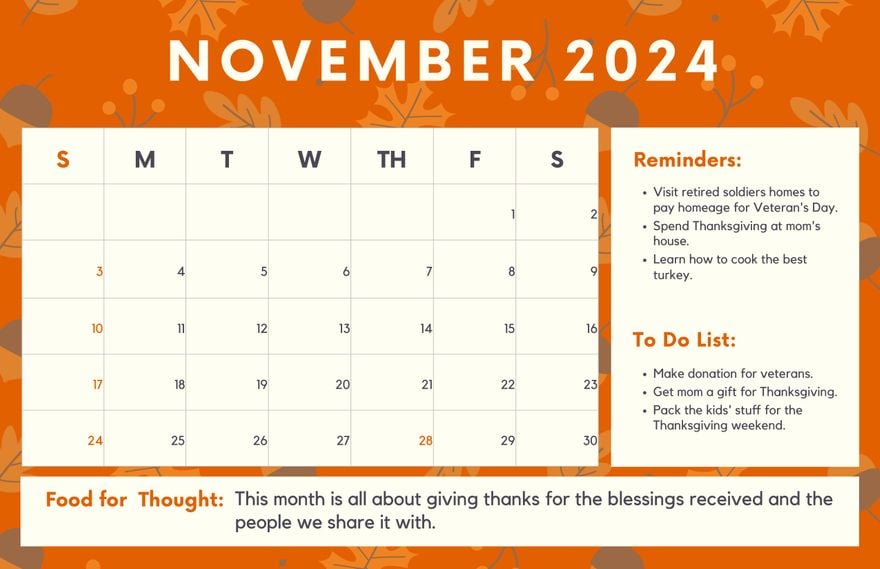
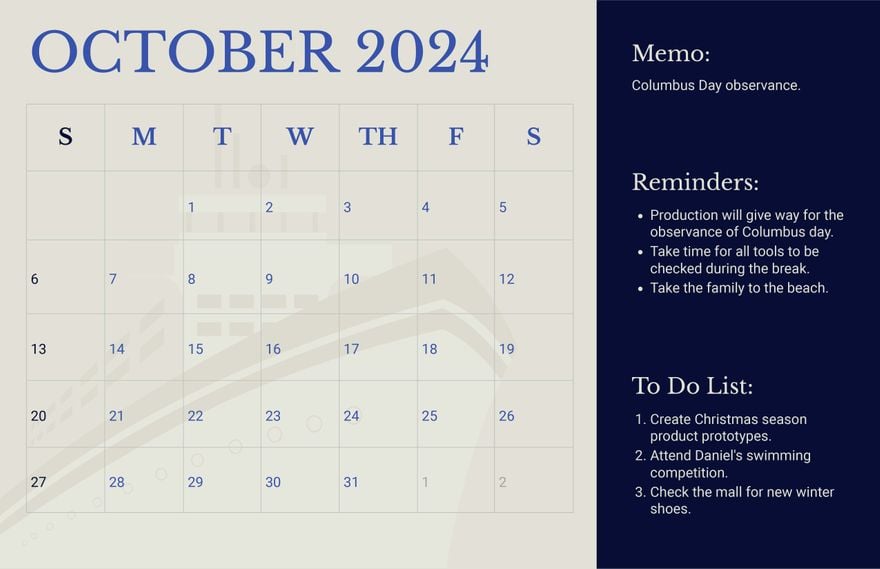
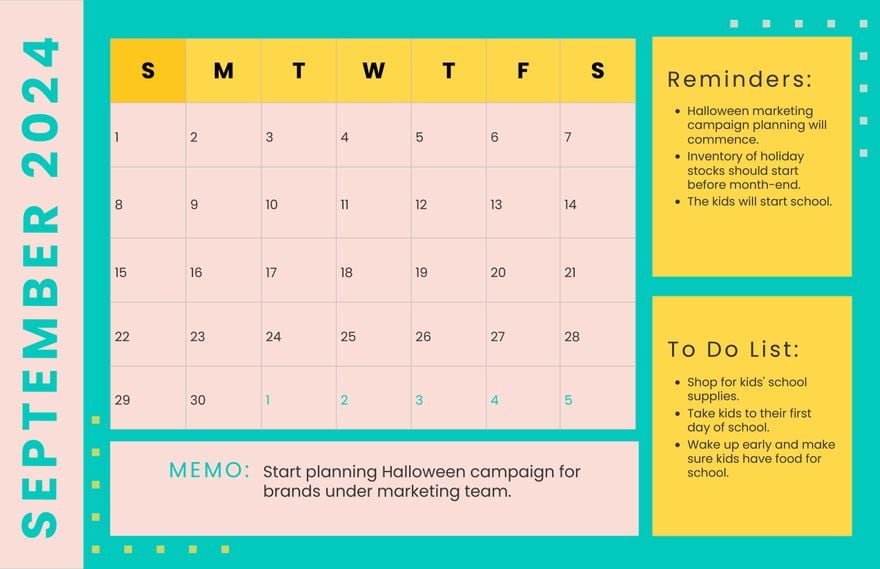
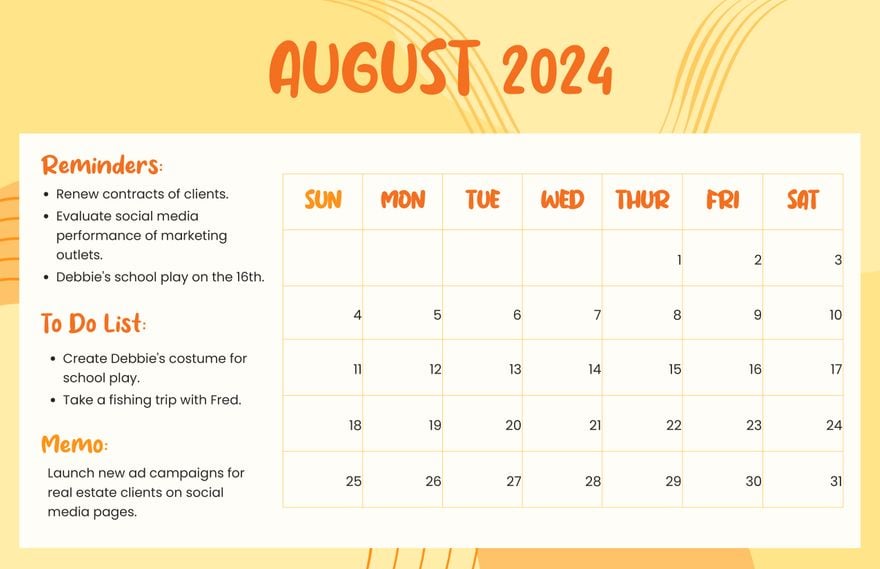
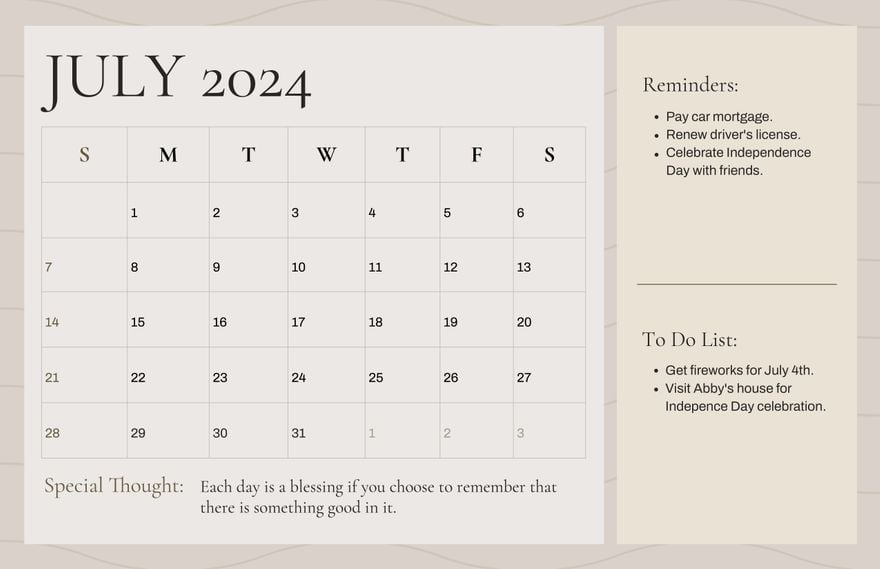
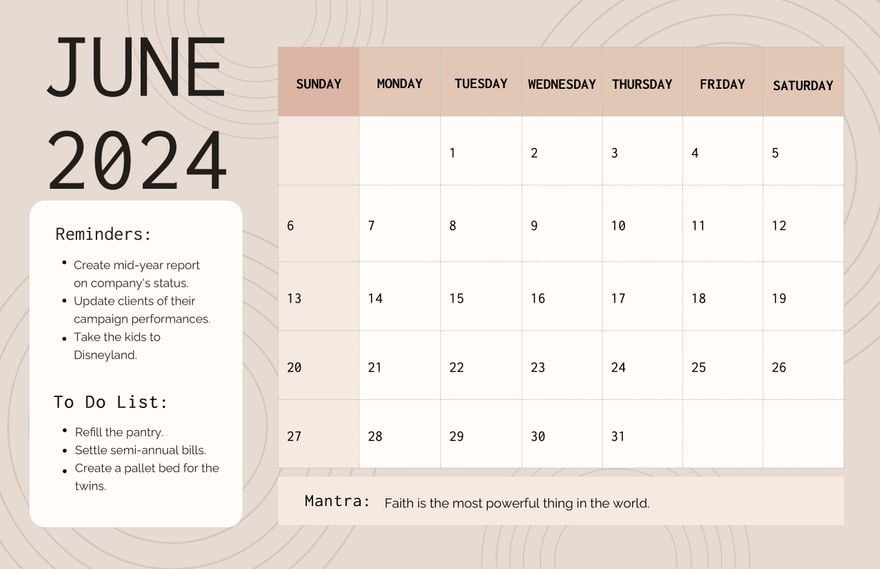
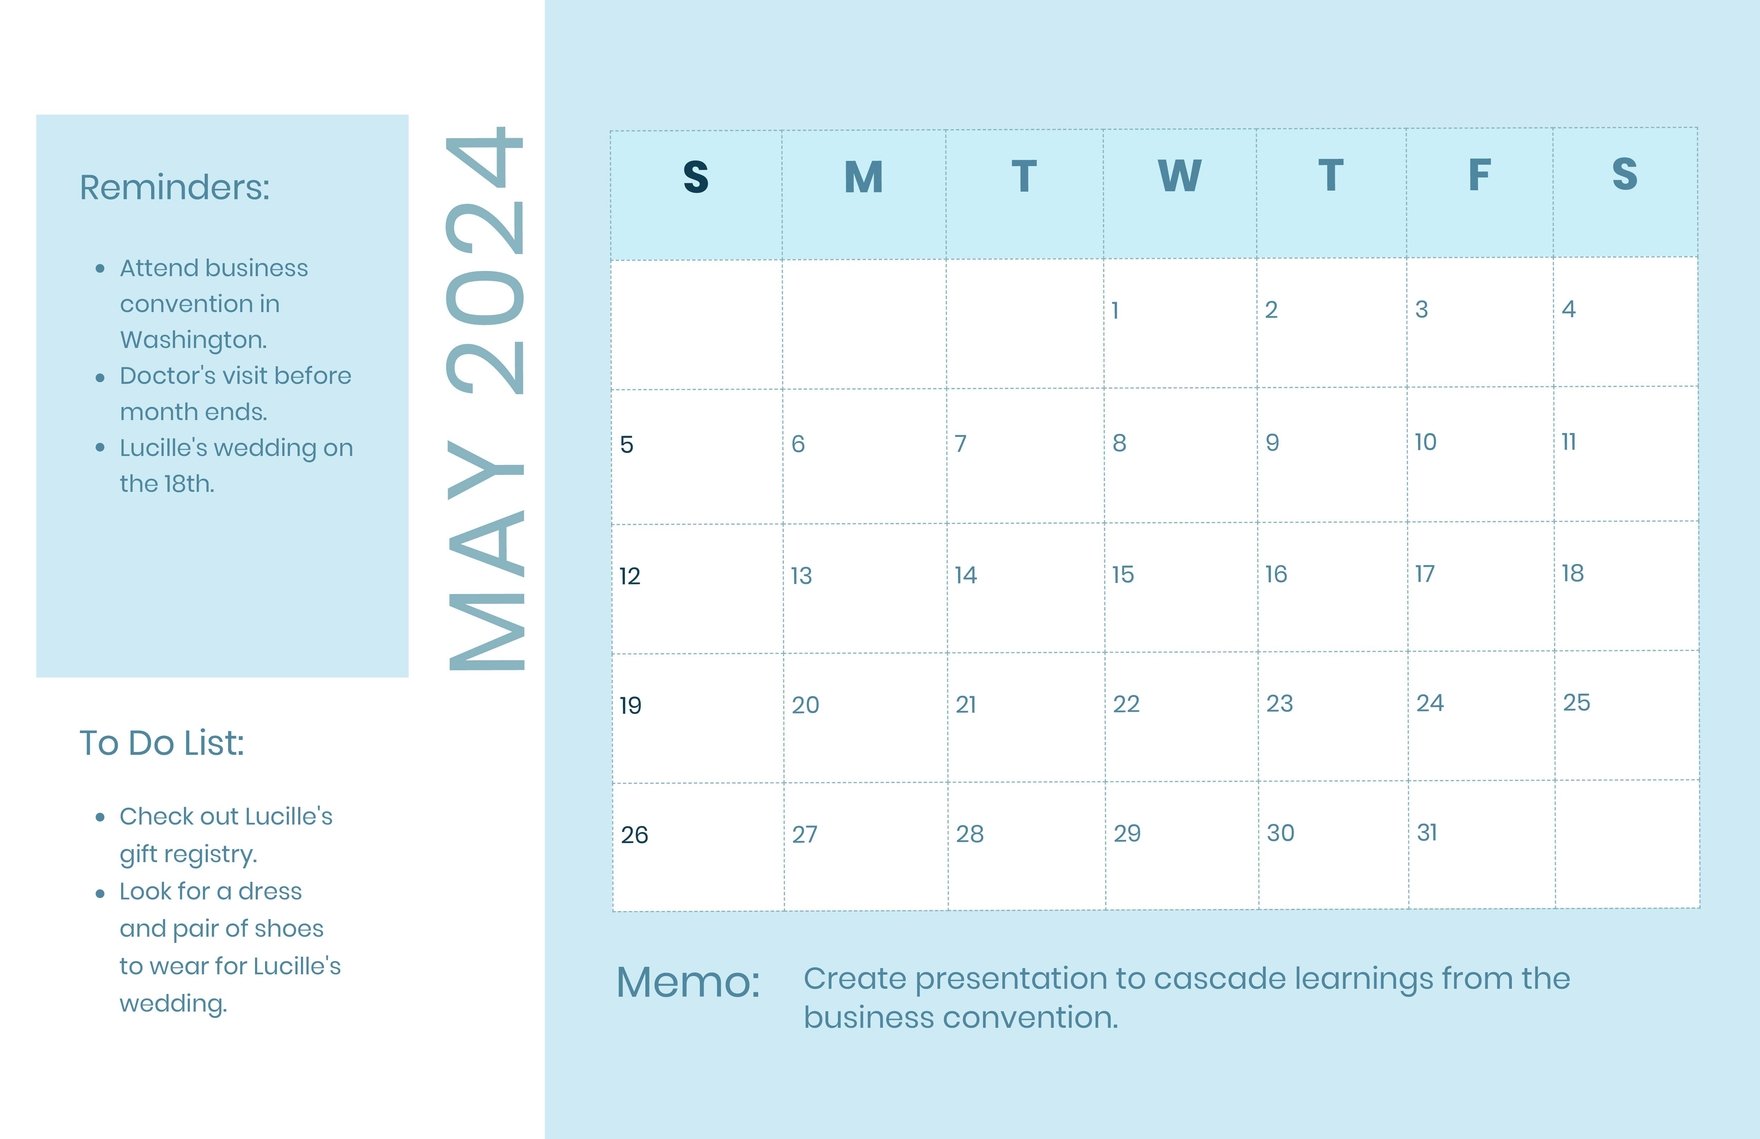
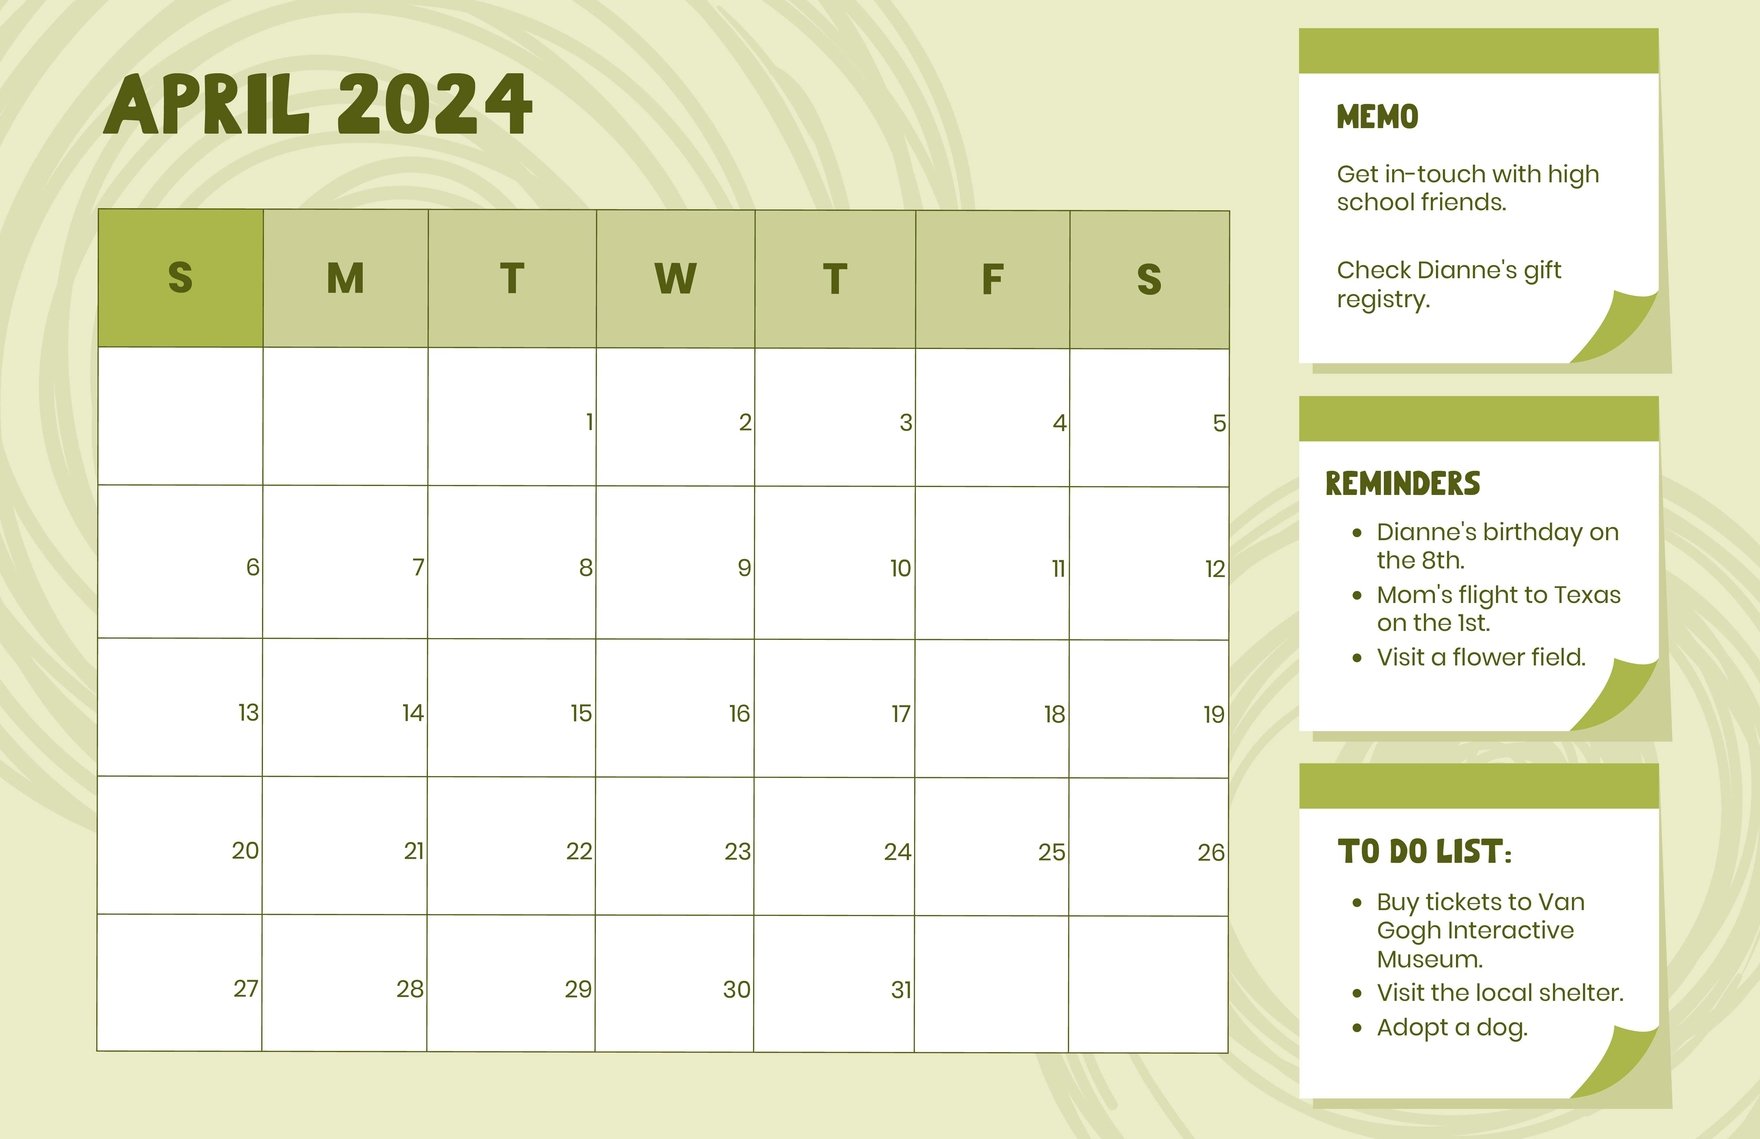
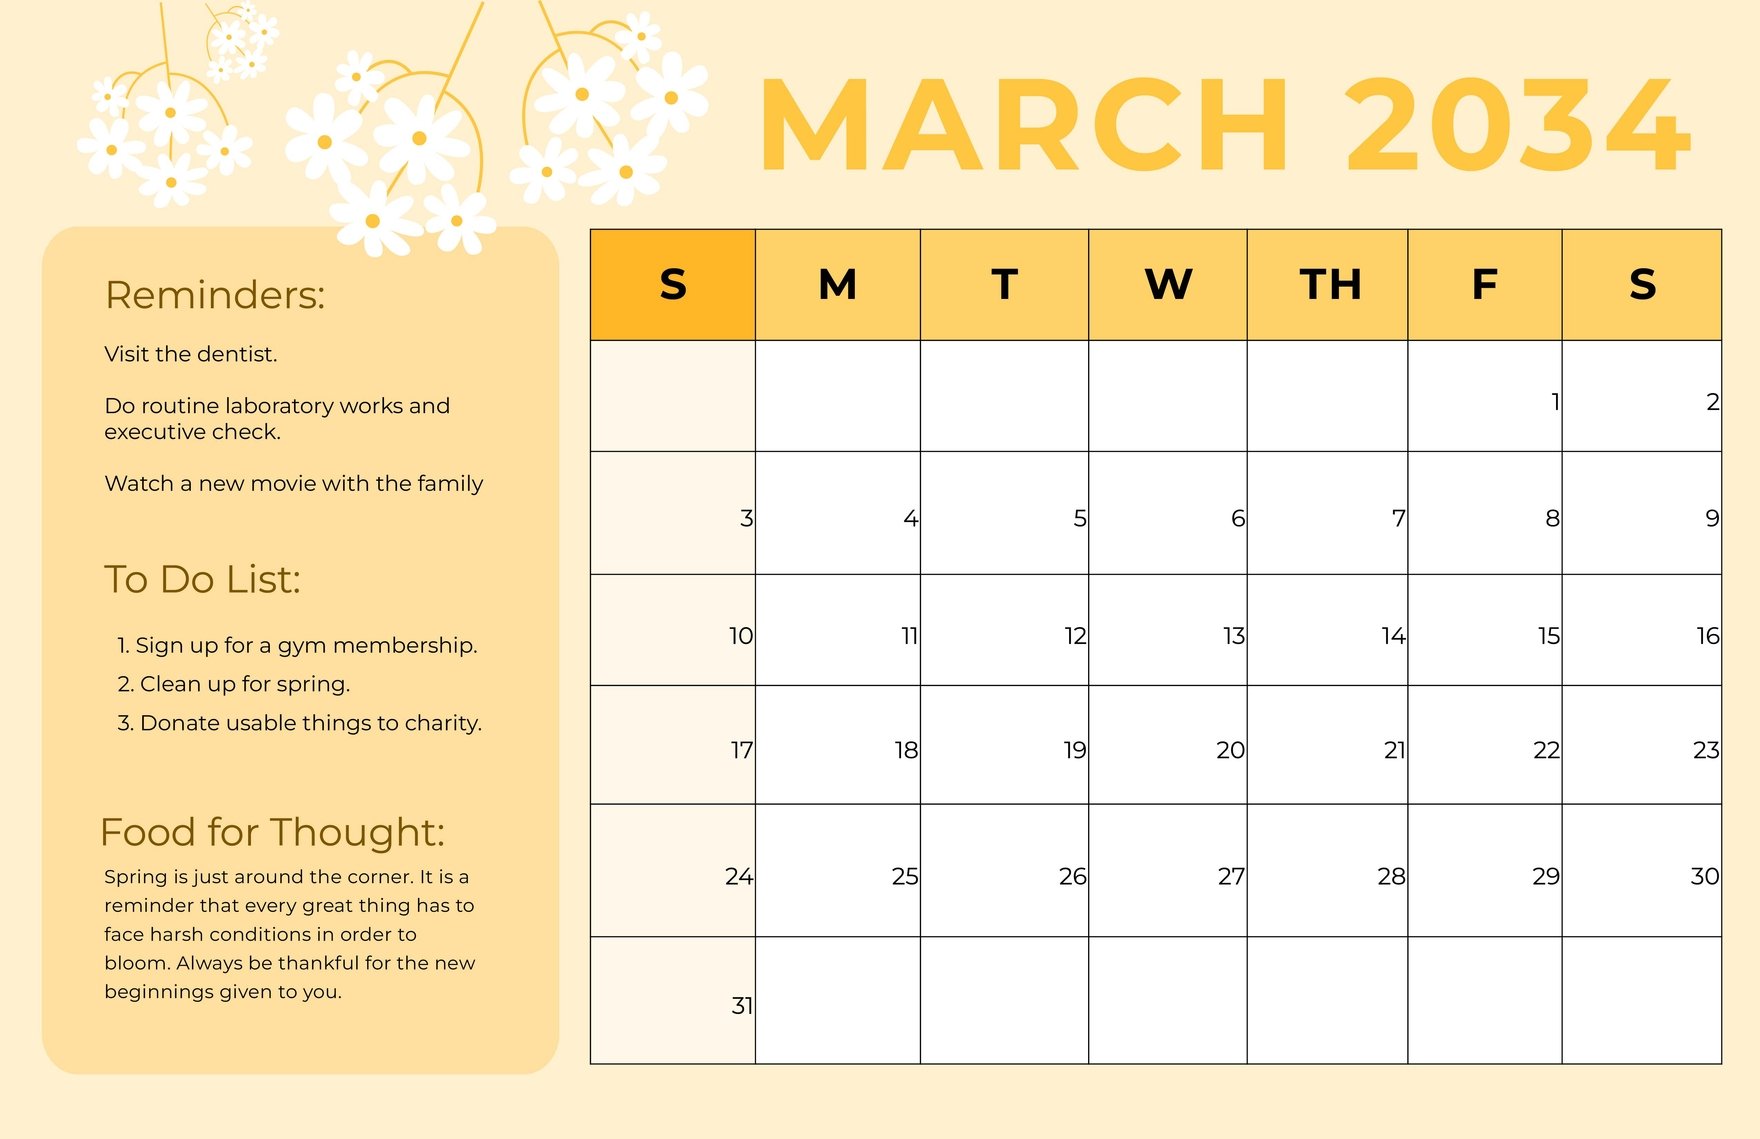
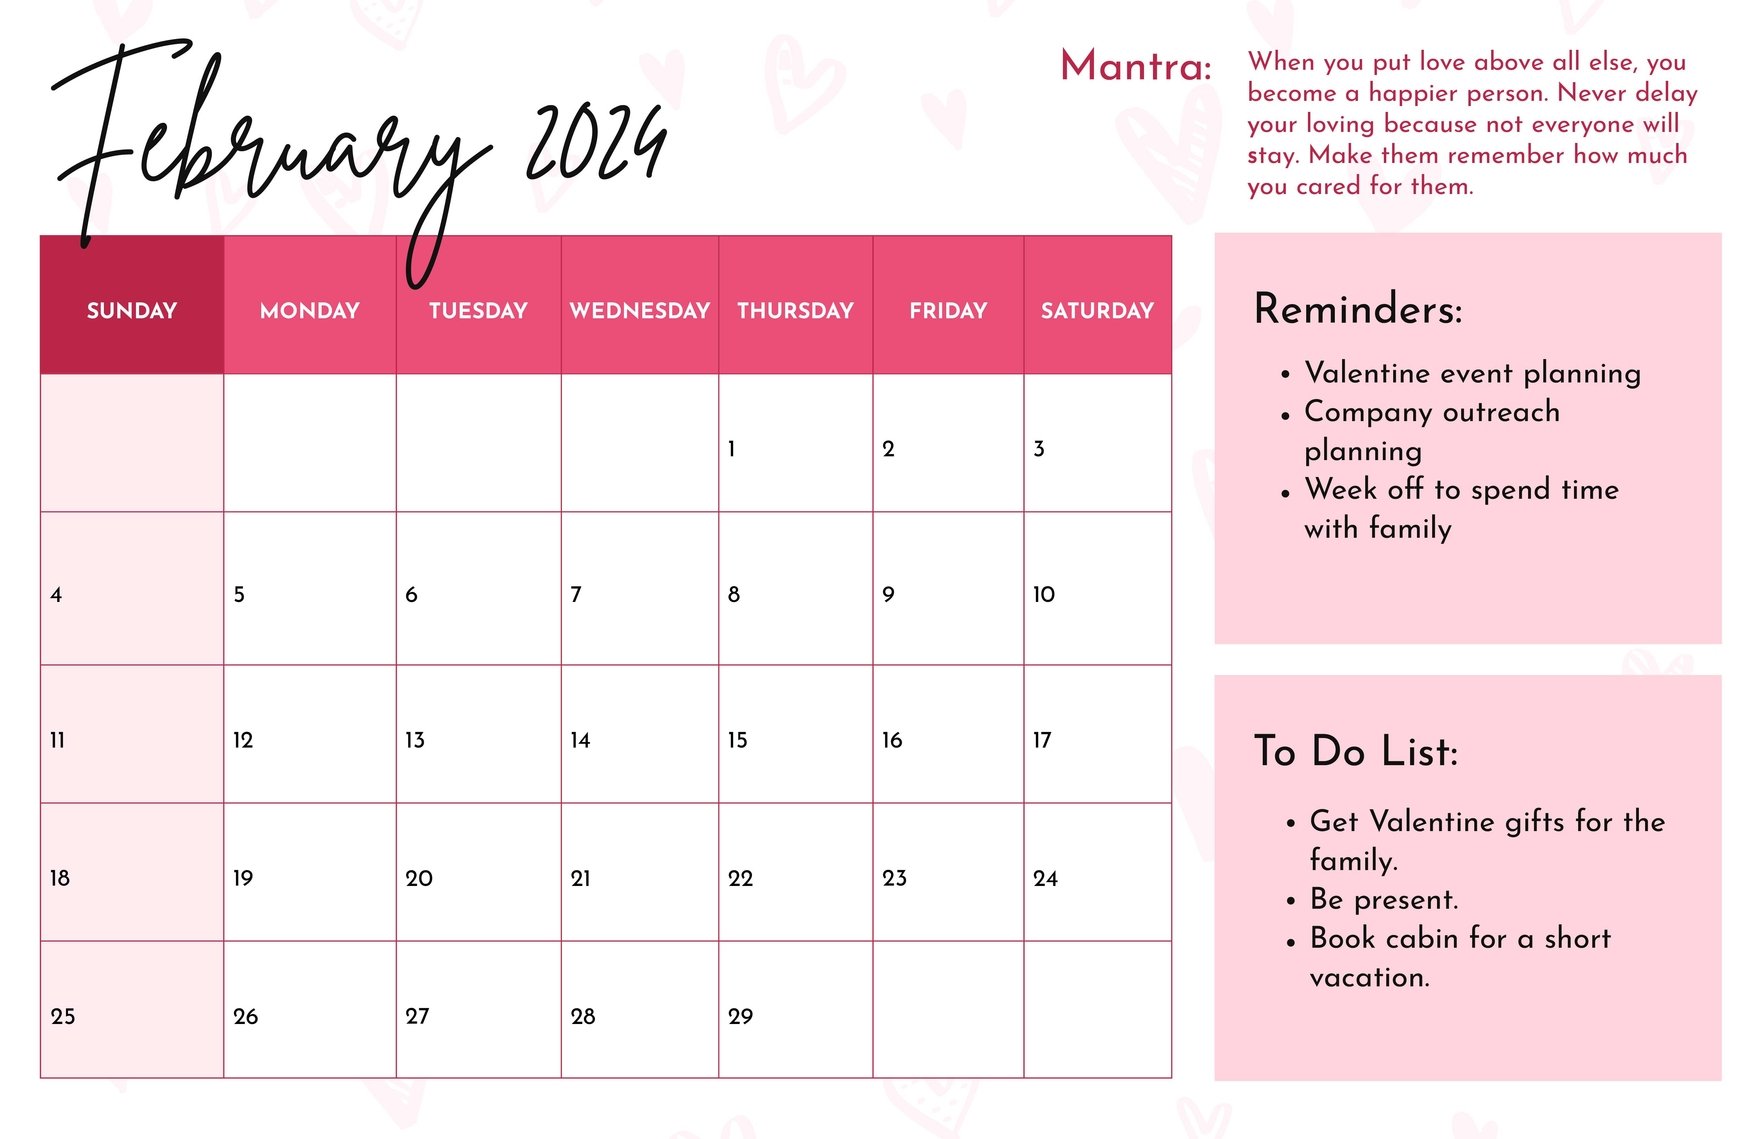
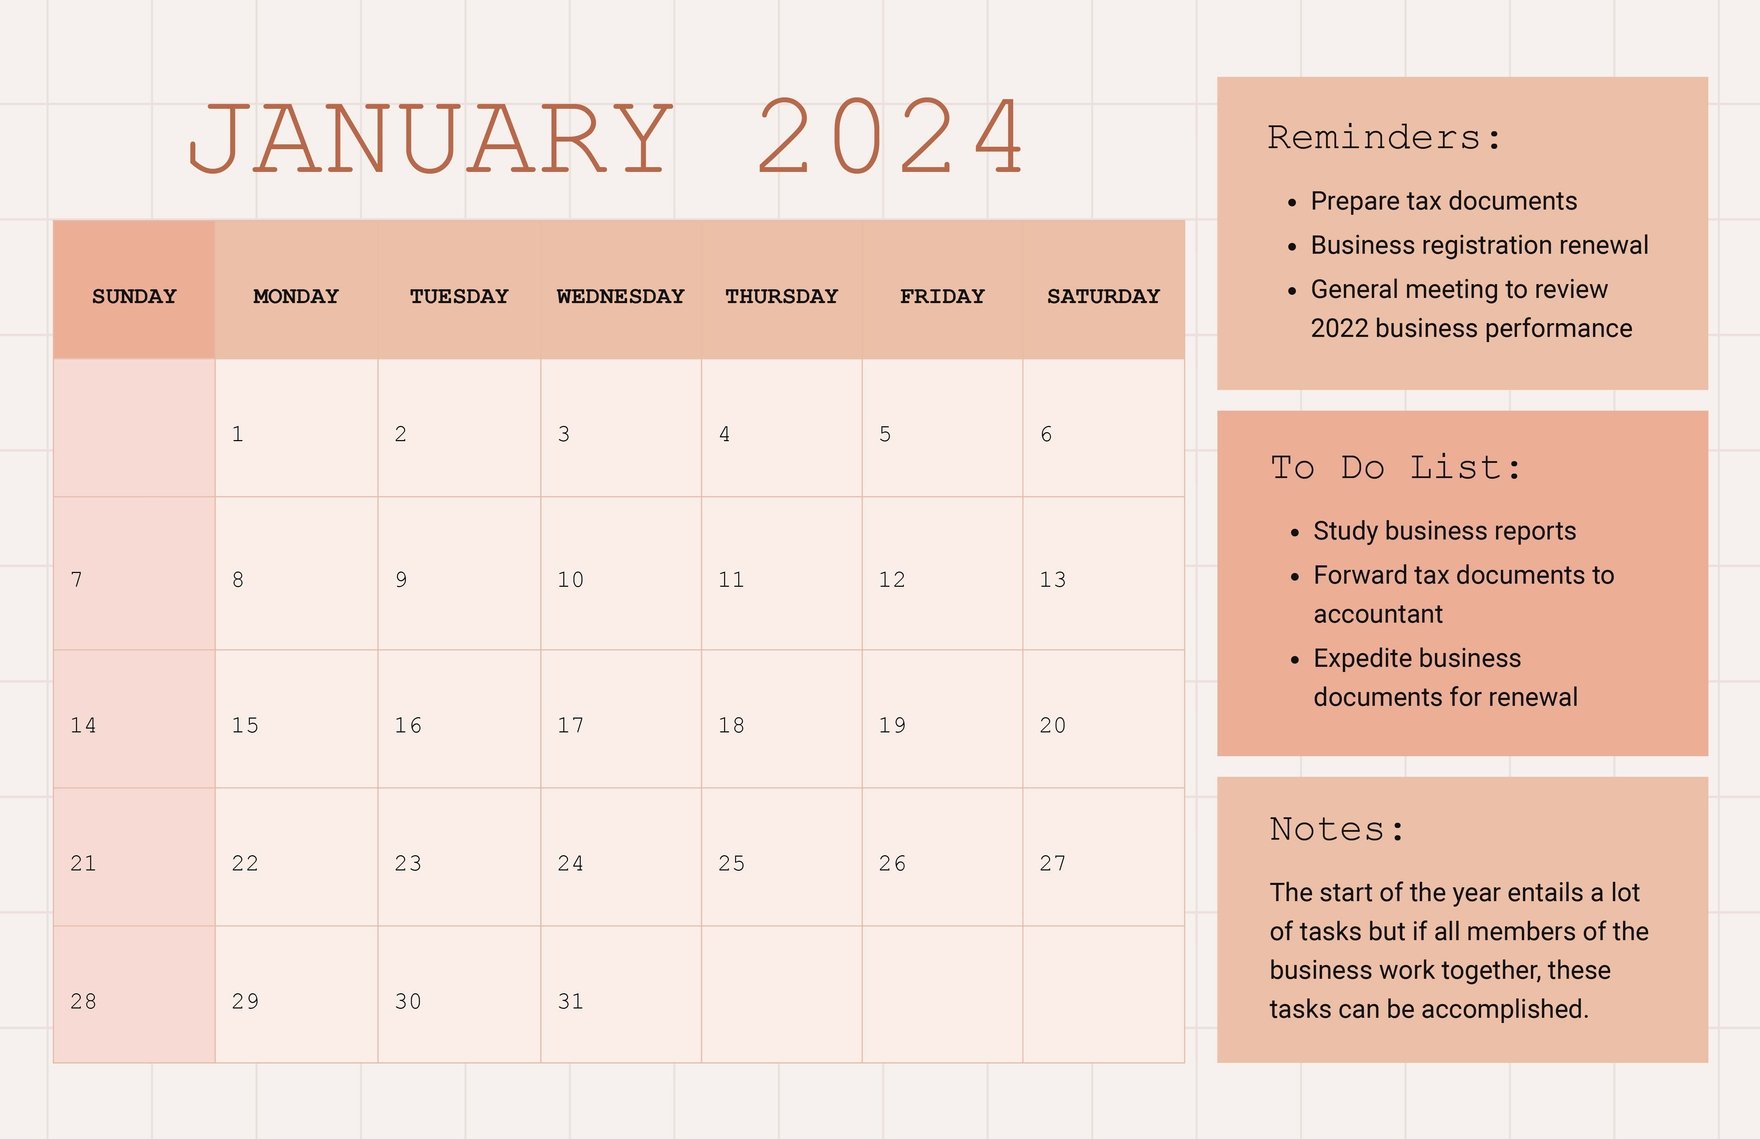
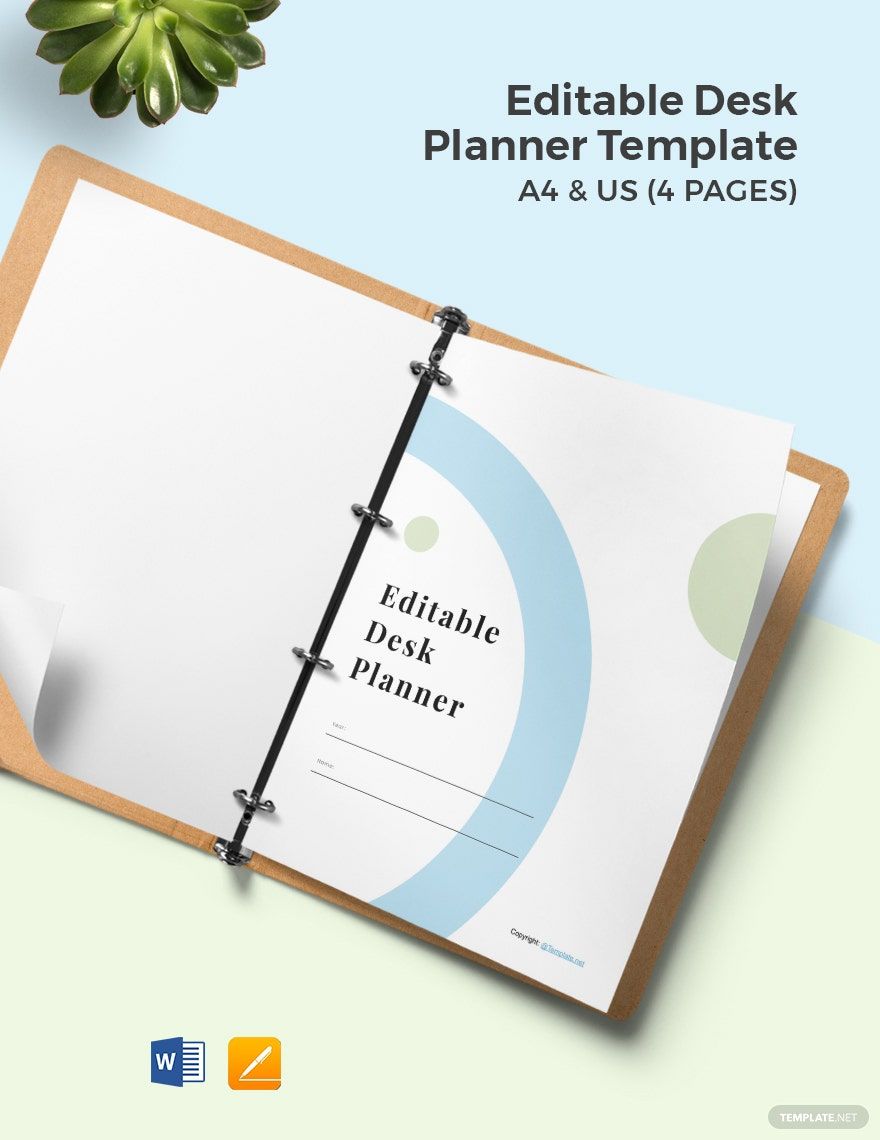
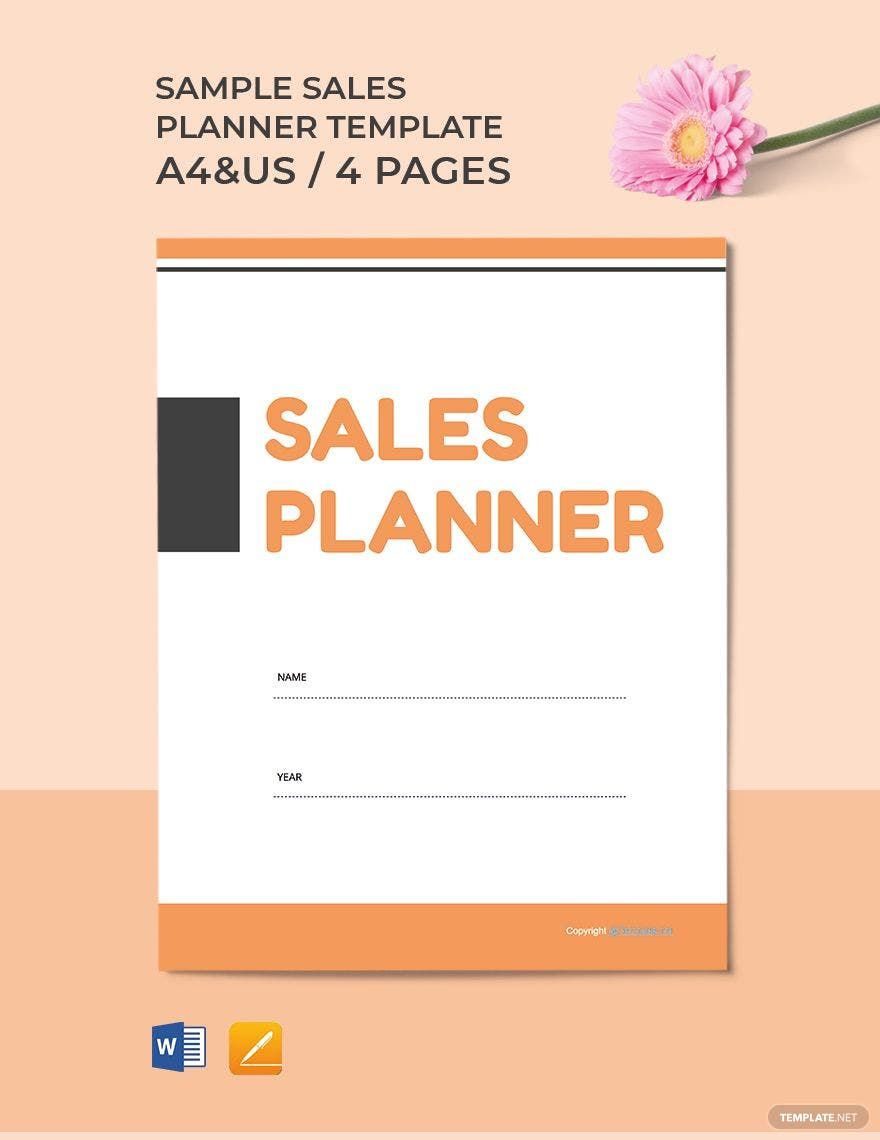
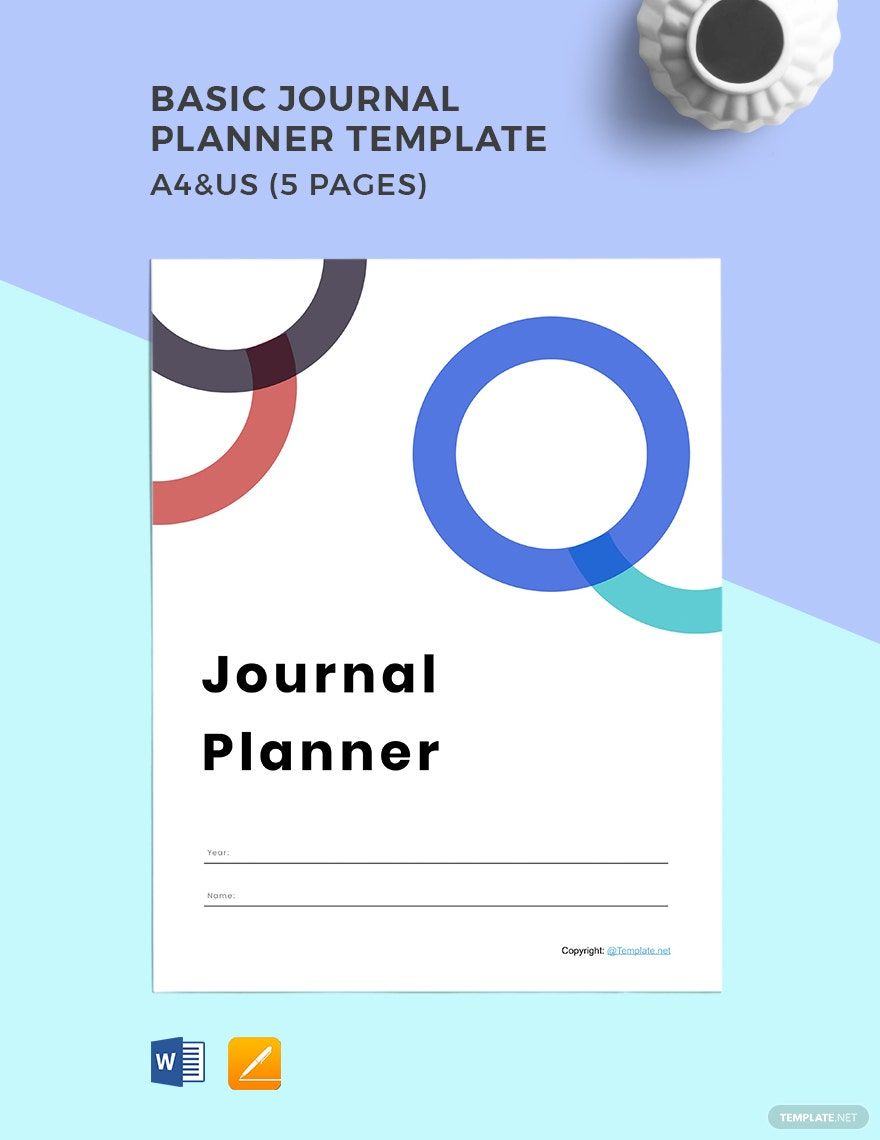
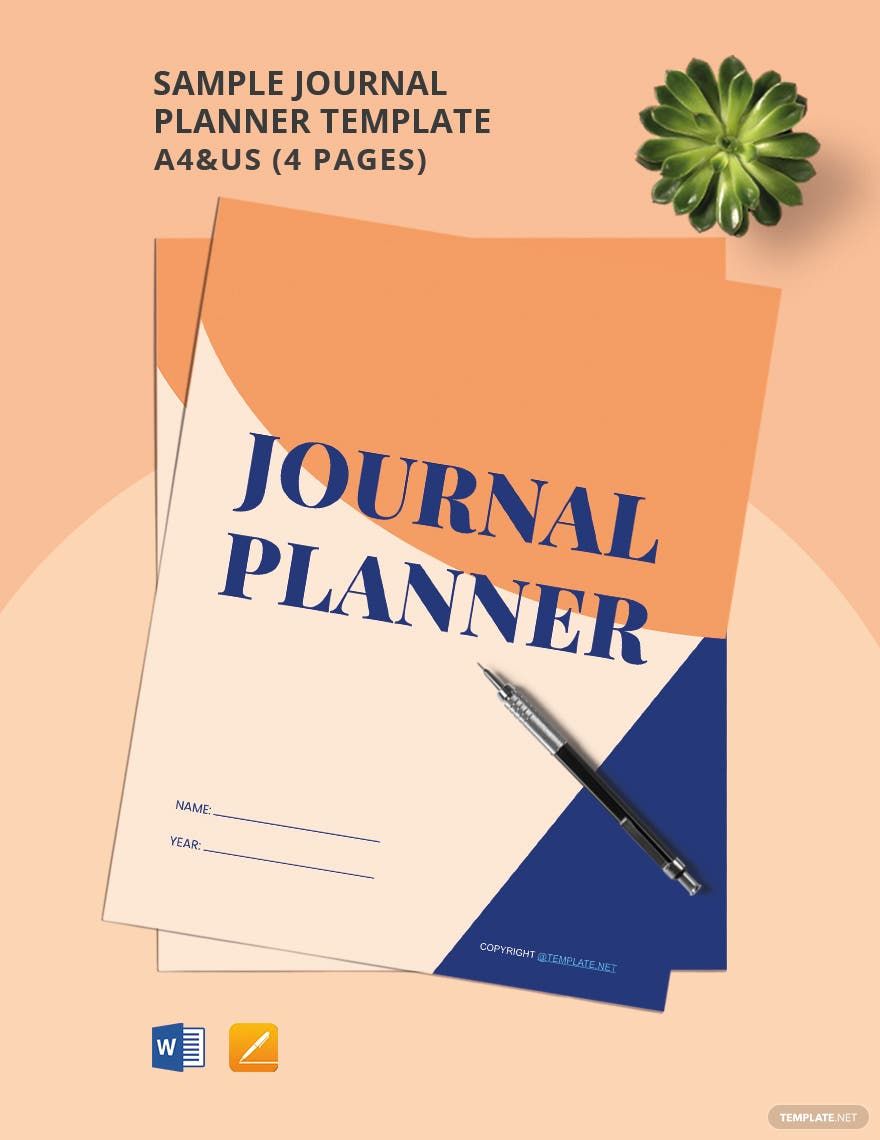
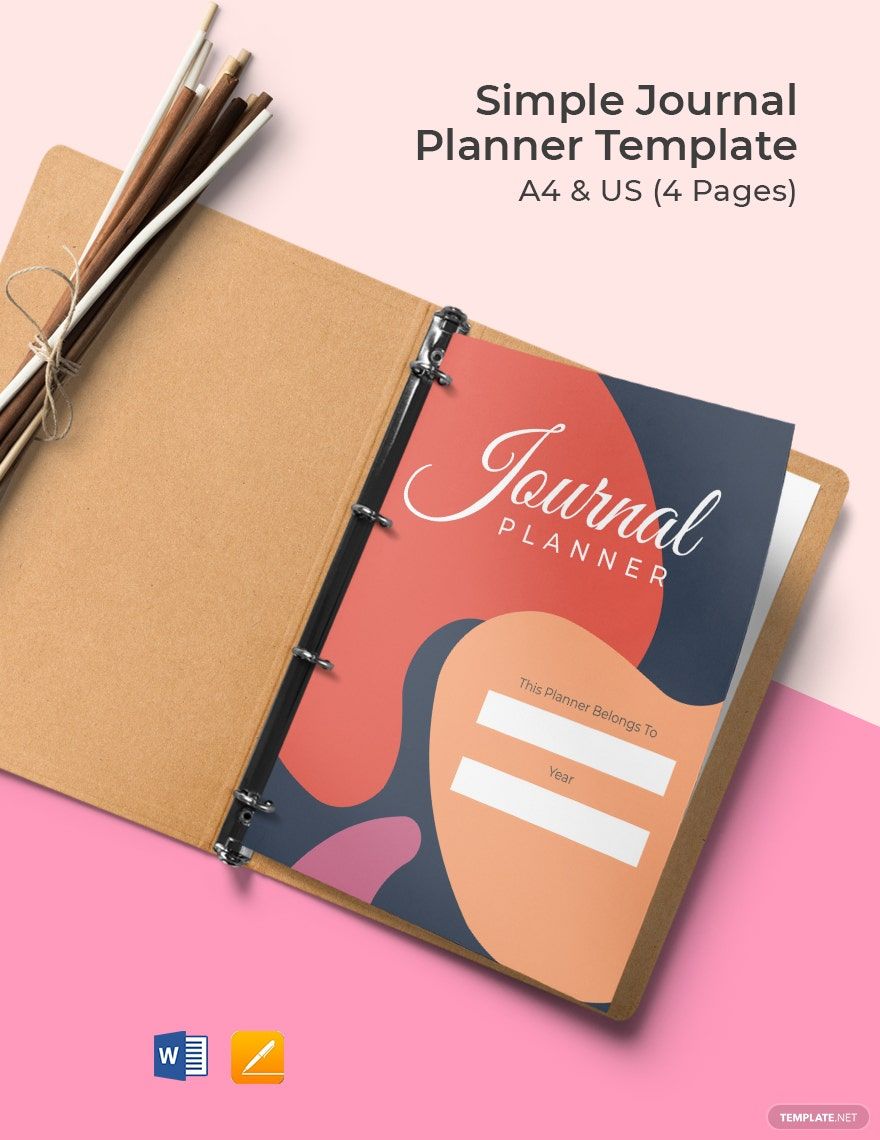
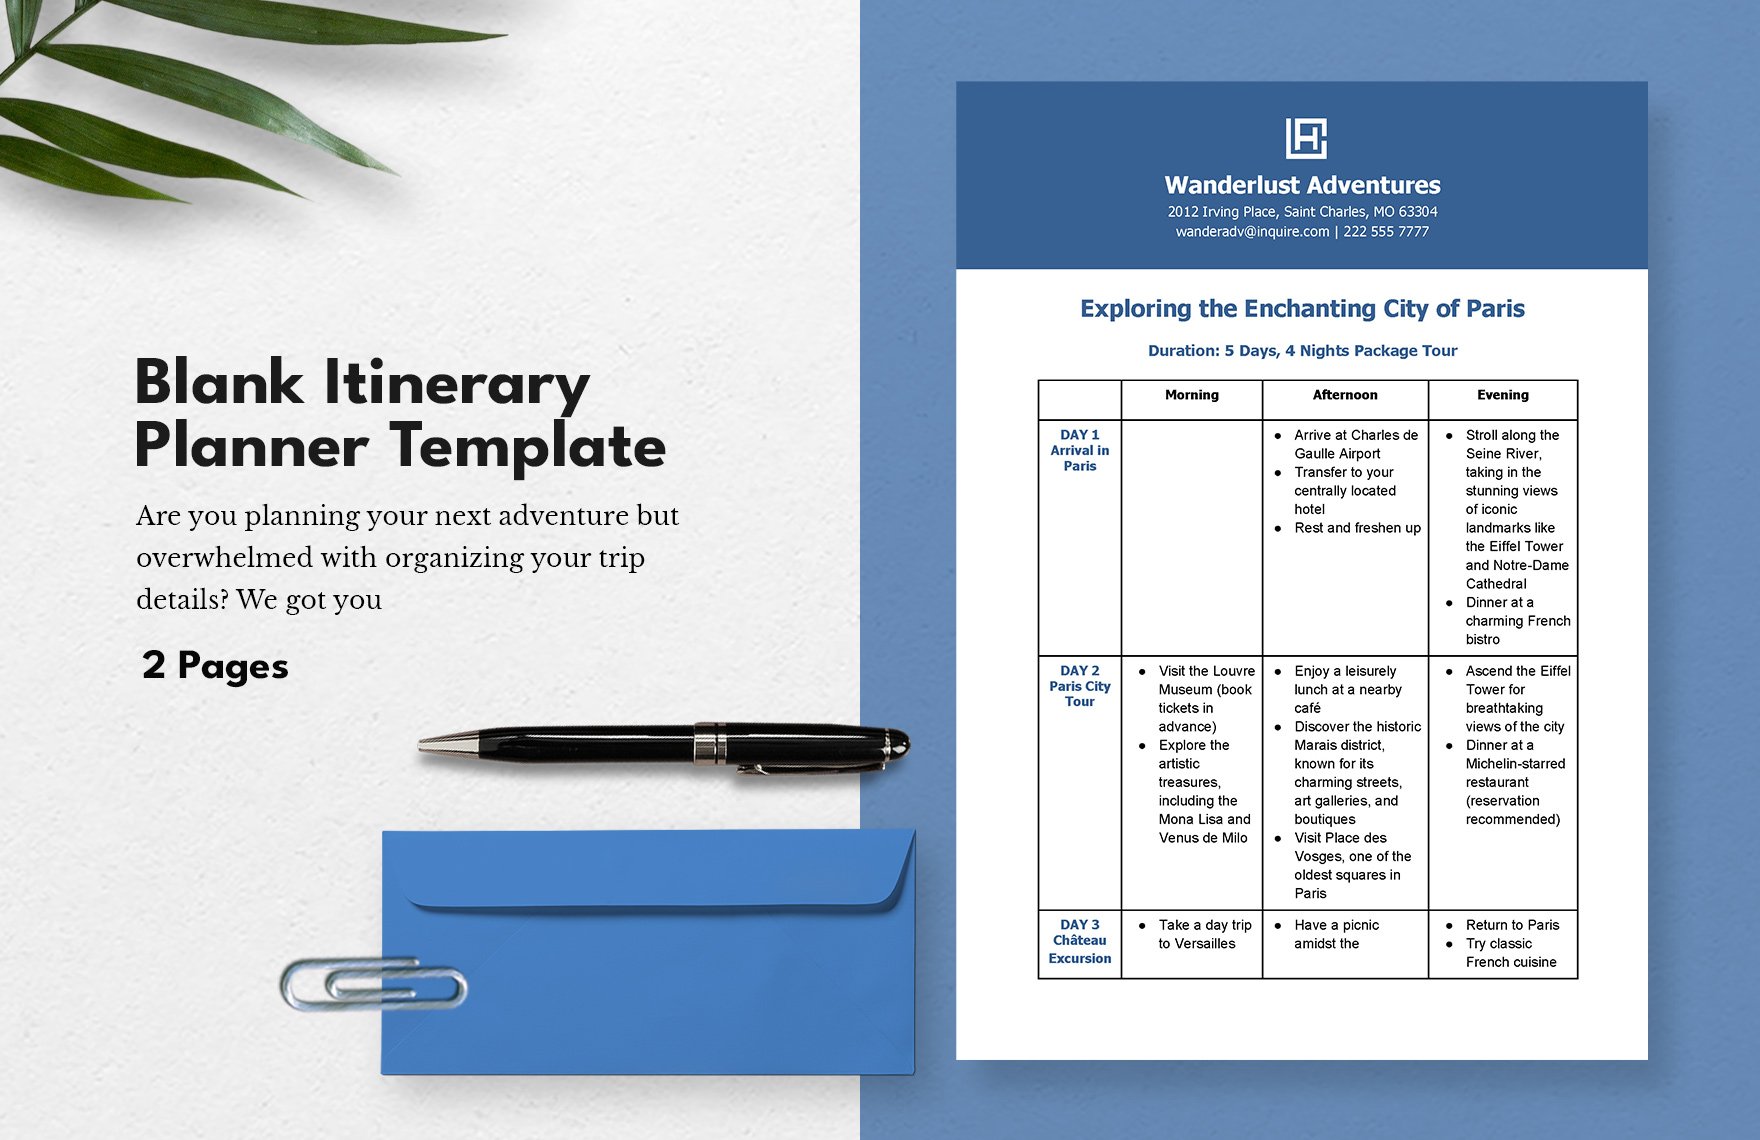
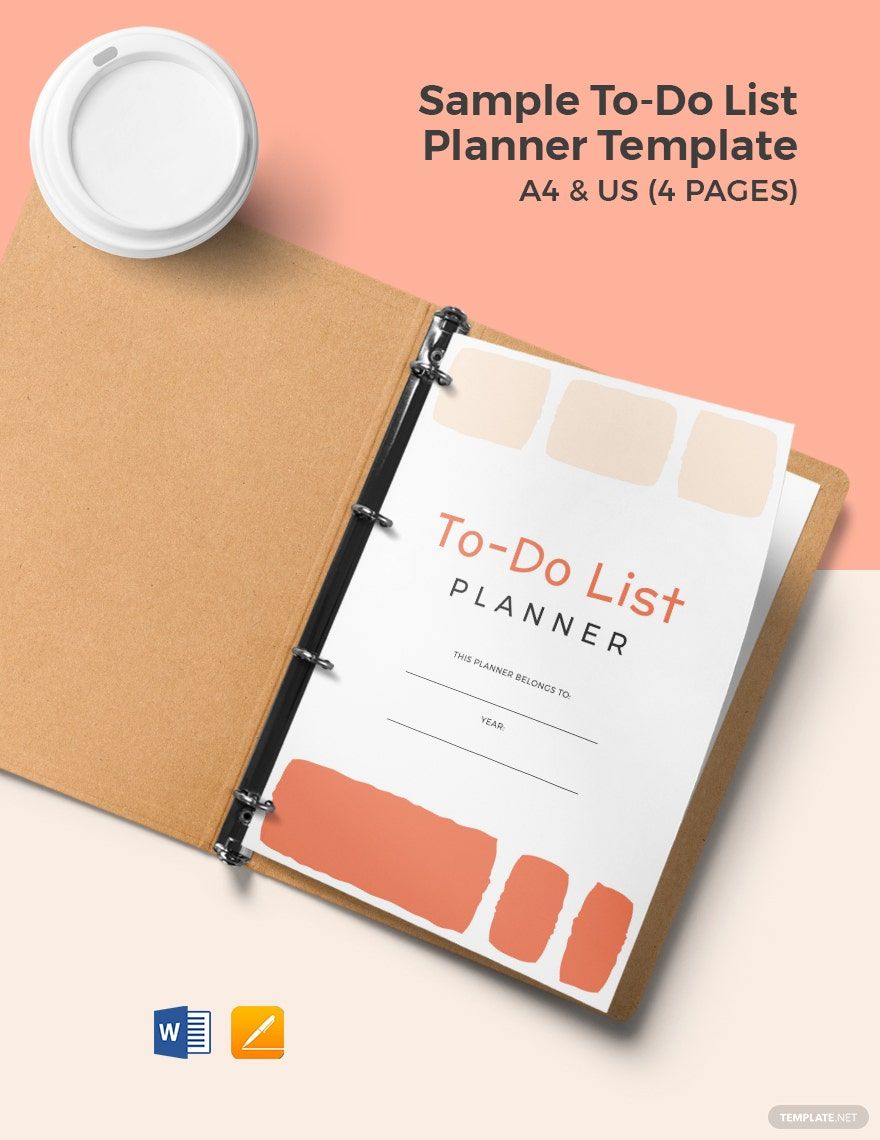
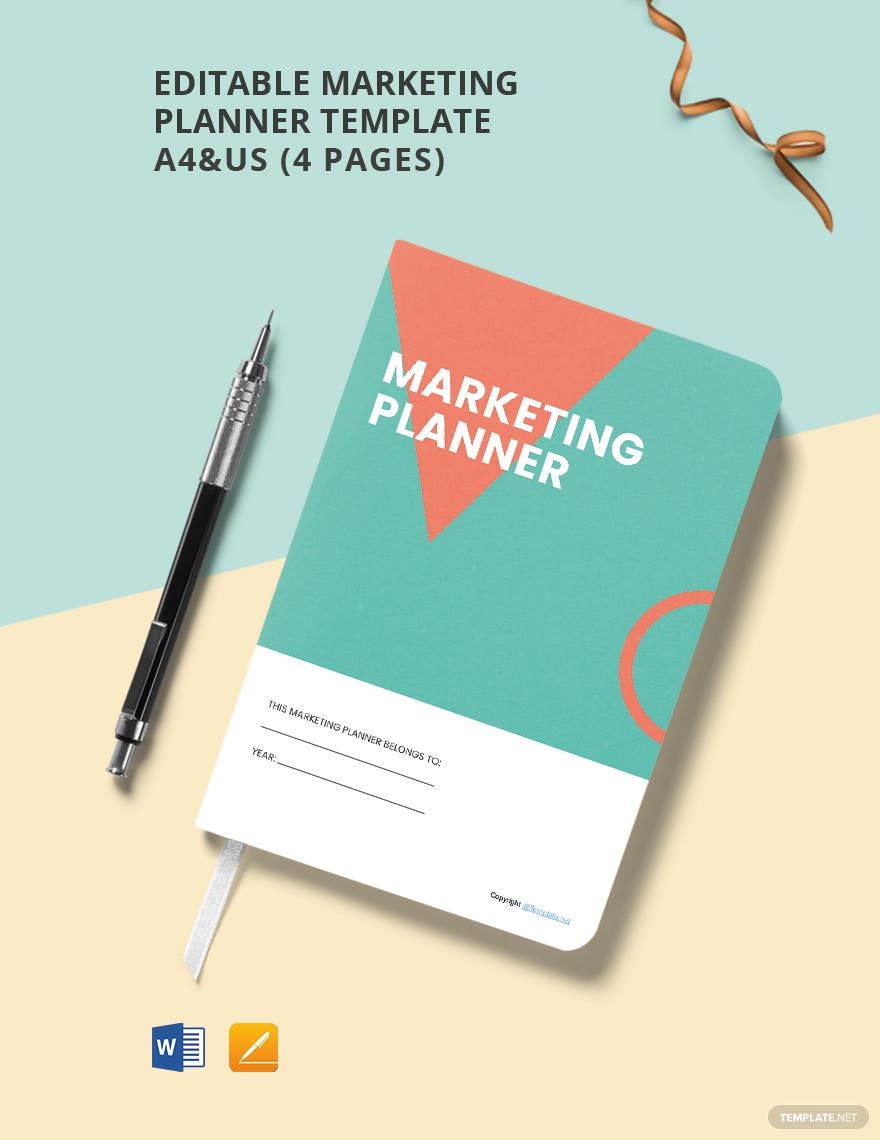
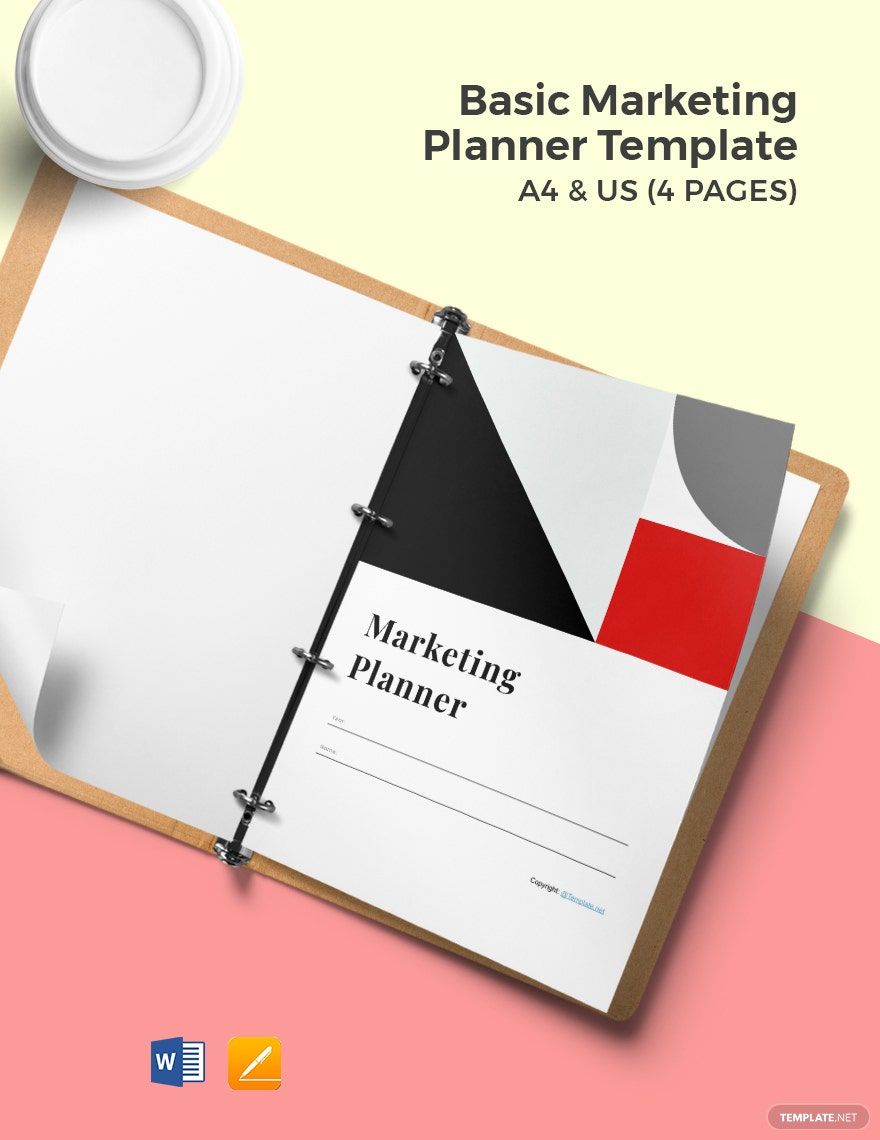
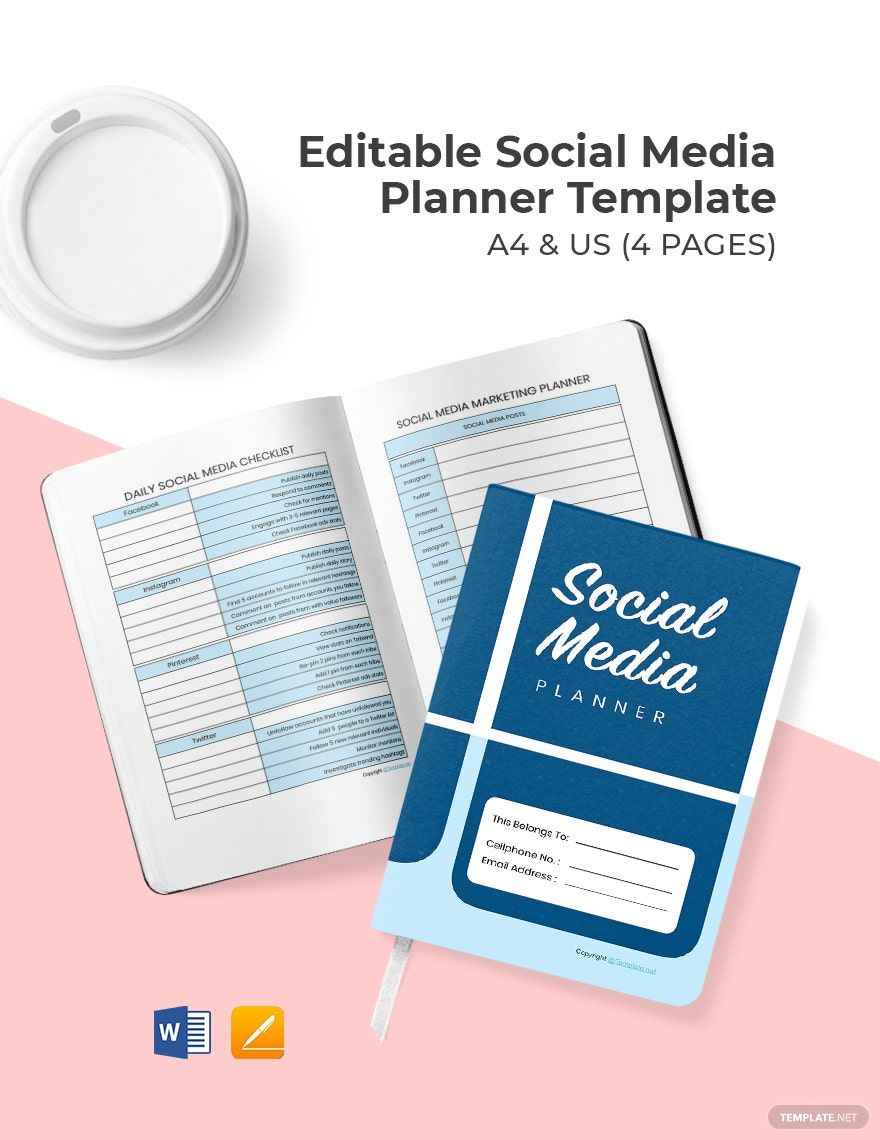
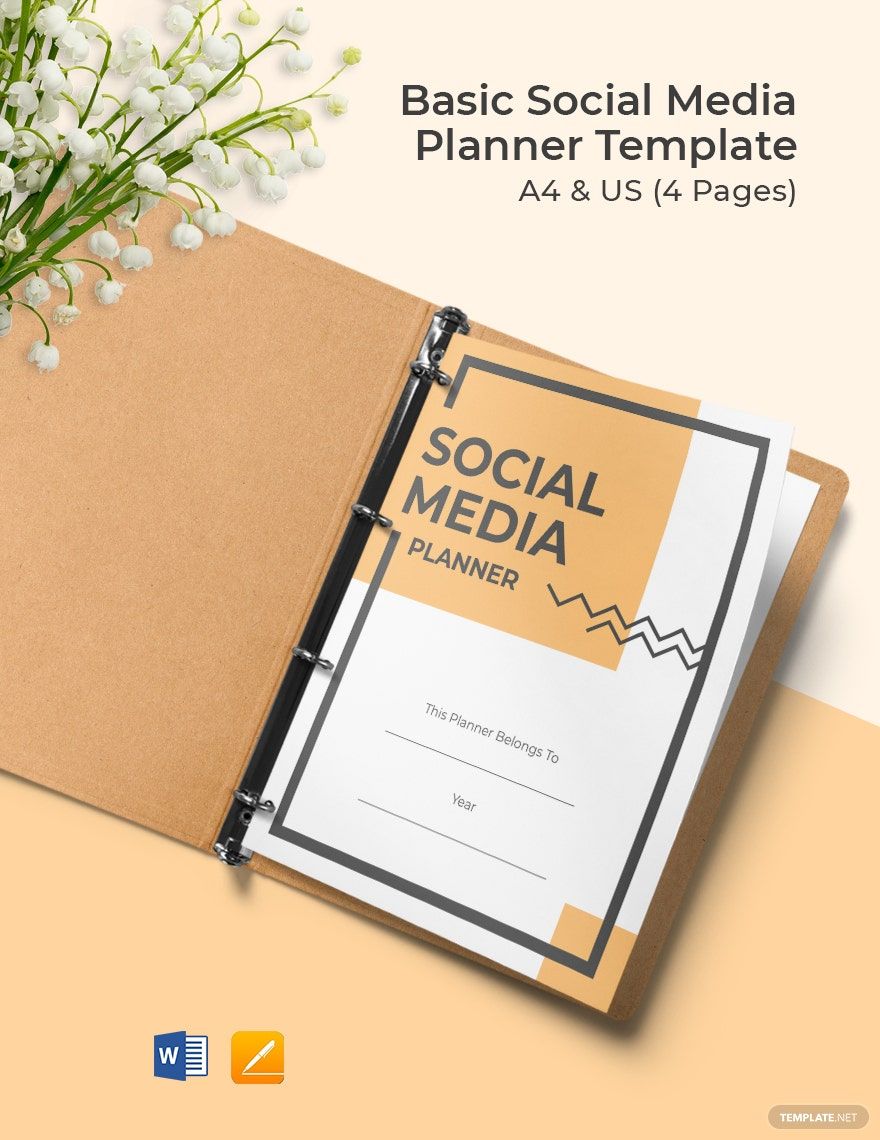
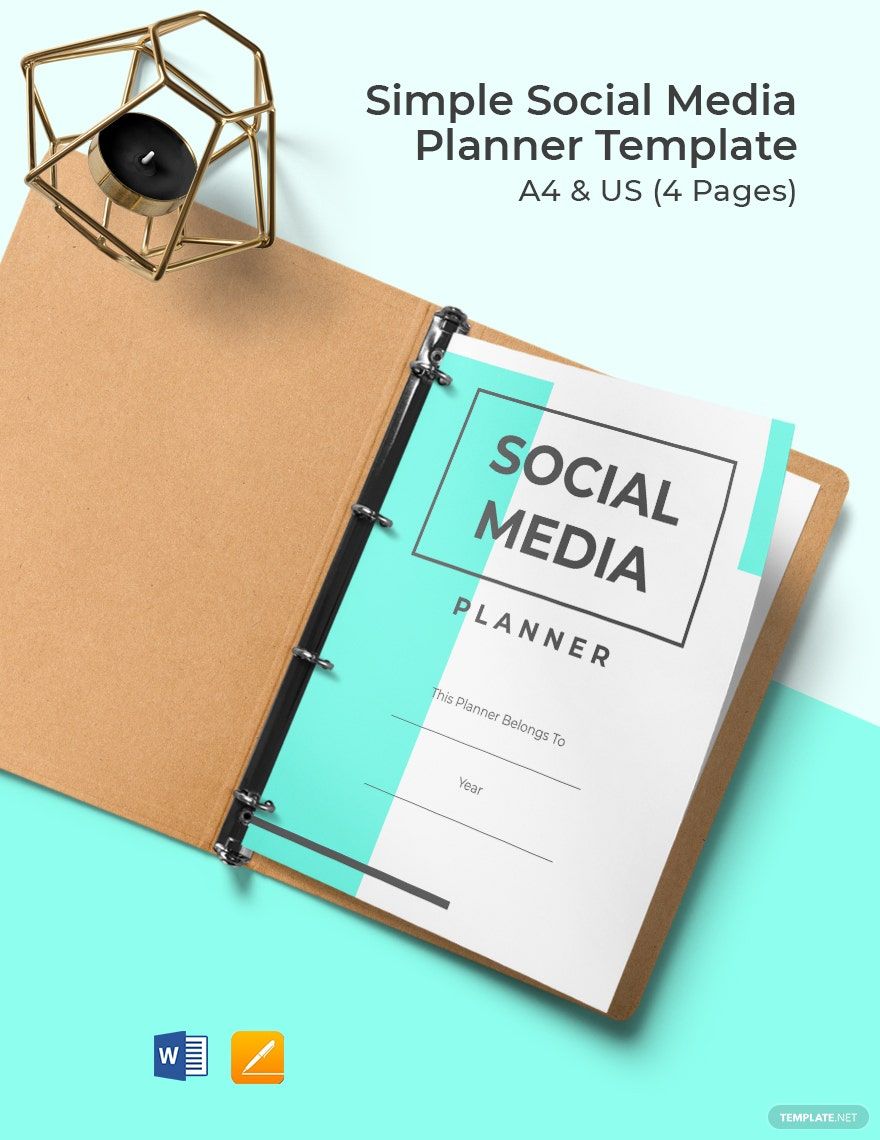
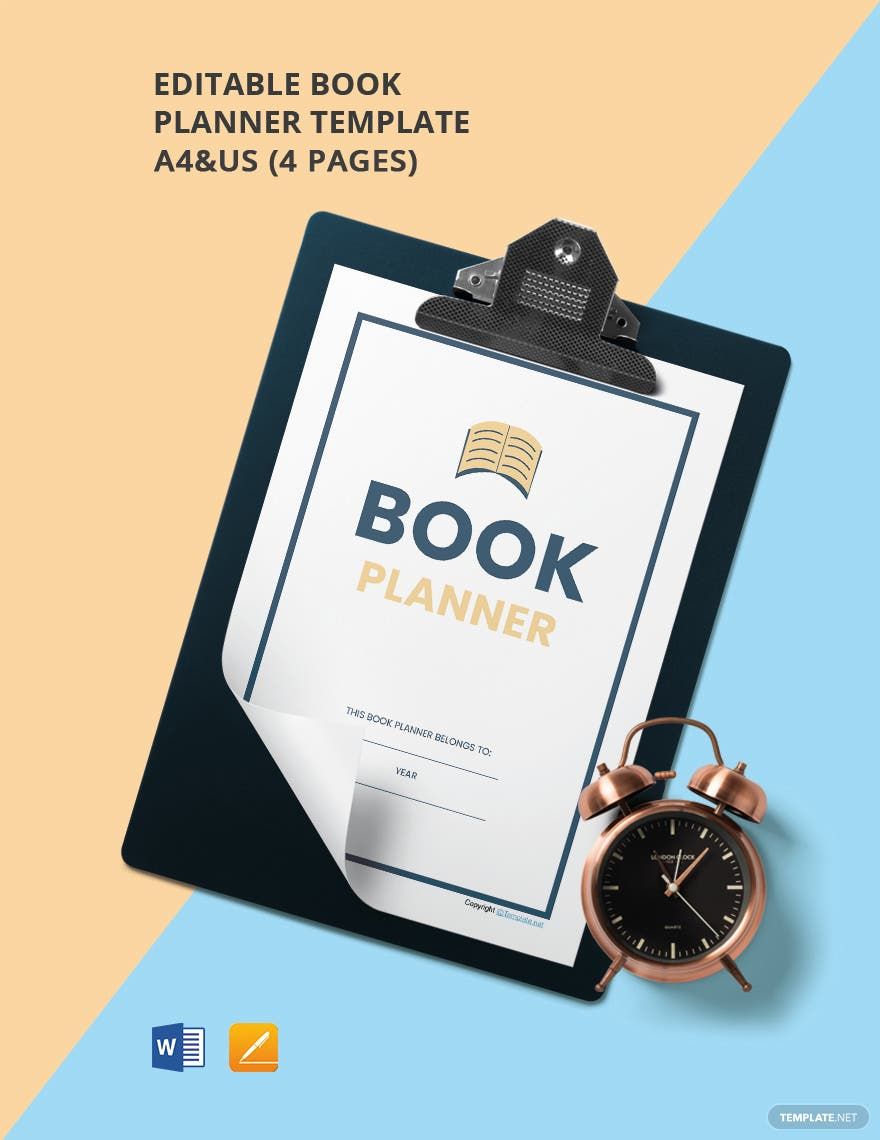
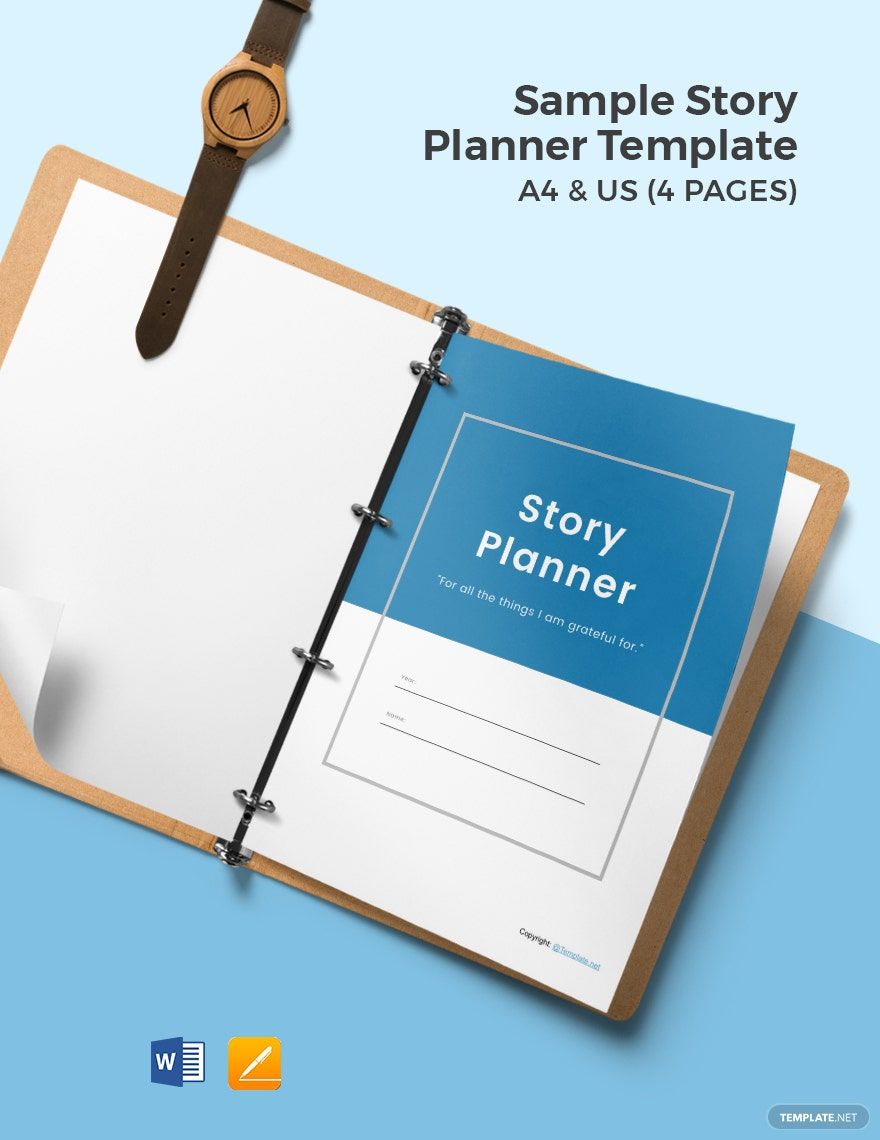
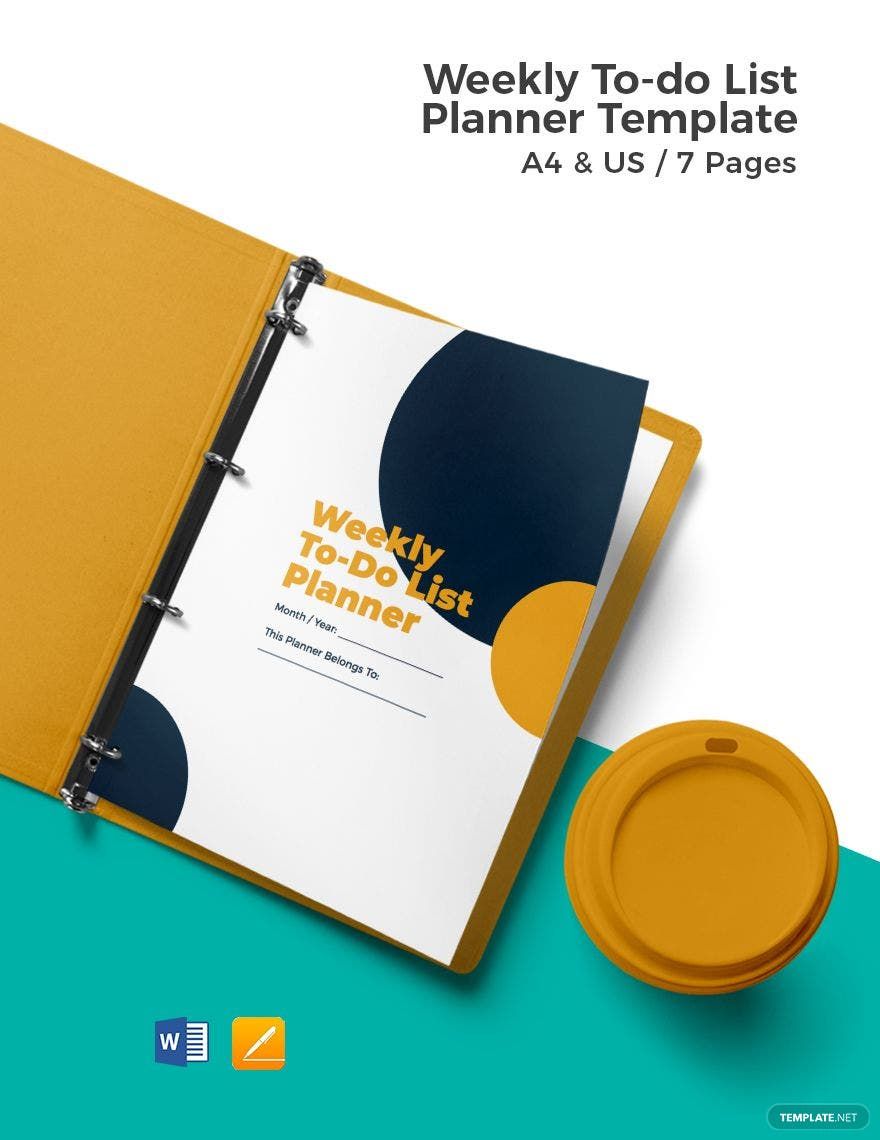
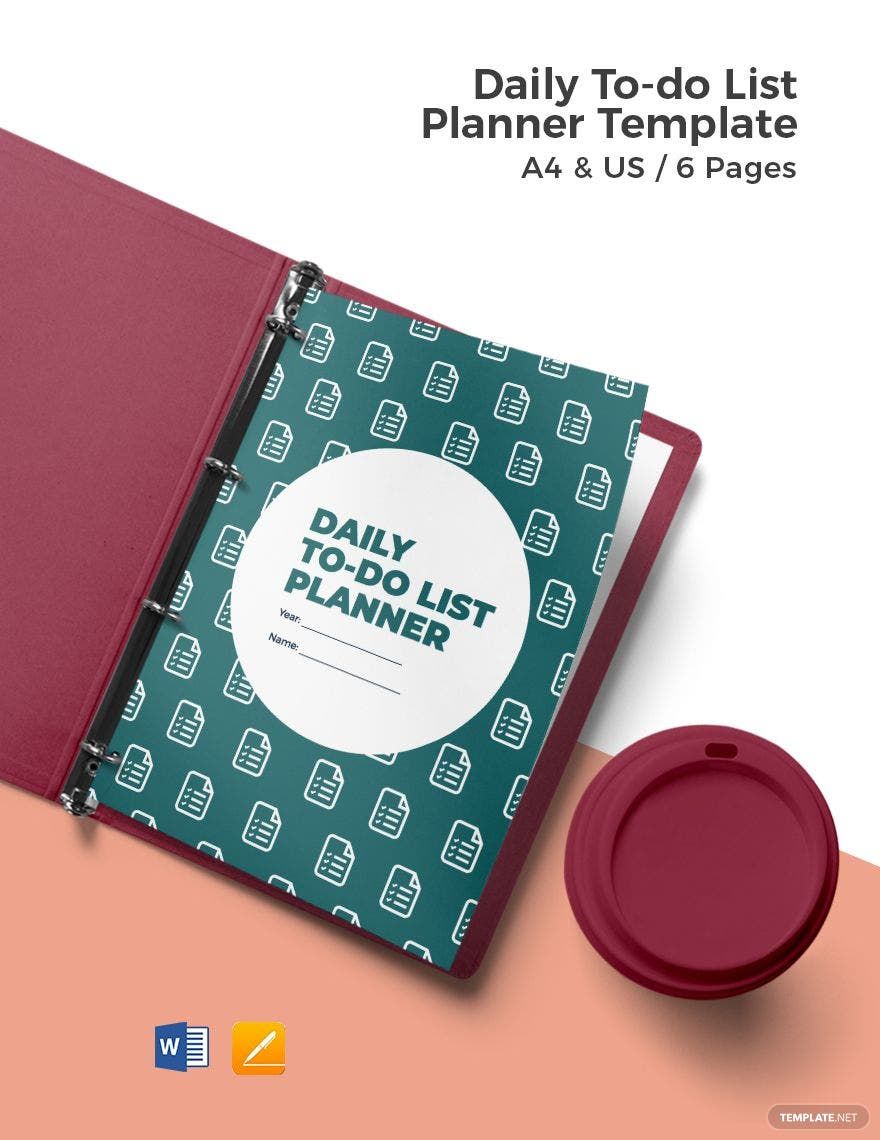
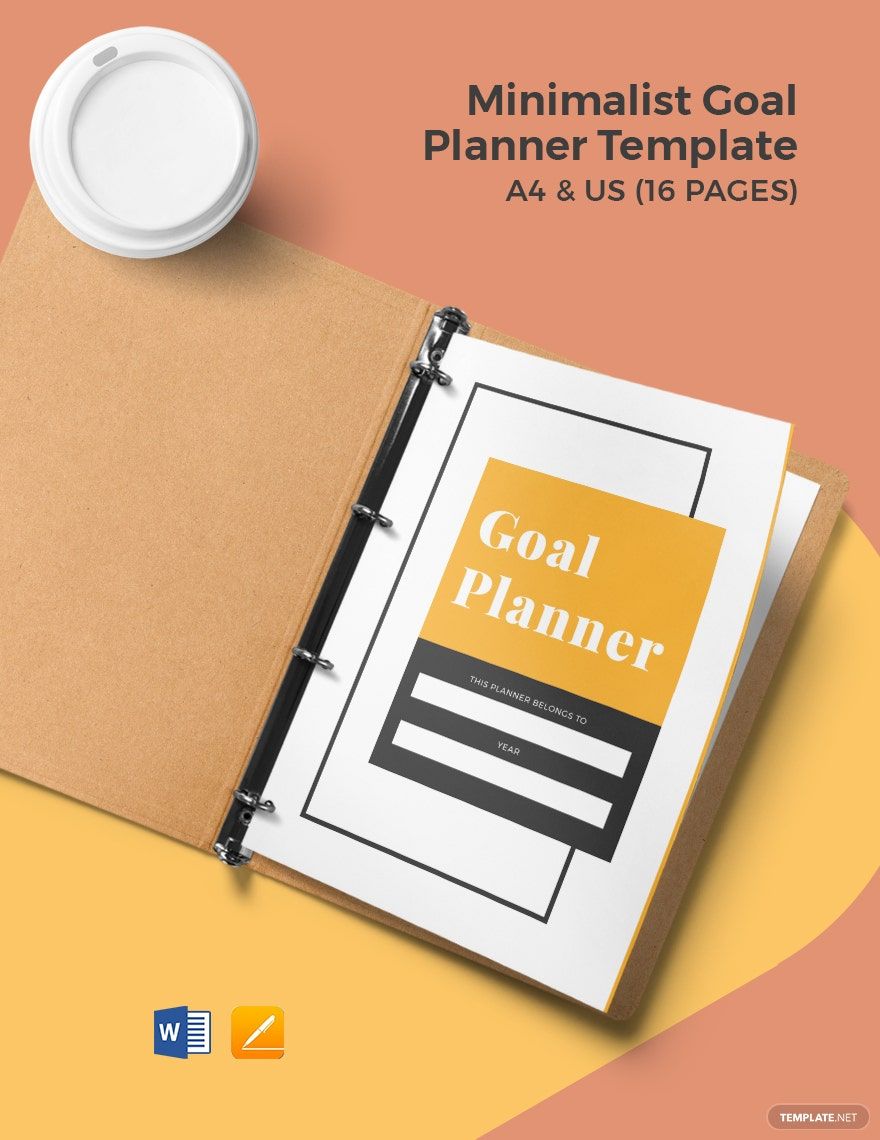
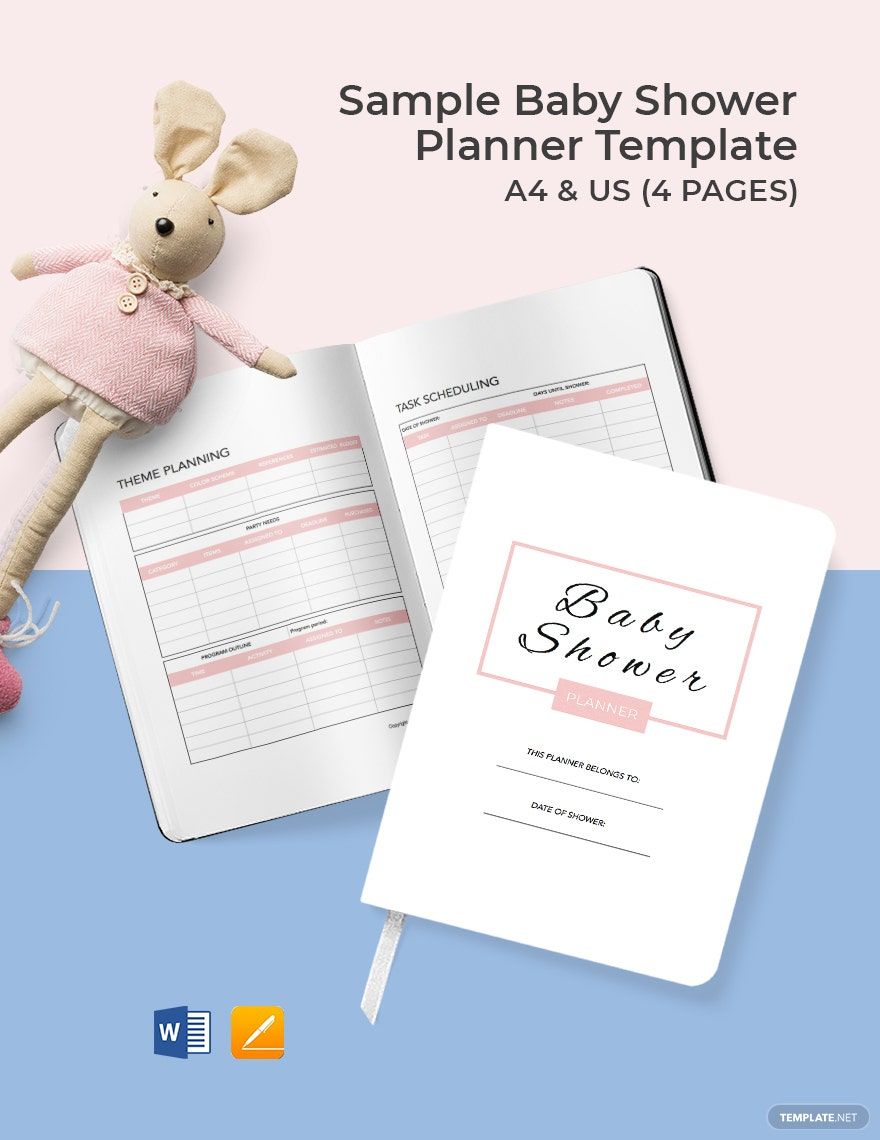
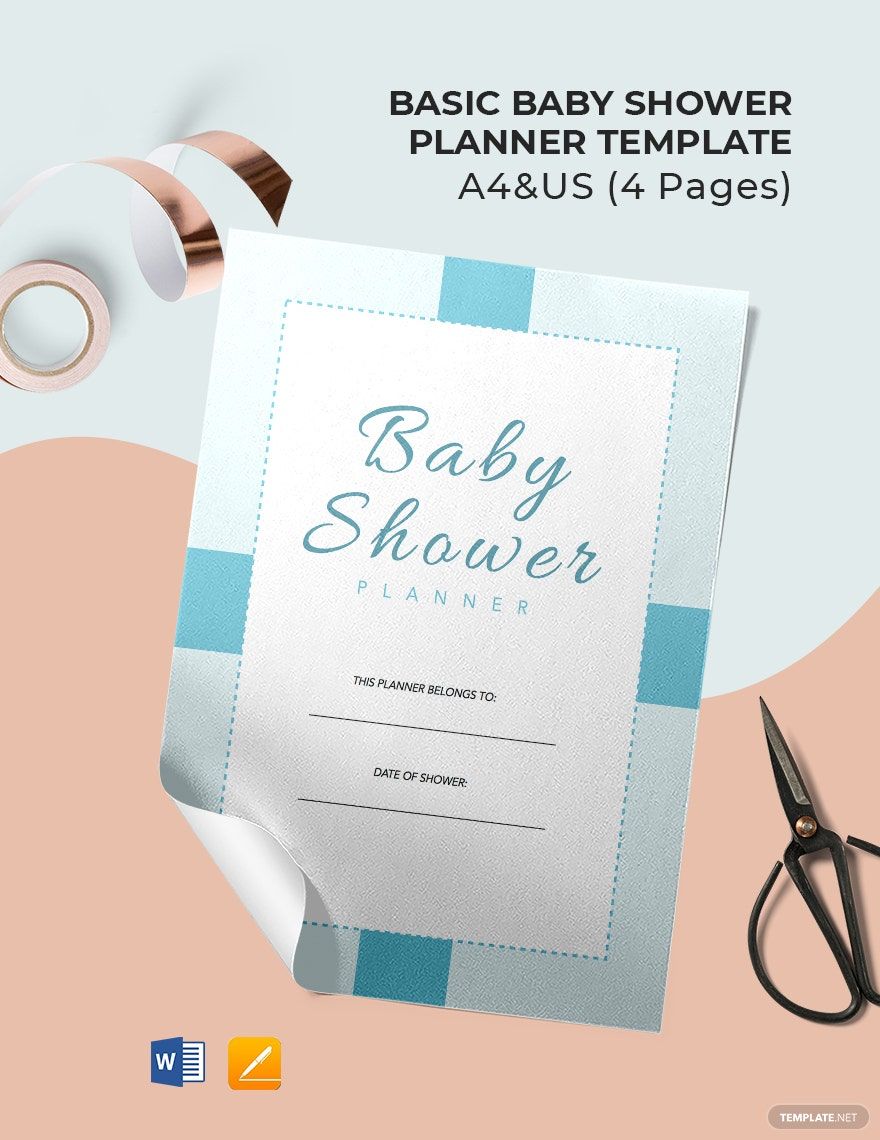
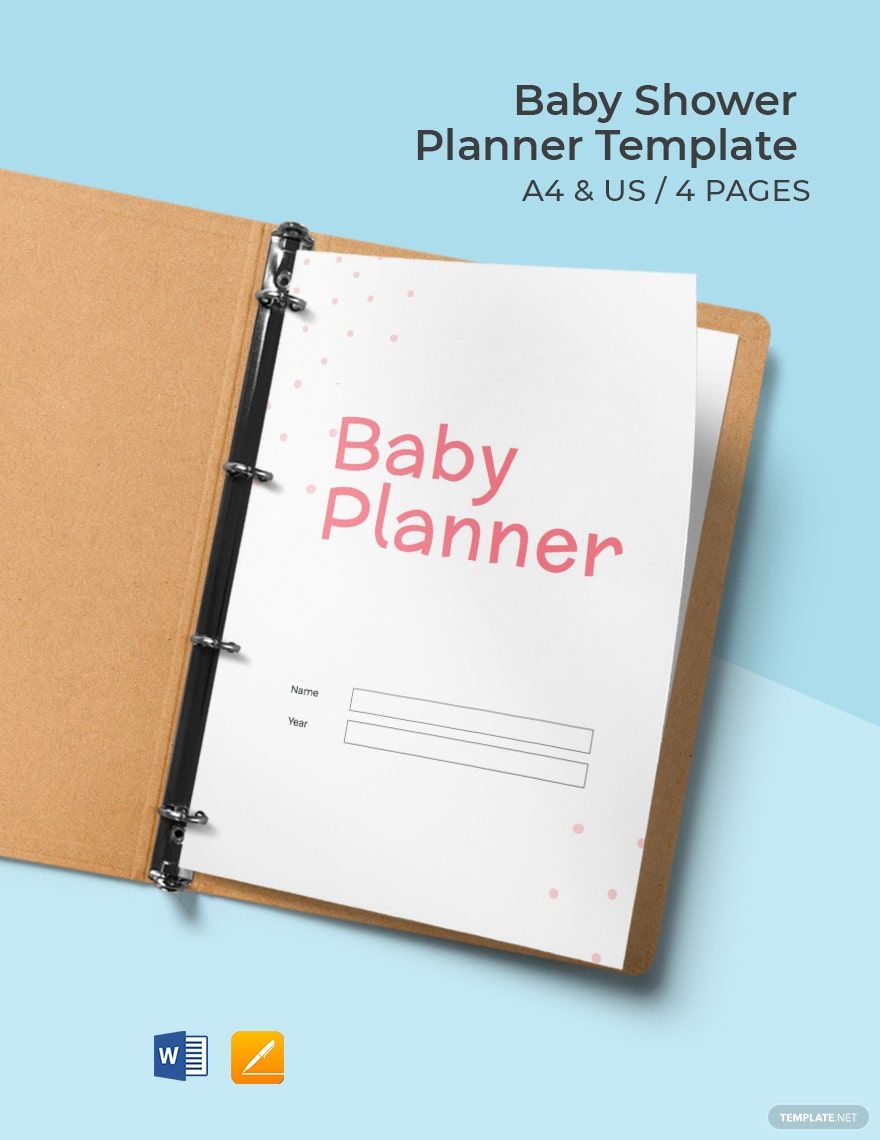
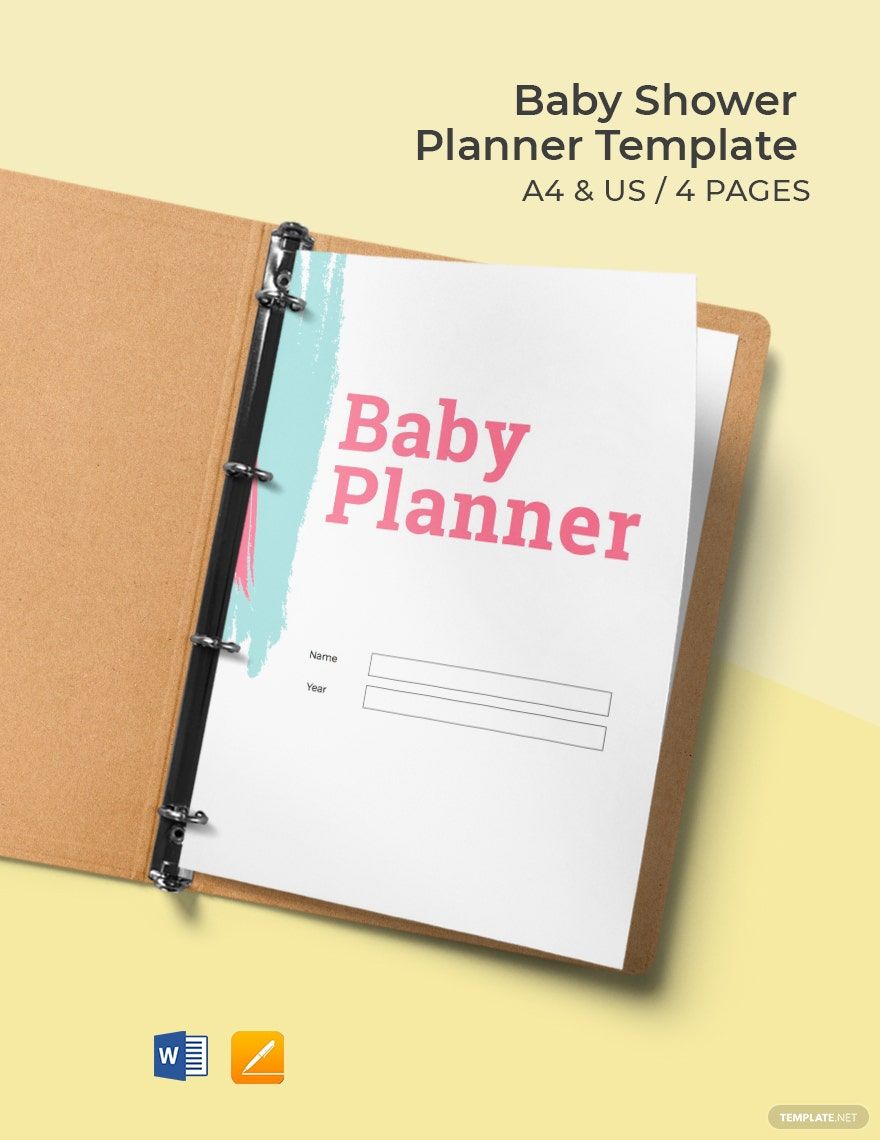
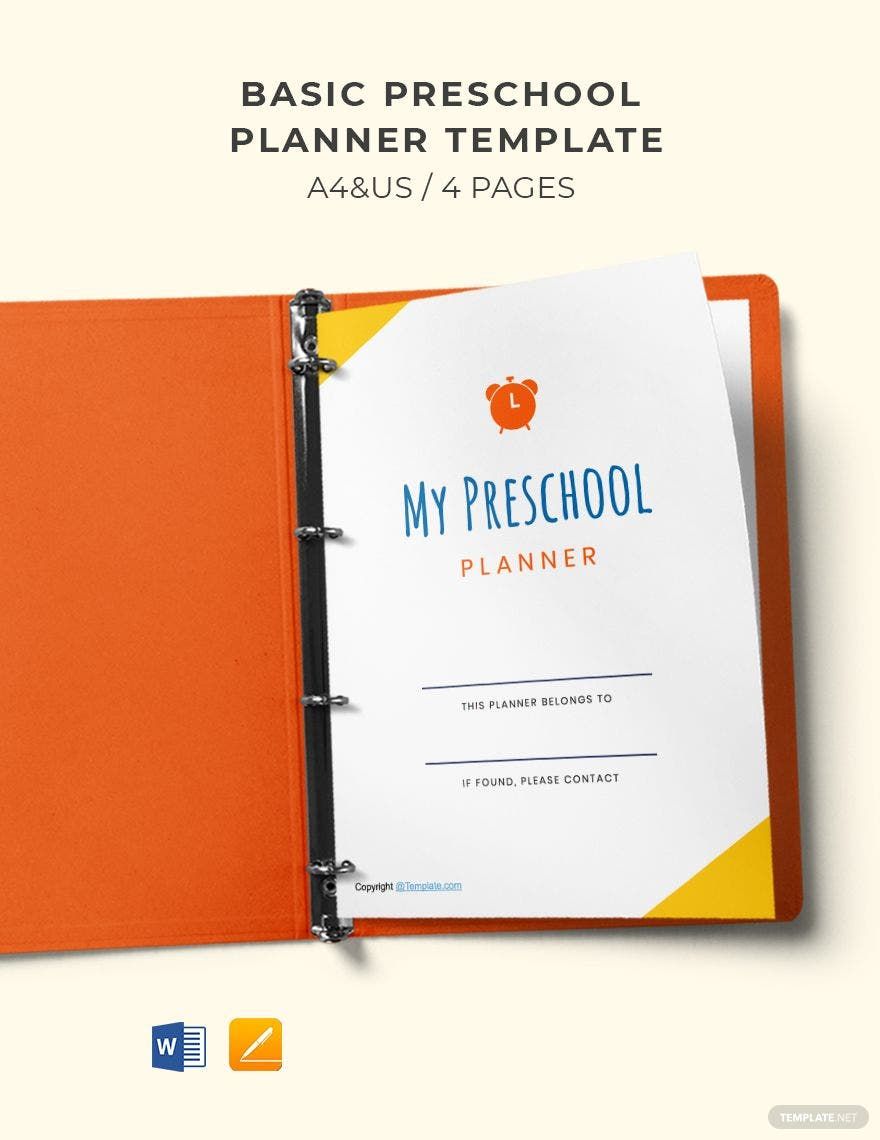
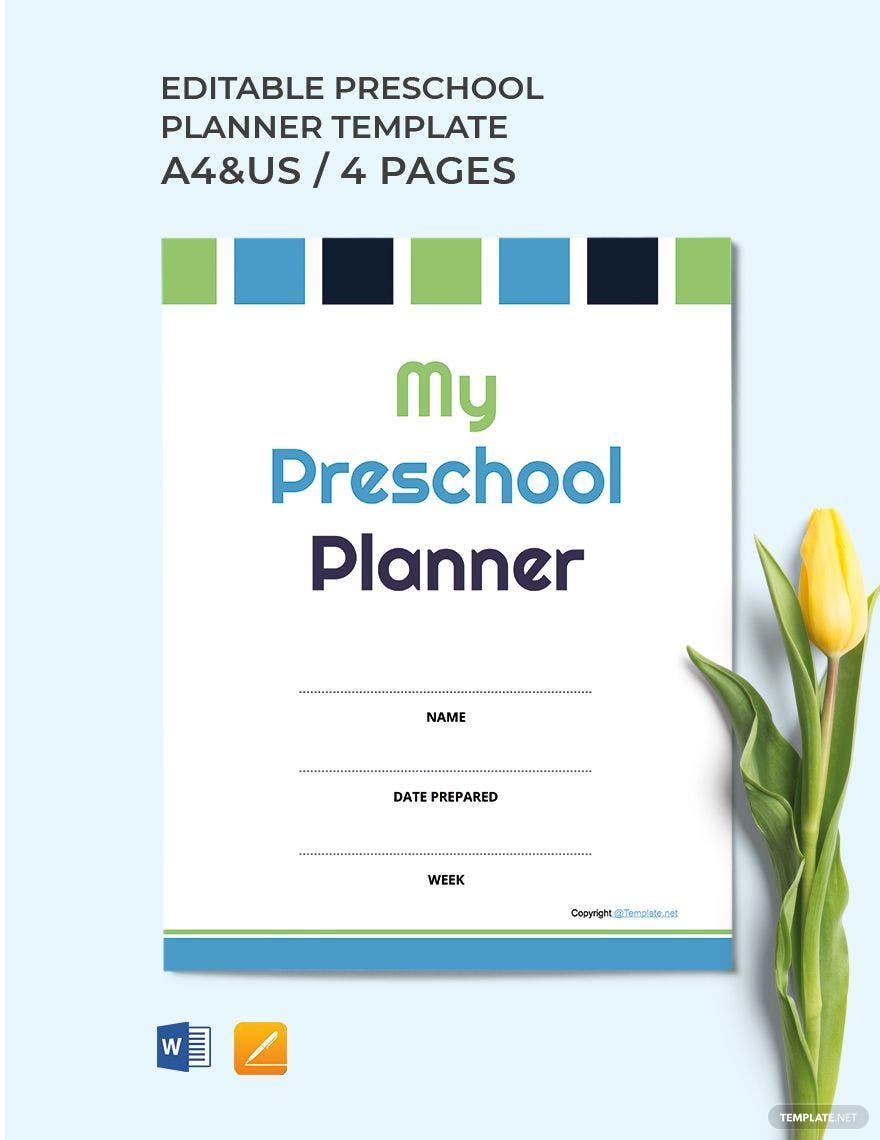
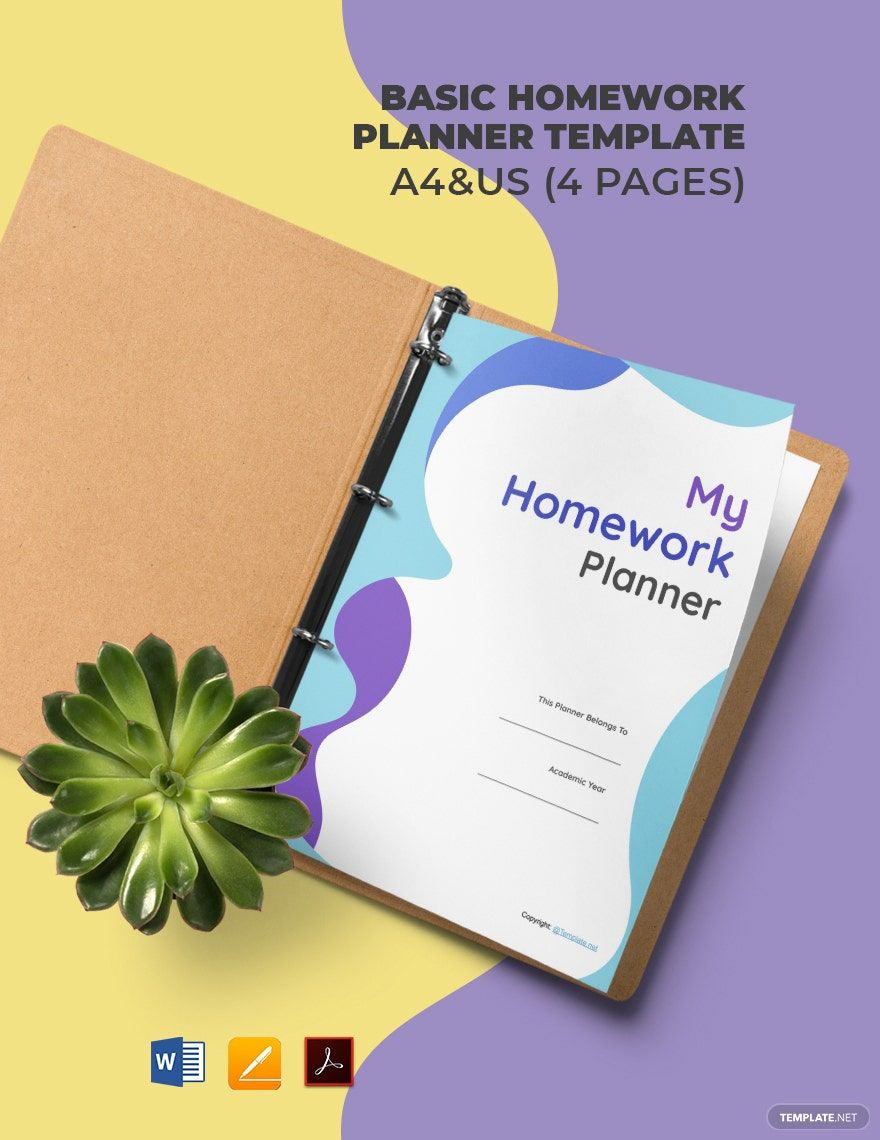
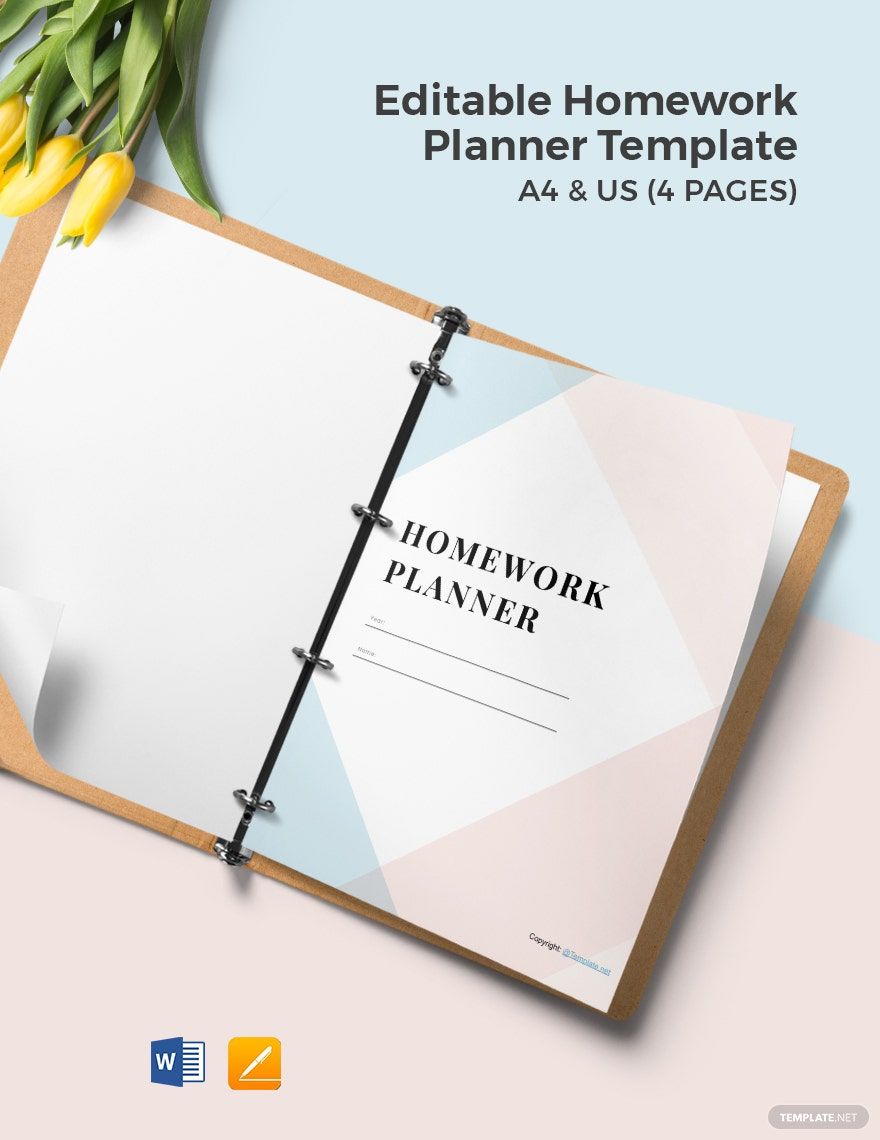
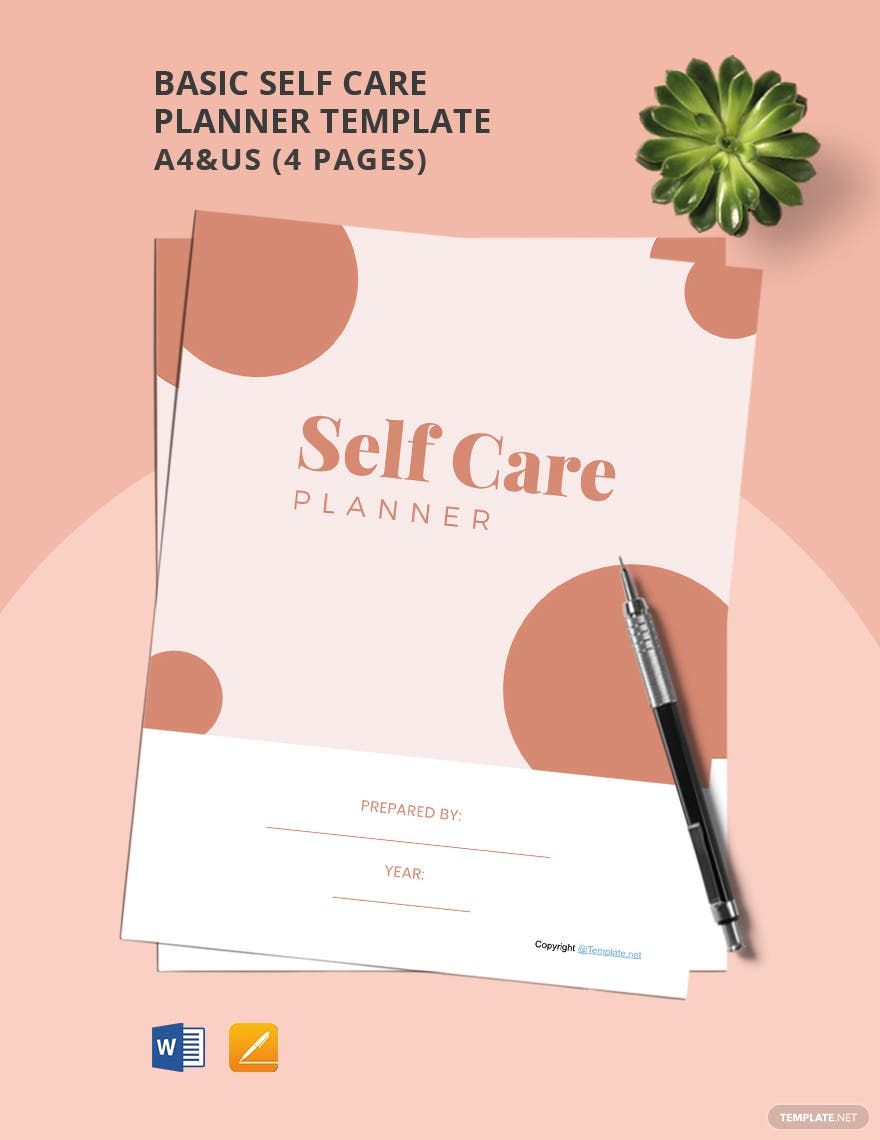
Mixed up schedules can be annoying, especially if you have deadlines to catch up to—may it be in school or work. Luckily, there is an available organizer material that helps you manage and plan errands, tasks, and appointments conveniently—planners. For that reason, we present to you our well-made and beautifully designed Printable Planner Templates print-ready in A4 and US sizes. Our planner templates come with premade designs, artworks, and sample content that you can easily customize in Apple Pages file format. Make your everyday schedule as organized as you want it to be by downloading any of our planner templates today!
How to Make a Printable Planner in Apple Pages
Planners help you organize important events or tasks that you need to do on a daily, weekly, or monthly basis. Besides that, it also gives you several advantages, according to an article from Psychology Today. Some of those advantages are it helps you improve work productivity, manage your time correctly, and reduce stress. So, if you want to plan your activities for a day, or keep track of your monthly budget, or plan your diet, a well-made planner will be a big help. Follow the tips we provide below to make one.
1. Create Pages
Begin making your printable planner by creating each page. Start by adding columns, tables, or charts. Then, input the days of the week and specify the time frame. To make your labels attractive and lively to look at, you can make use of aesthetic font styles. Nevertheless, you have to make sure that you add days, weeks, or months enough for your target period.
2. Add the Content
The content on each page of your printable planner varies as to what you want to manage or organize. For instance, you want to plan your family's daily or your weekly food menu. So, the text in your menu planner may include your daily meal plan, a list of your food recipes, a shopping list, or a pantry inventory list. Motivational and inspiring quotes would also be a good idea. You may also include a notepad where you can write essential reminders. Putting a reflection page wherein you can share your thoughts would even be useful.
3. Design the Planner
This section gives you the freedom to be creative in crafting attractive designs and illustrations for your sample planner. Design your printable planner based on your taste and how you want it to look. Doing this is not that hard if you know what editing software to use. We suggest you design your monthly planner in Apple Pages—a word processor that does not only enable you to encode text but also structure designs and illustrations. Using this application is also convenient since it is available on any device such as Mac, iPad, or iPhone, or a PC.
4. Print the Pages
After designing and adding the content of your printable planner template, the next thing you need to do is to print it out. In doing this, make sure to use first-rate printing papers of your choice. However, you have to make sure that the paper stock that you will use is compatible with your good-as-new printing machine. This tip is essential to make sure that you will produce a high-quality, simple planner.
5. Put in a Binder
When you finish printing your printable schedule planner, it is now time for you to put all the pages together in a binder. Doing this keeps your simple planner safe and easy to access. Make sure that the binder suits the length of your planner pages. You may also attach your printable planner to your calendar. However, if you want your printable planner to be more accessible, you can always save the file from Apple Pages to your iPhone or Macbook.
