Bring Your Real Estate Credentials to Life with Real Estate Certificate Templates from Template.net
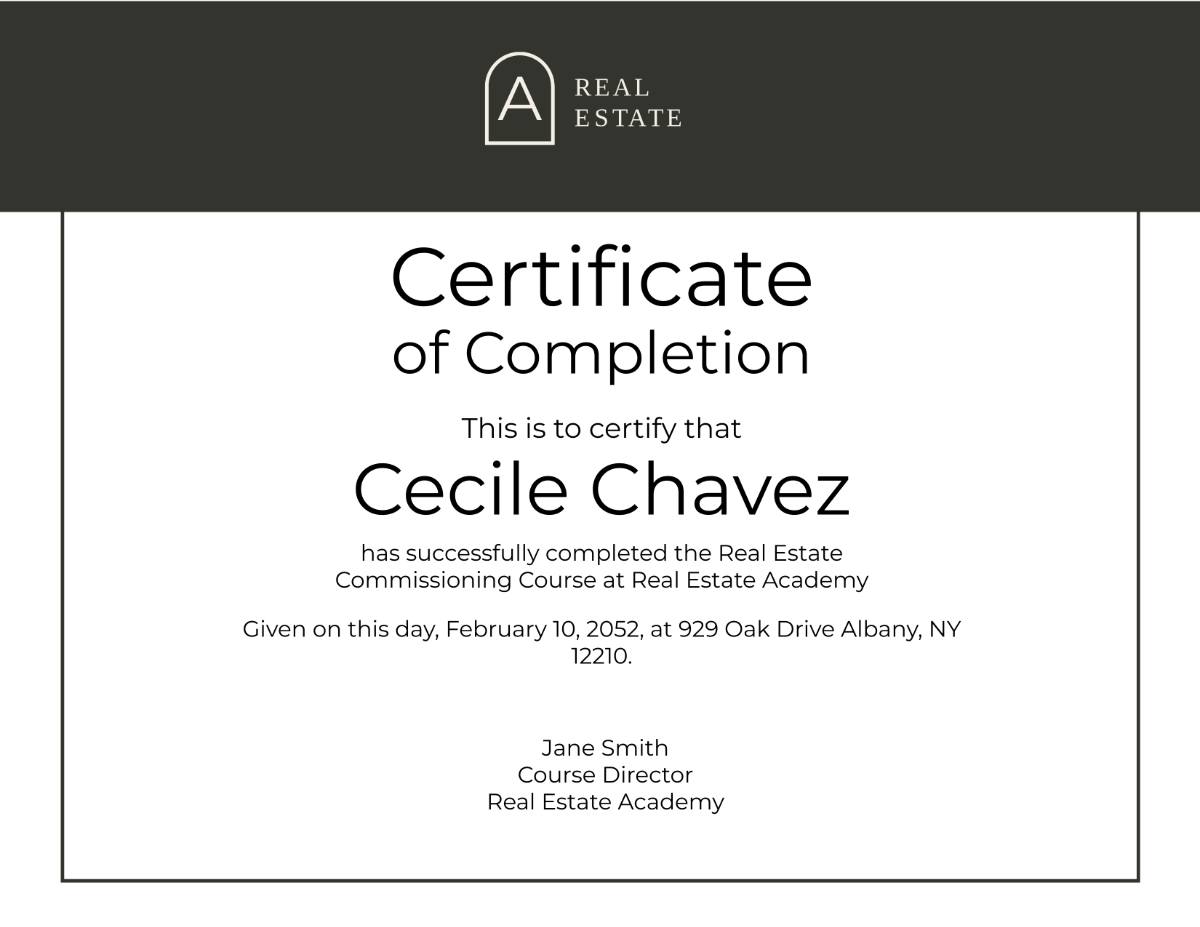
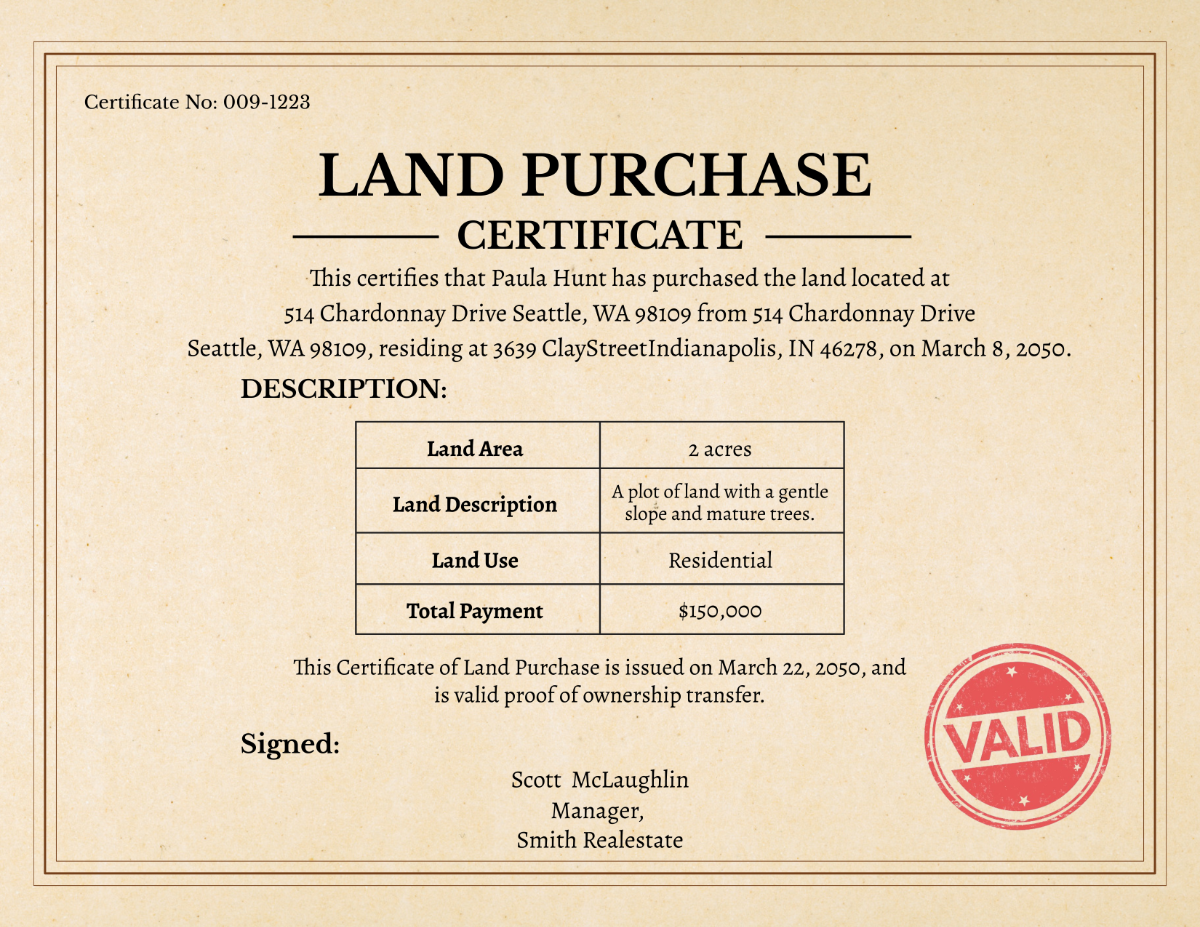
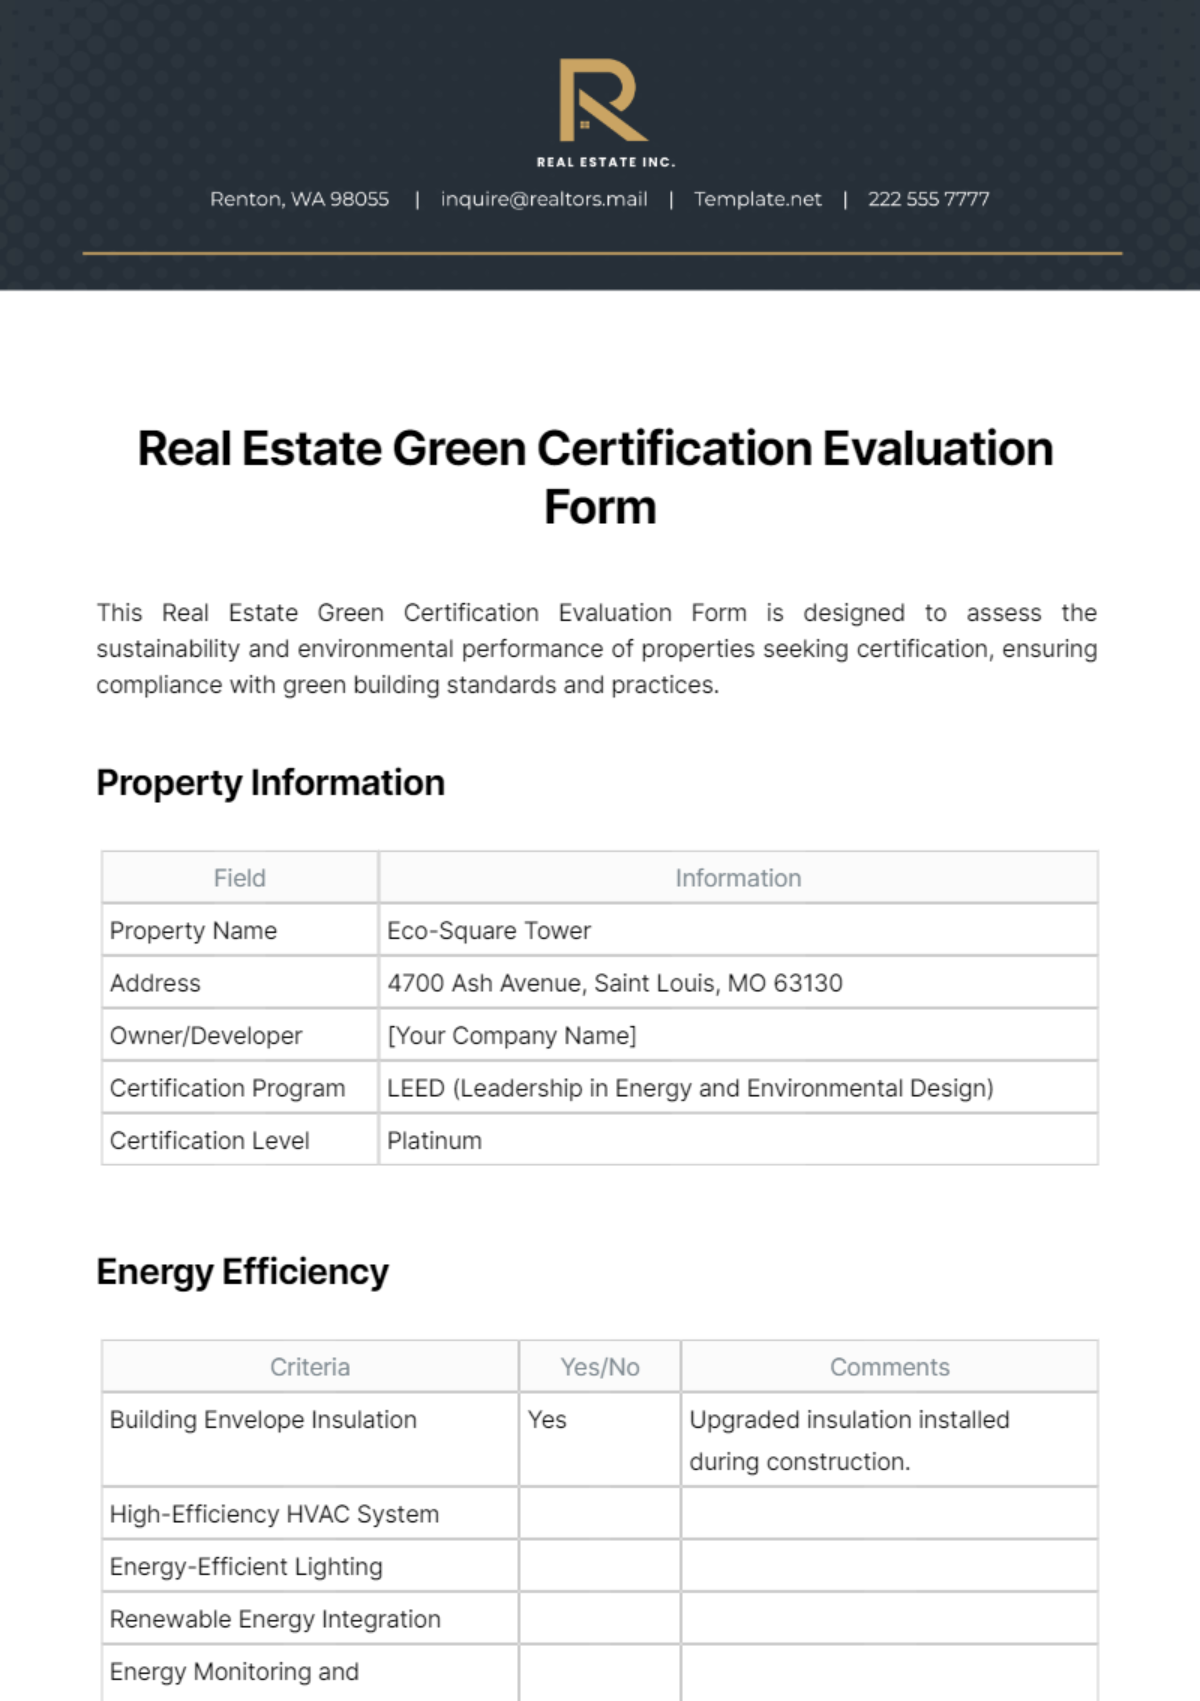
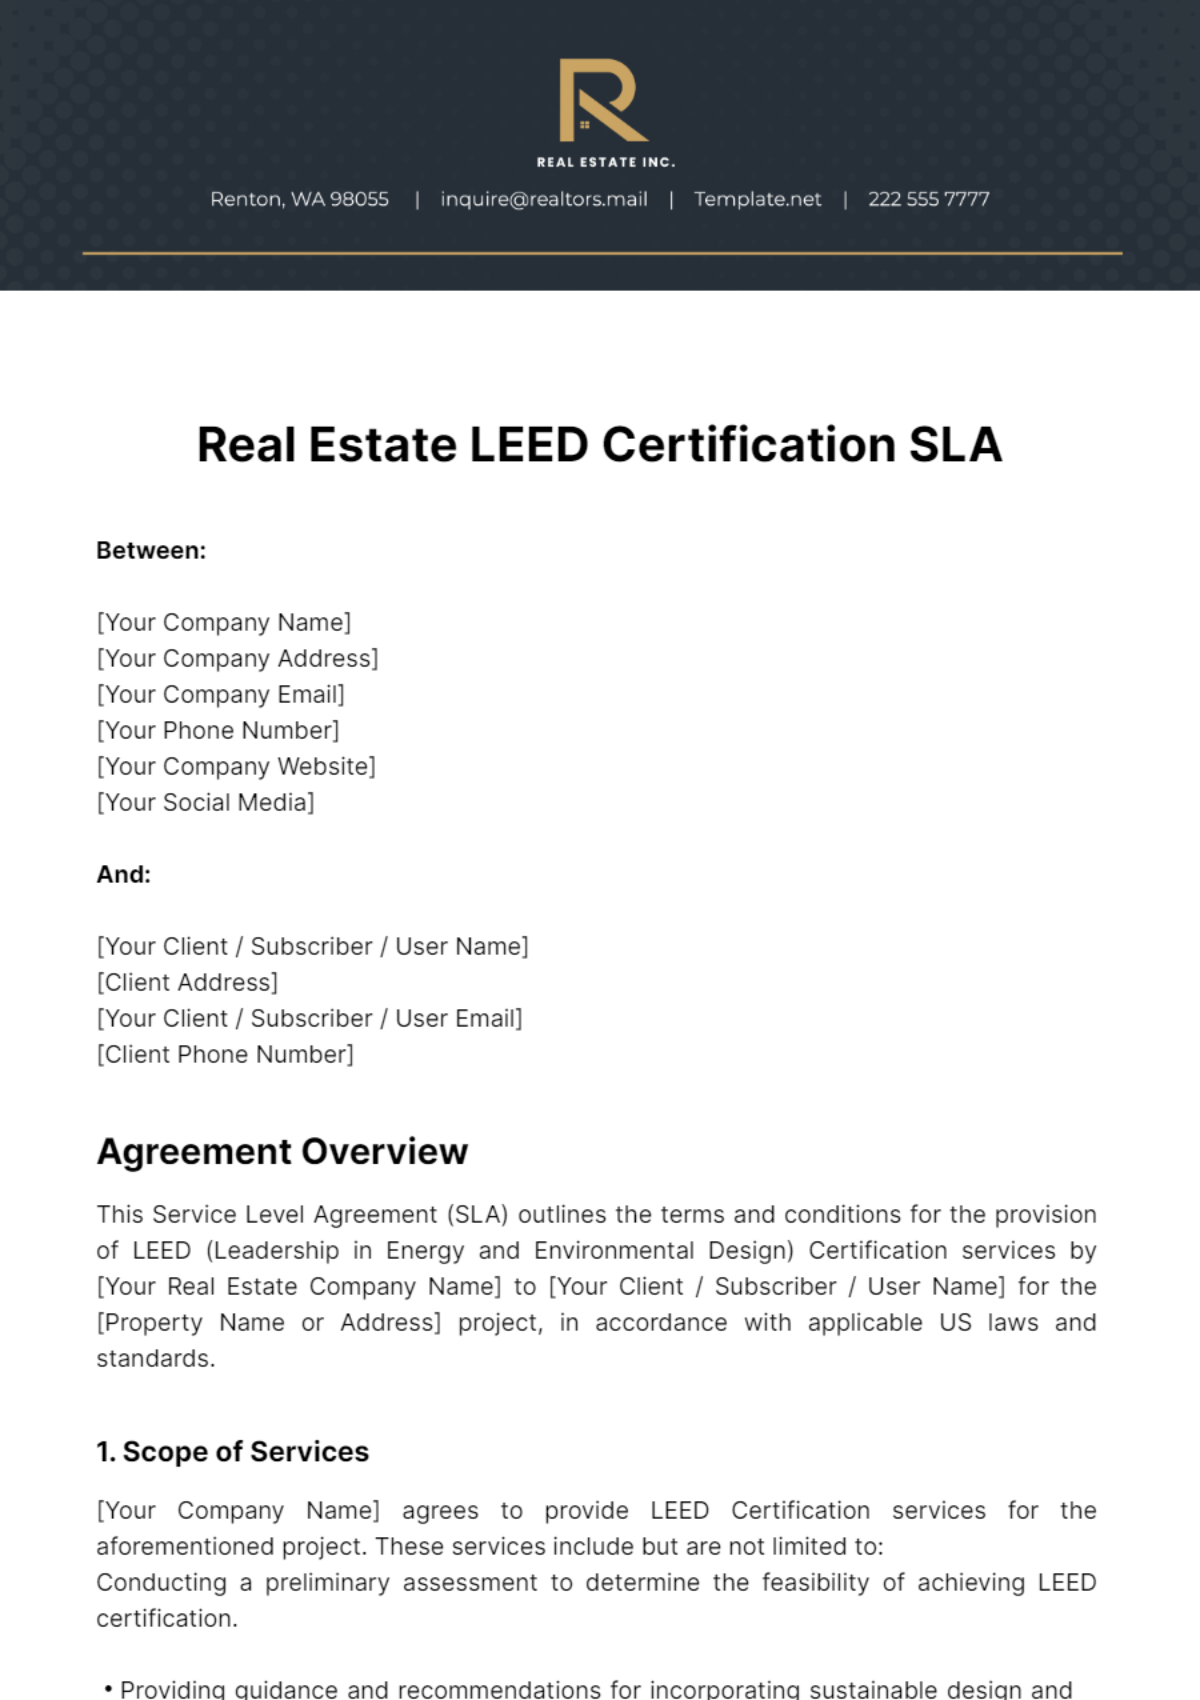
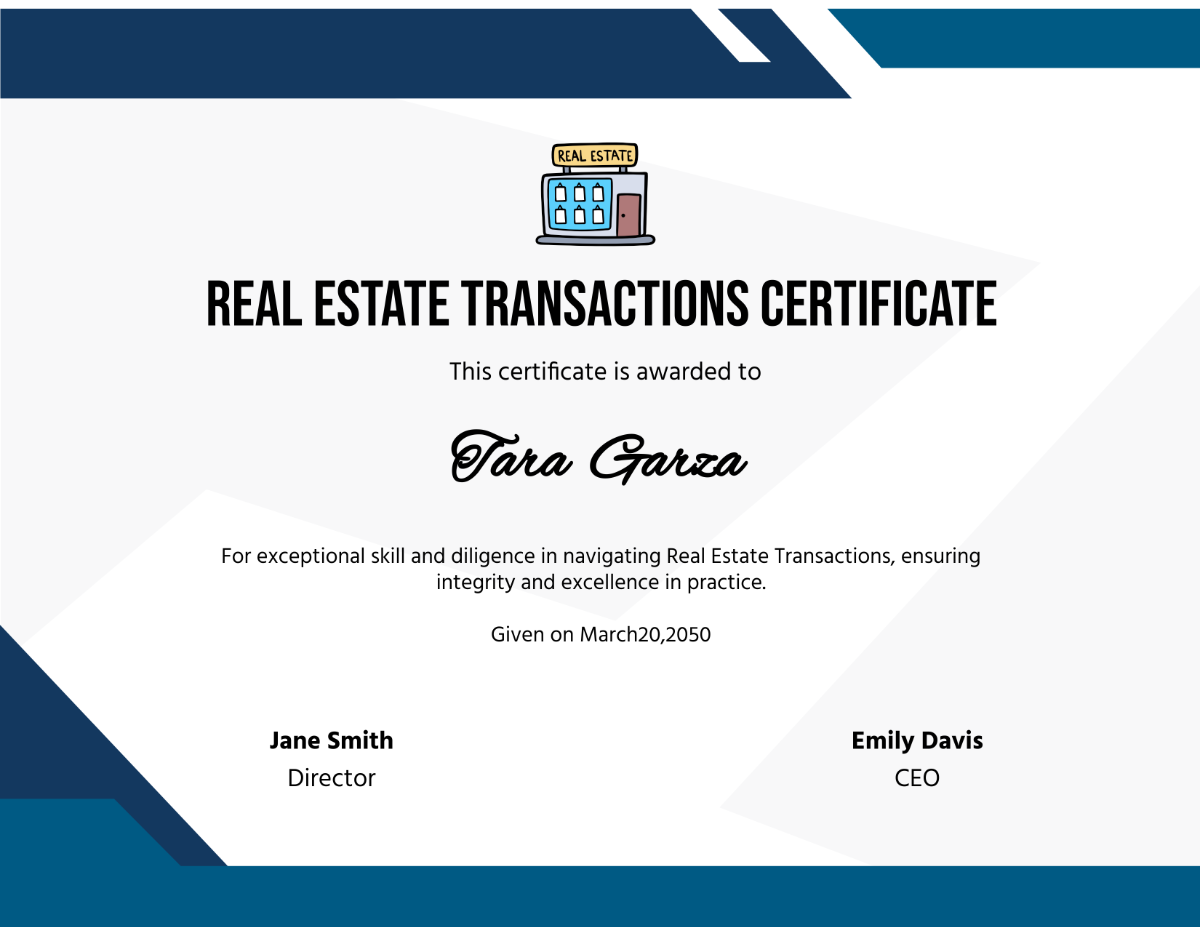
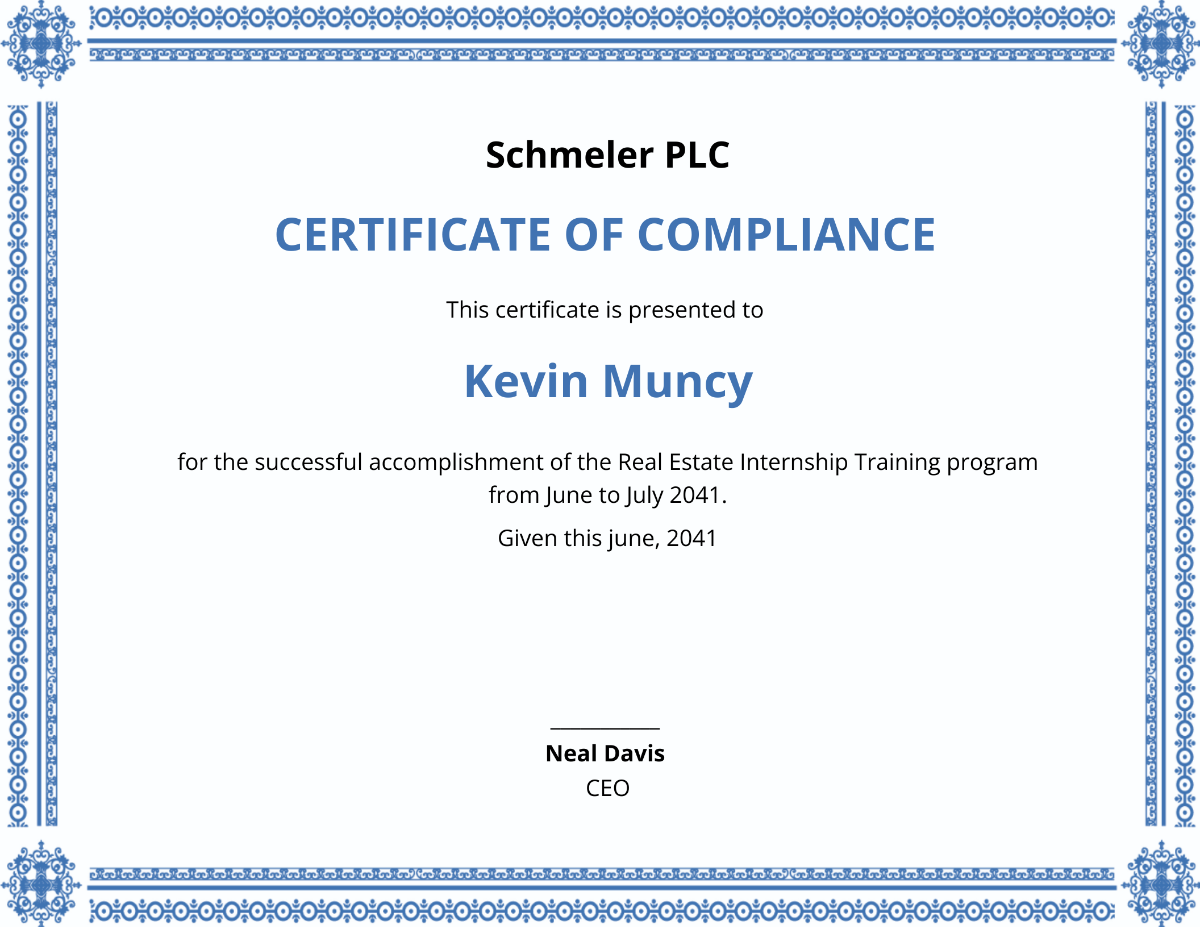
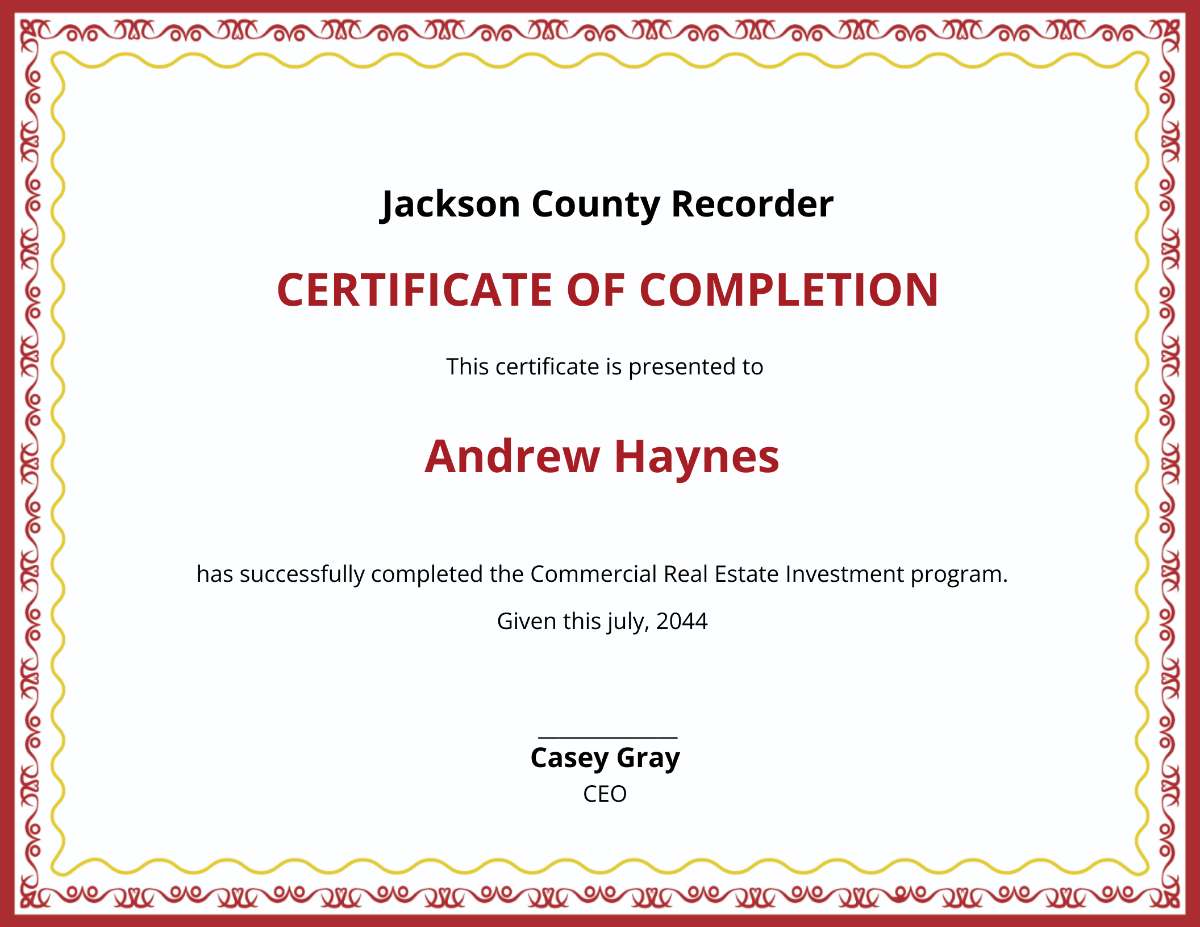
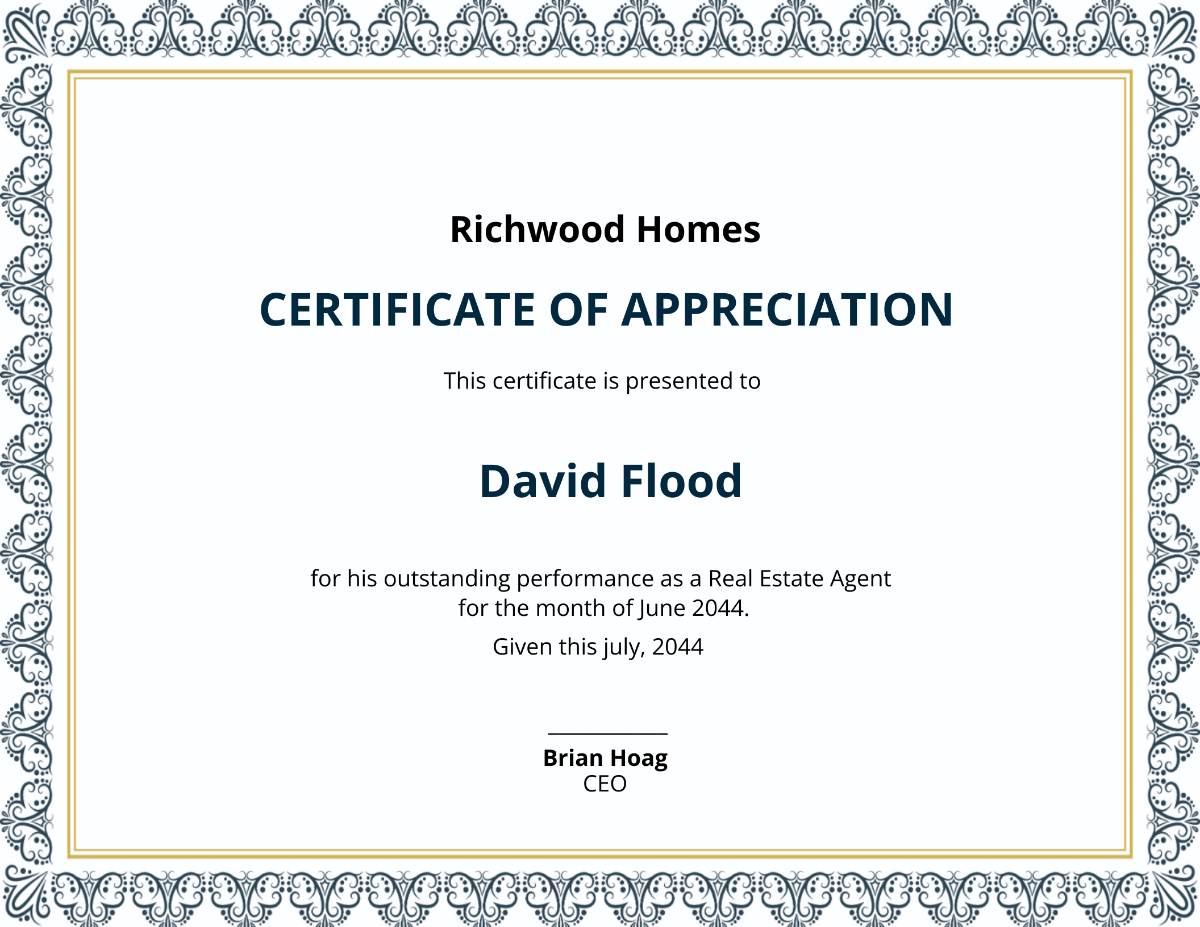
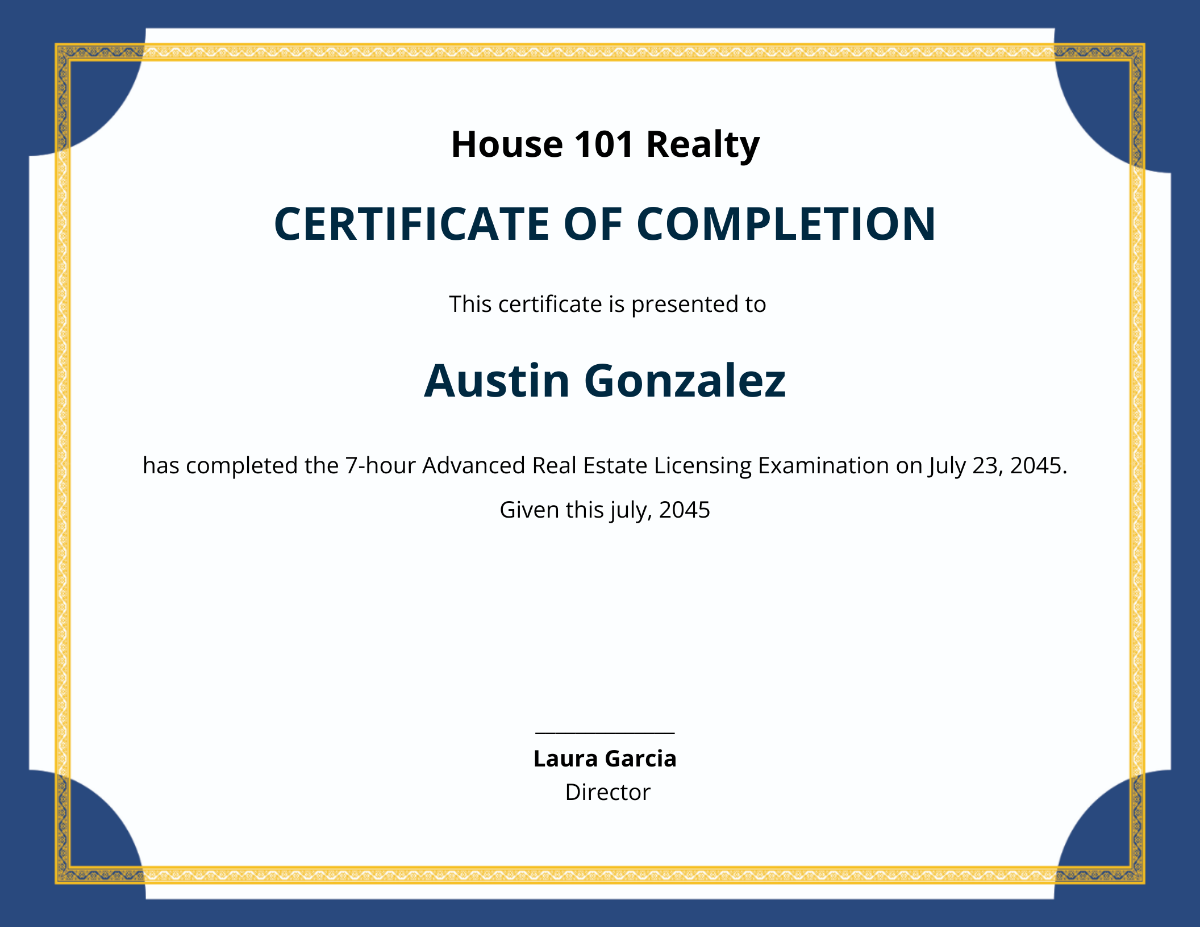
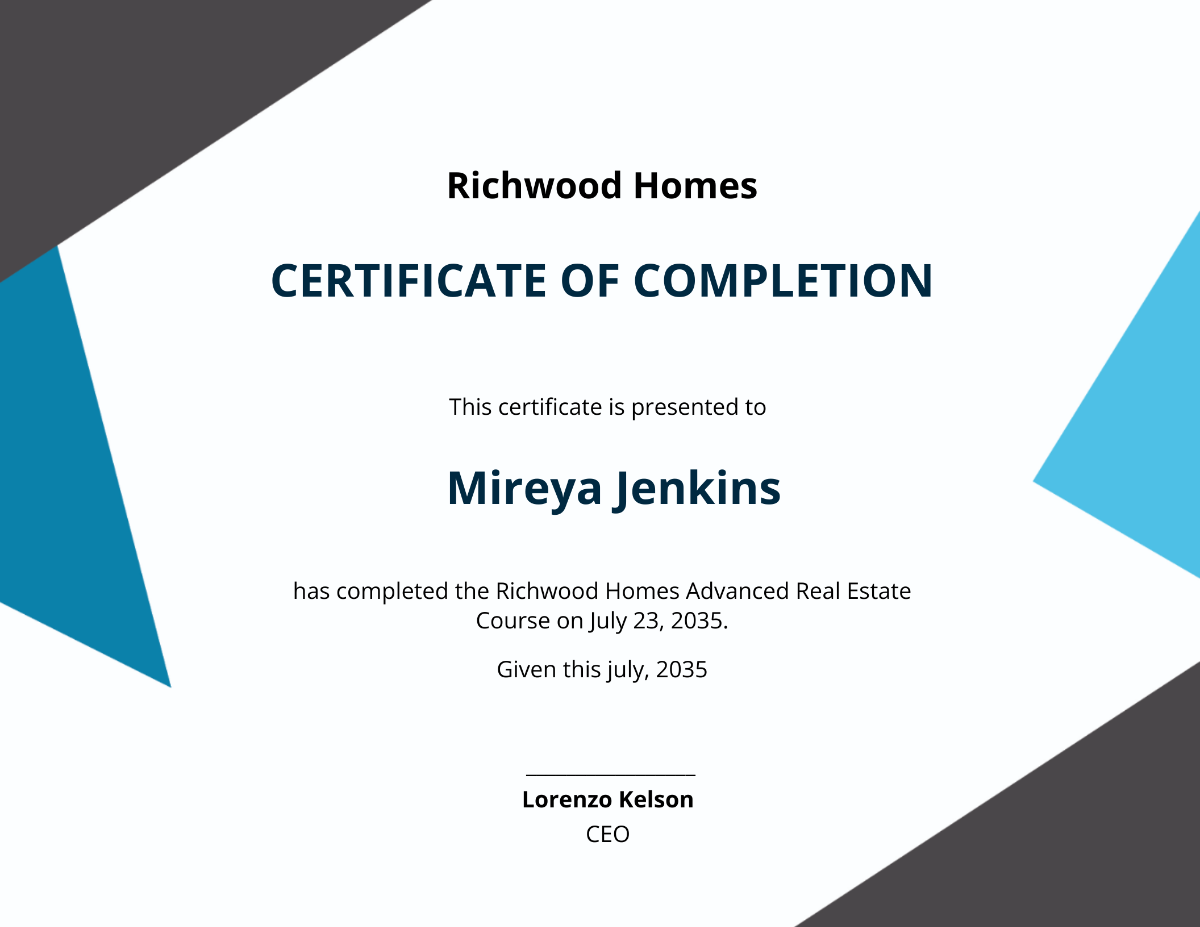
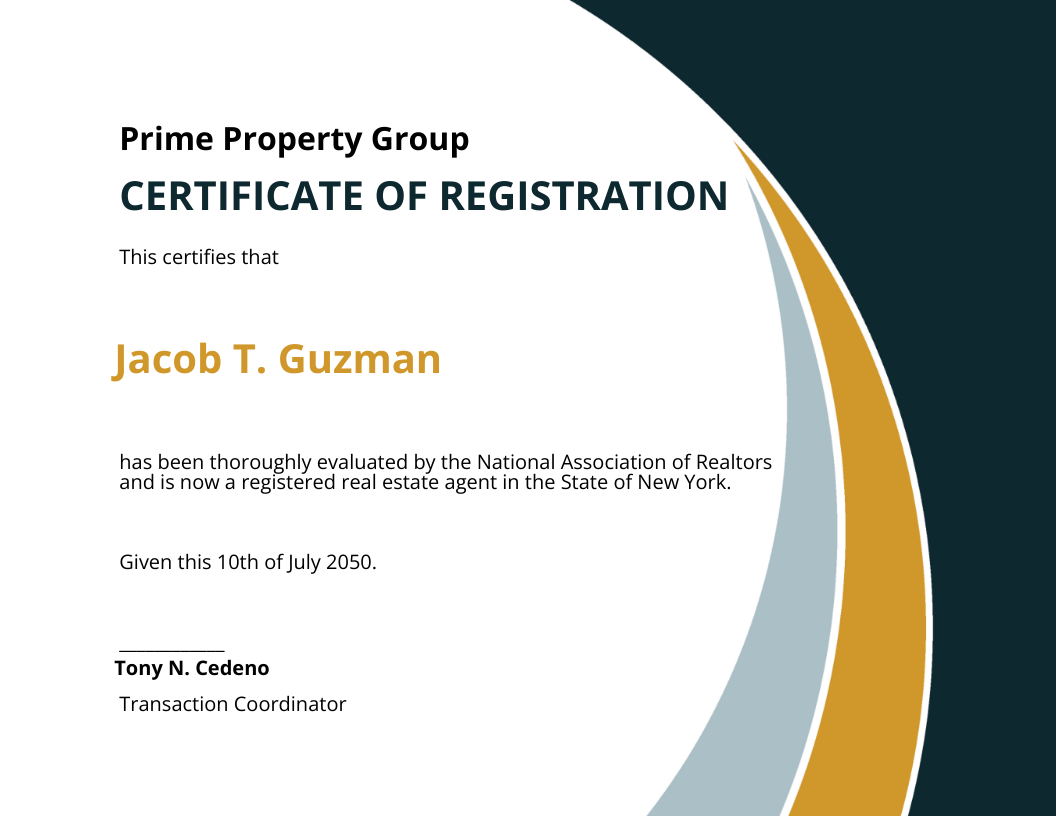
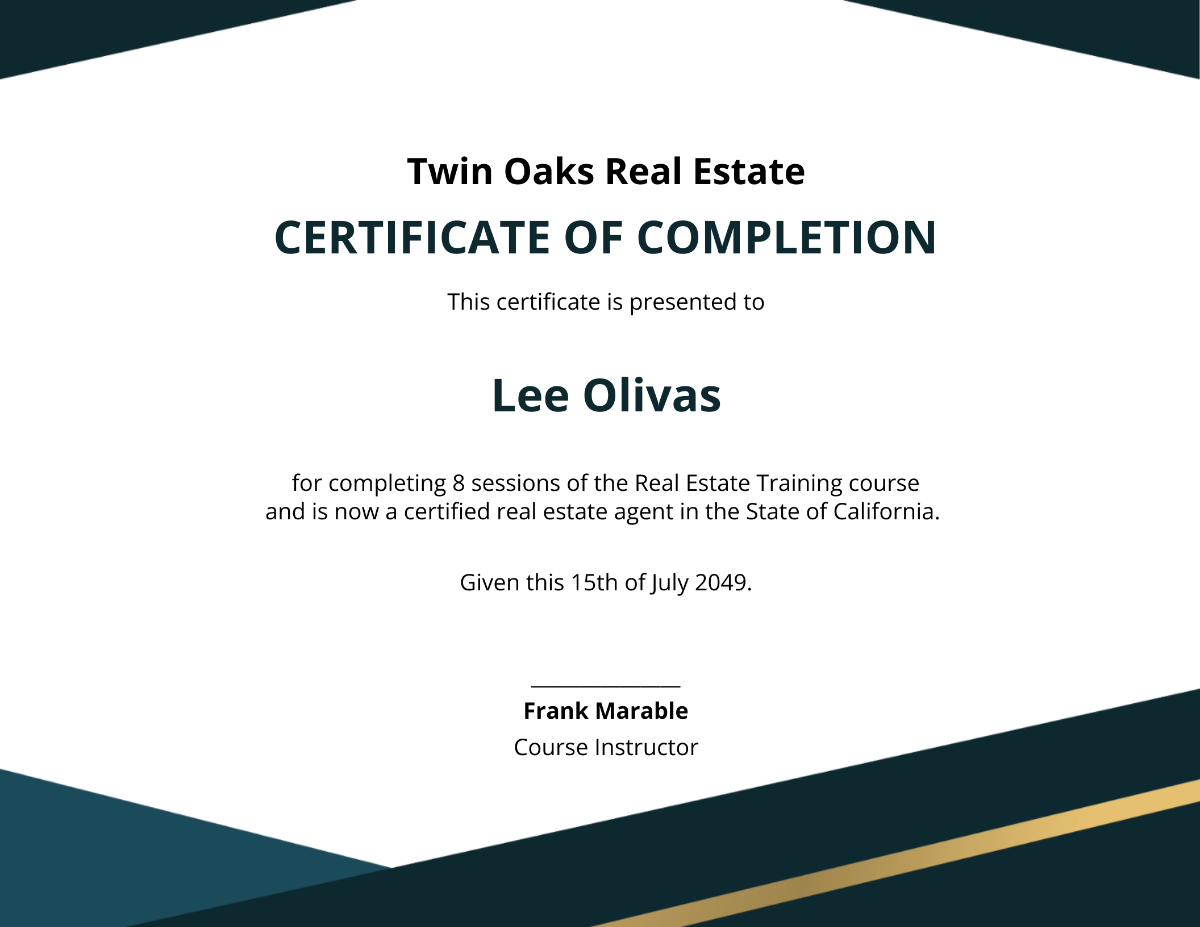
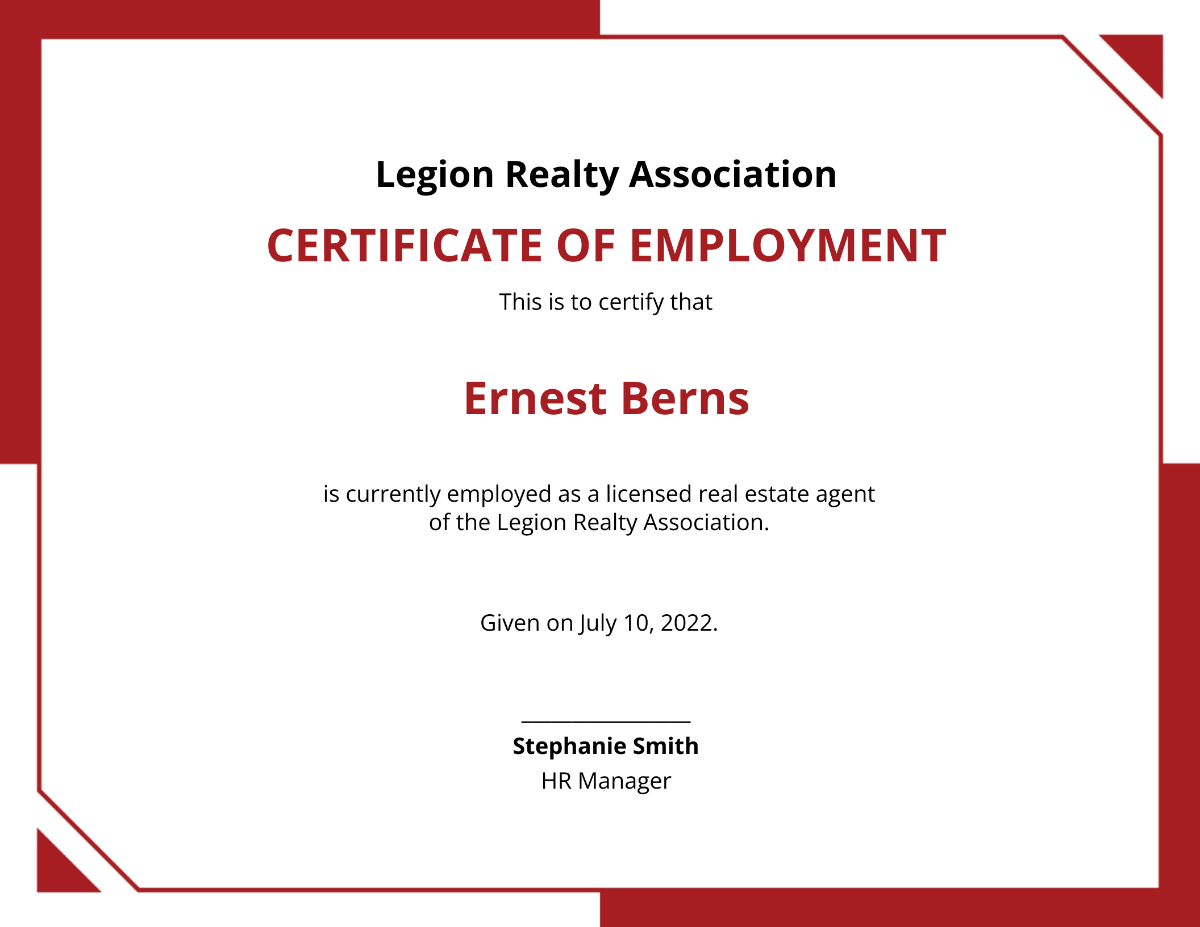
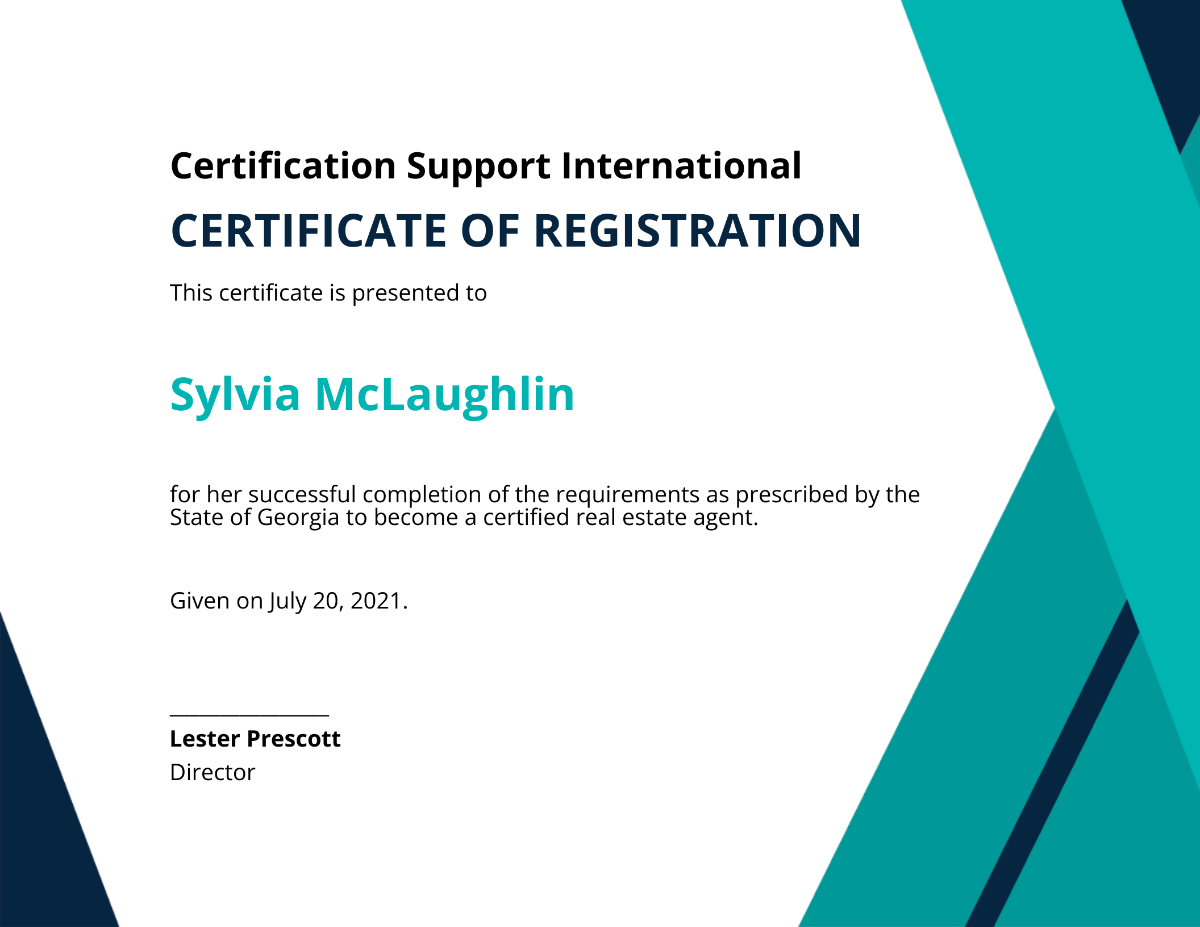
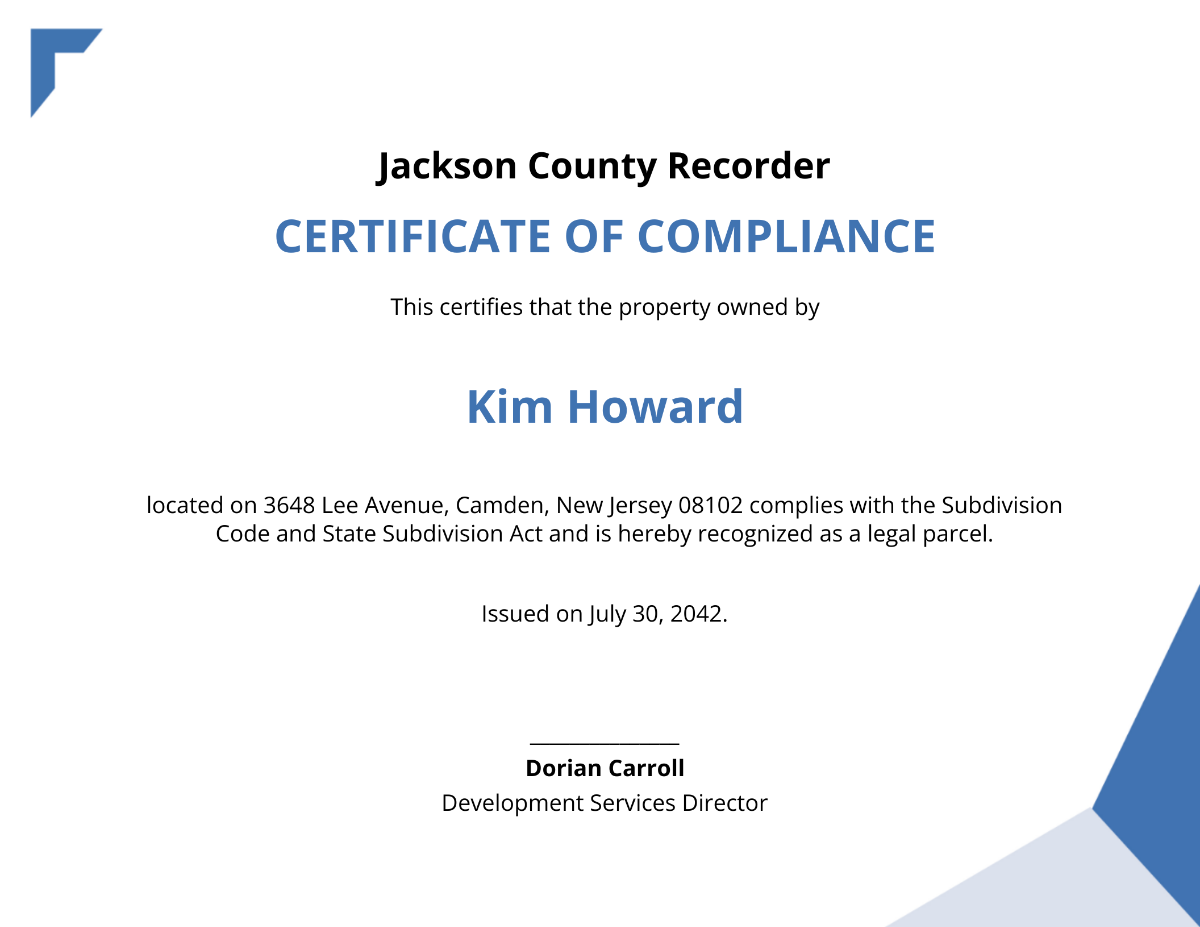
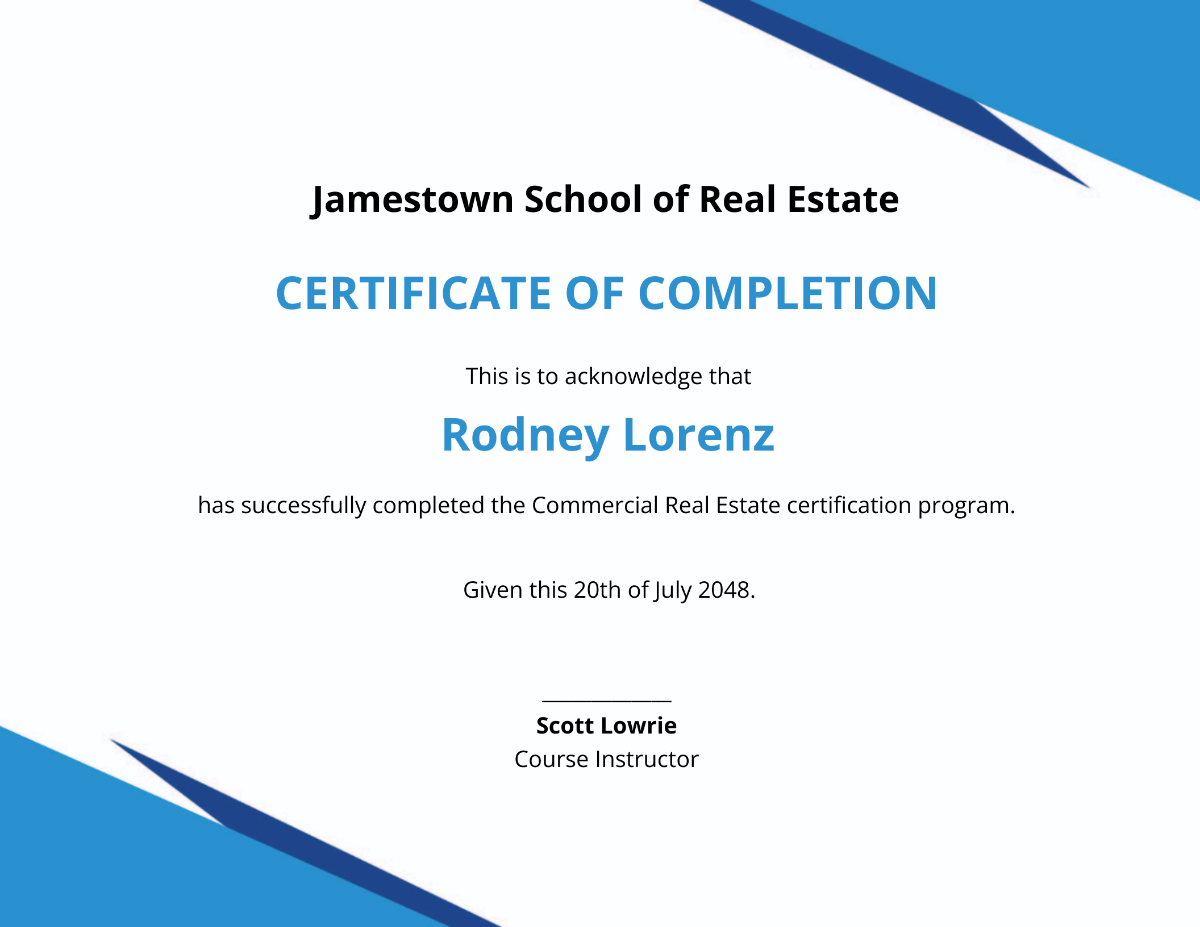
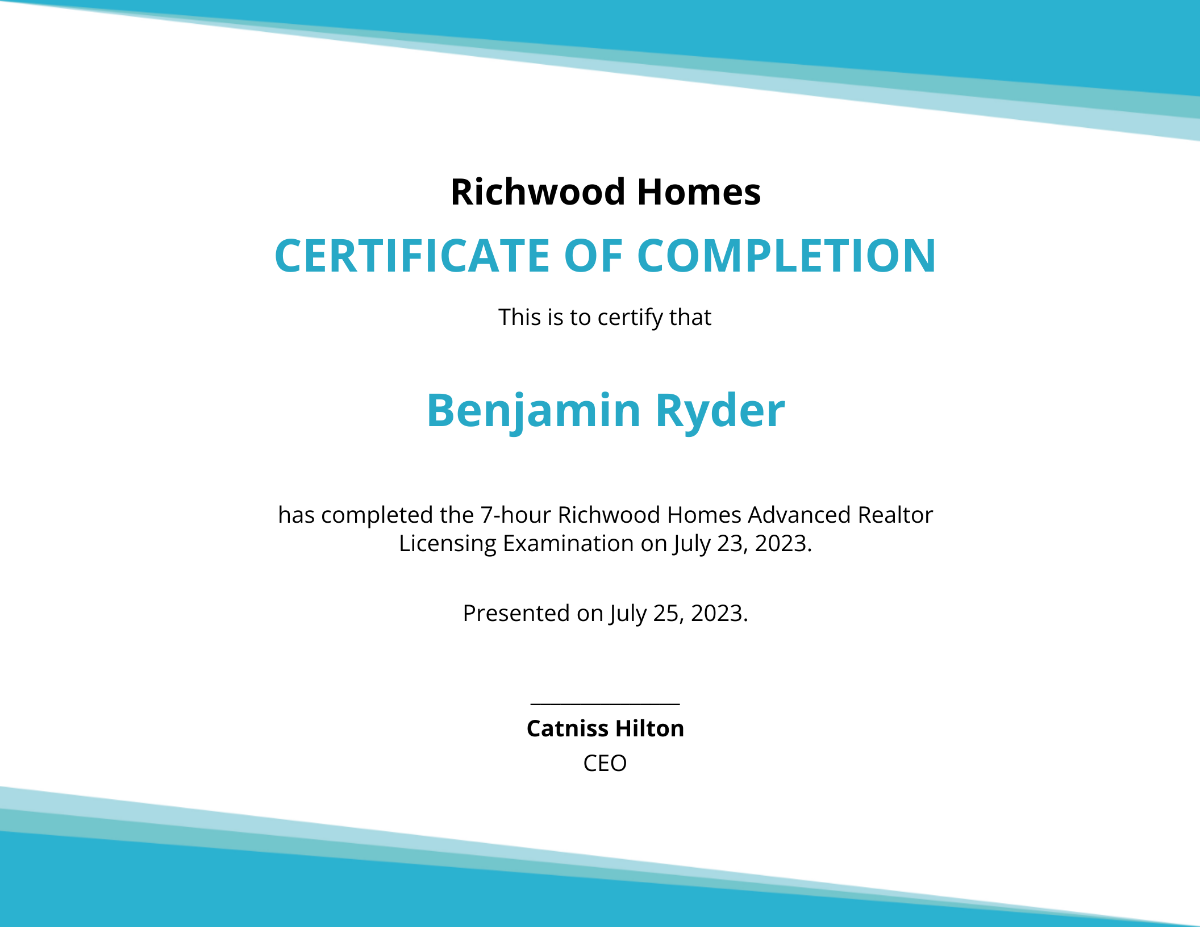
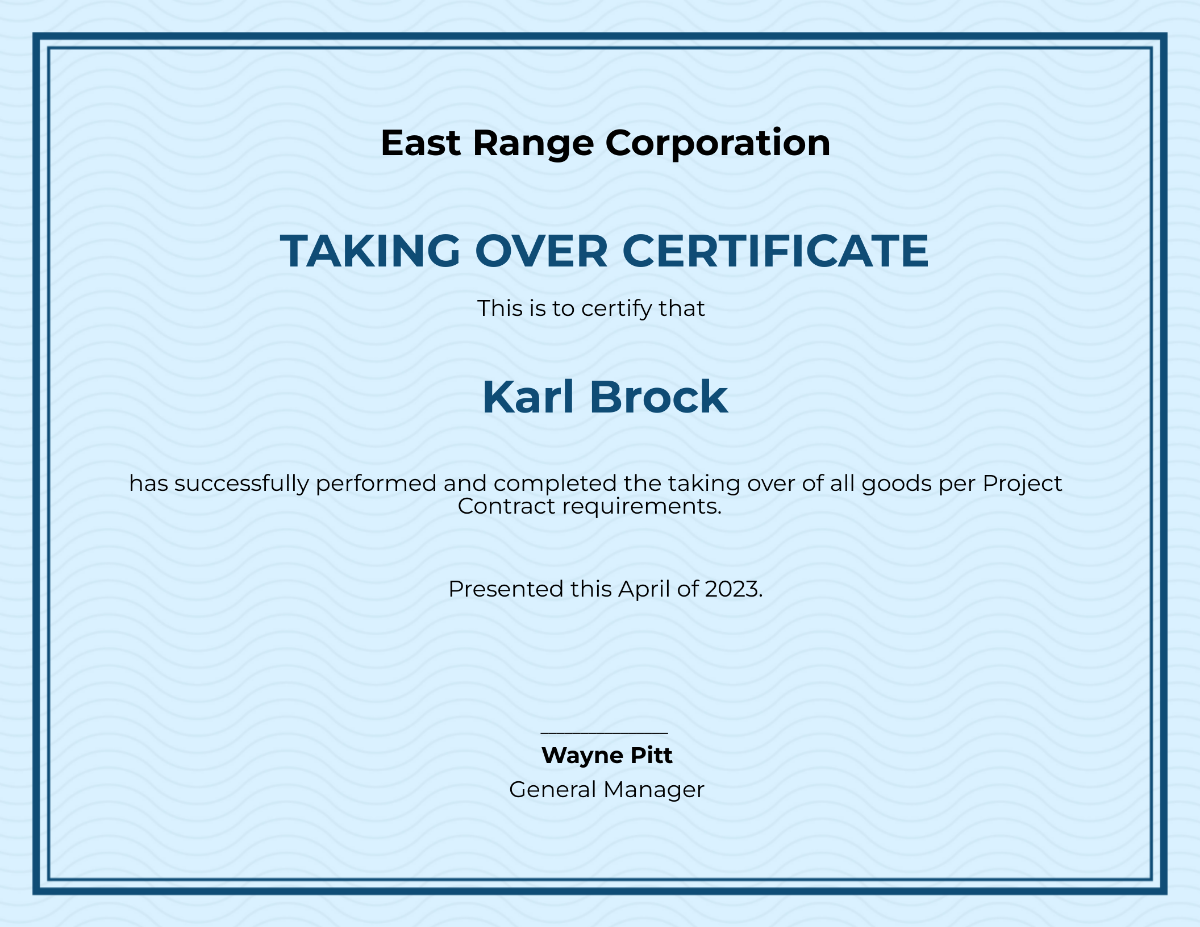
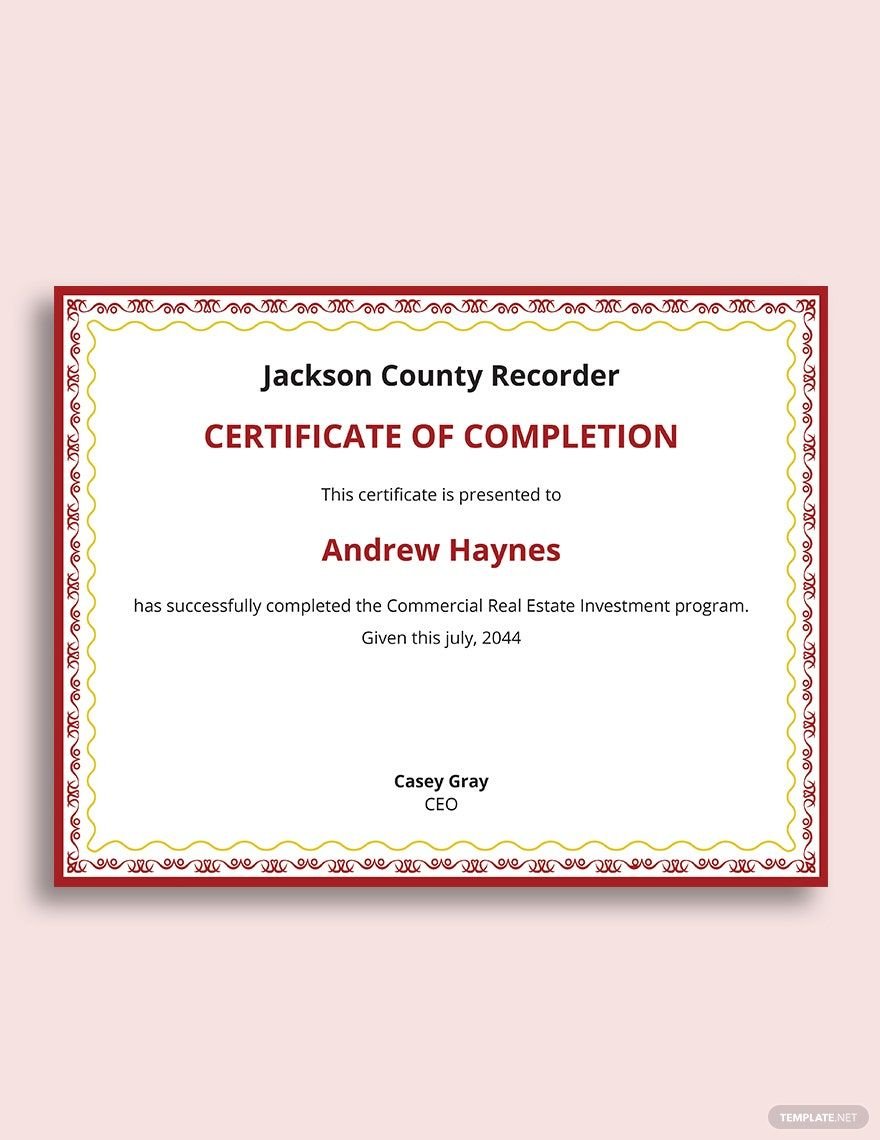
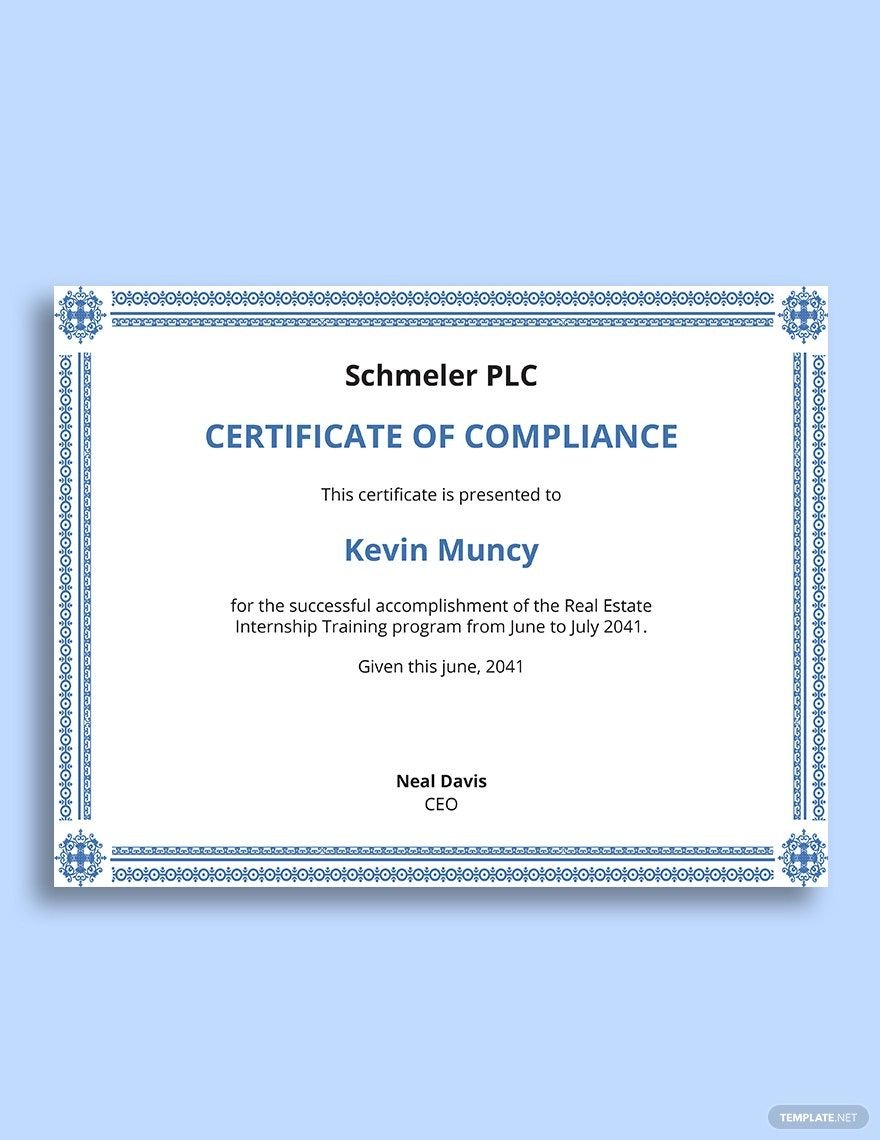
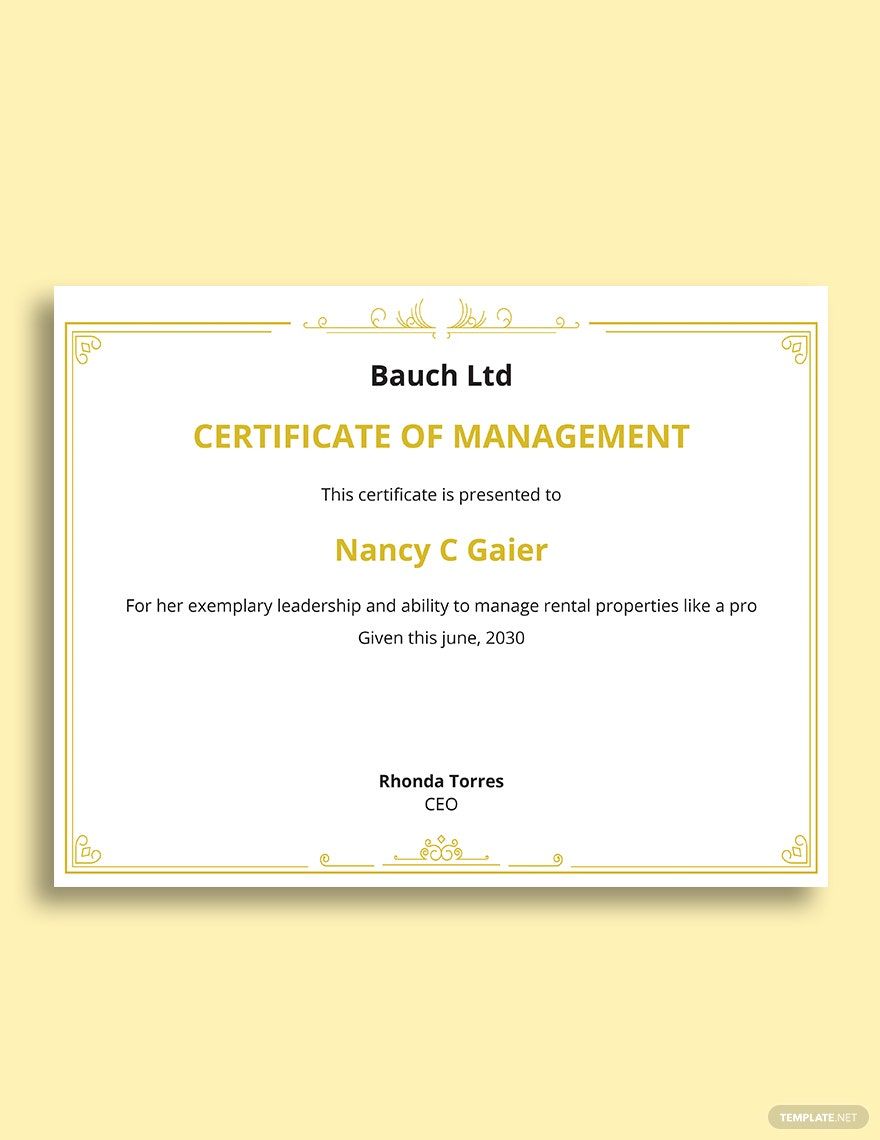
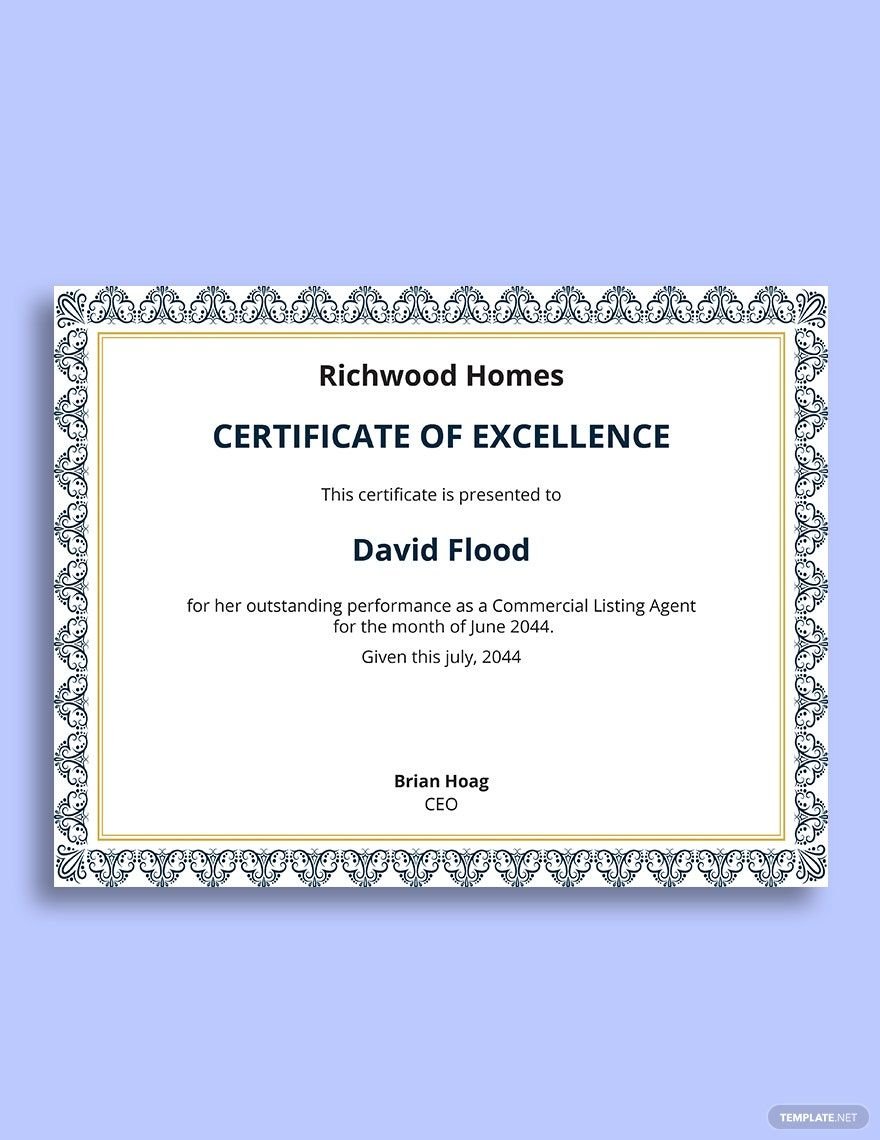
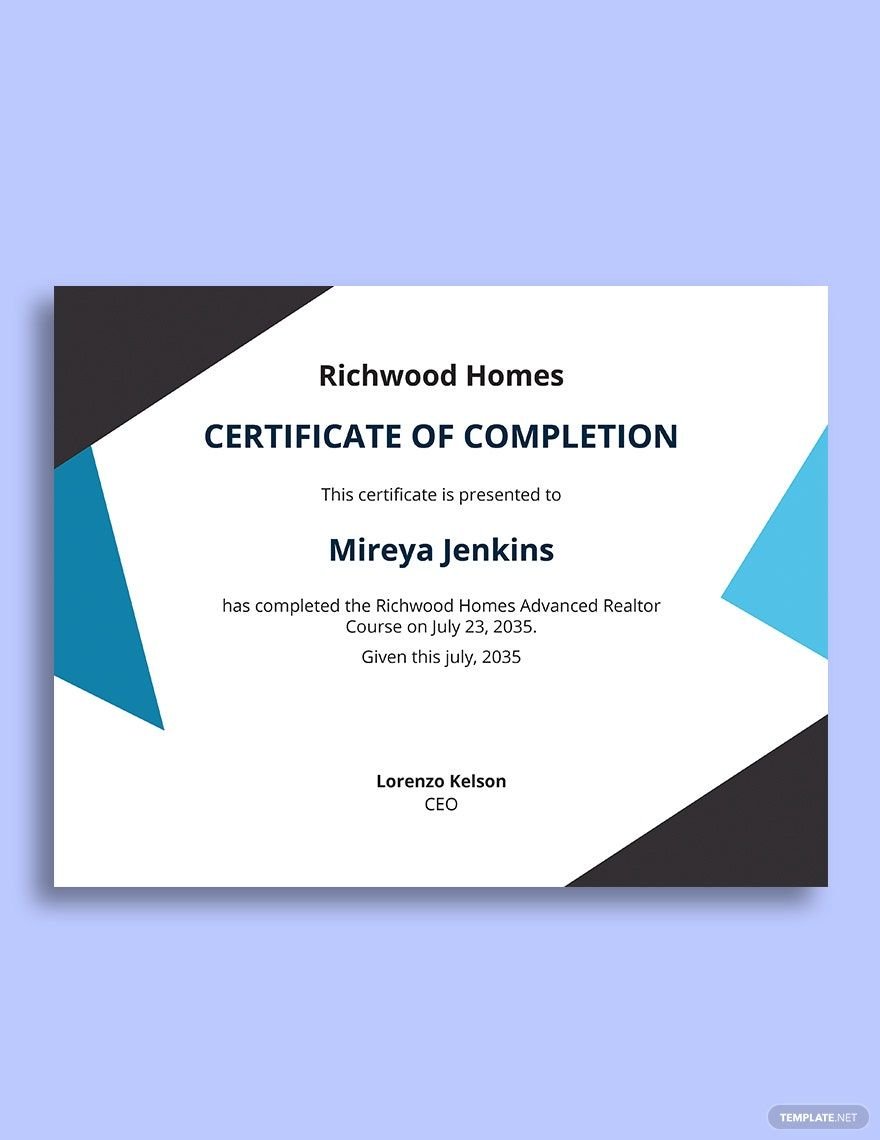
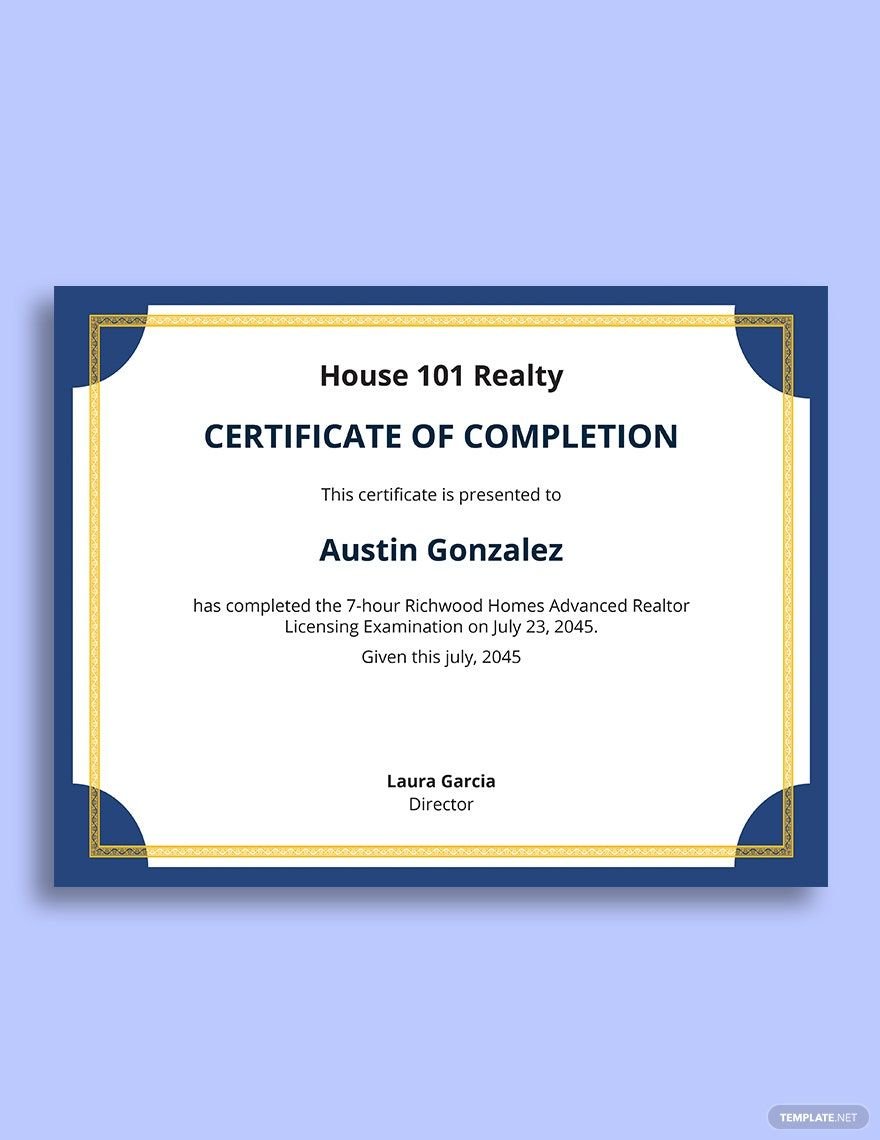
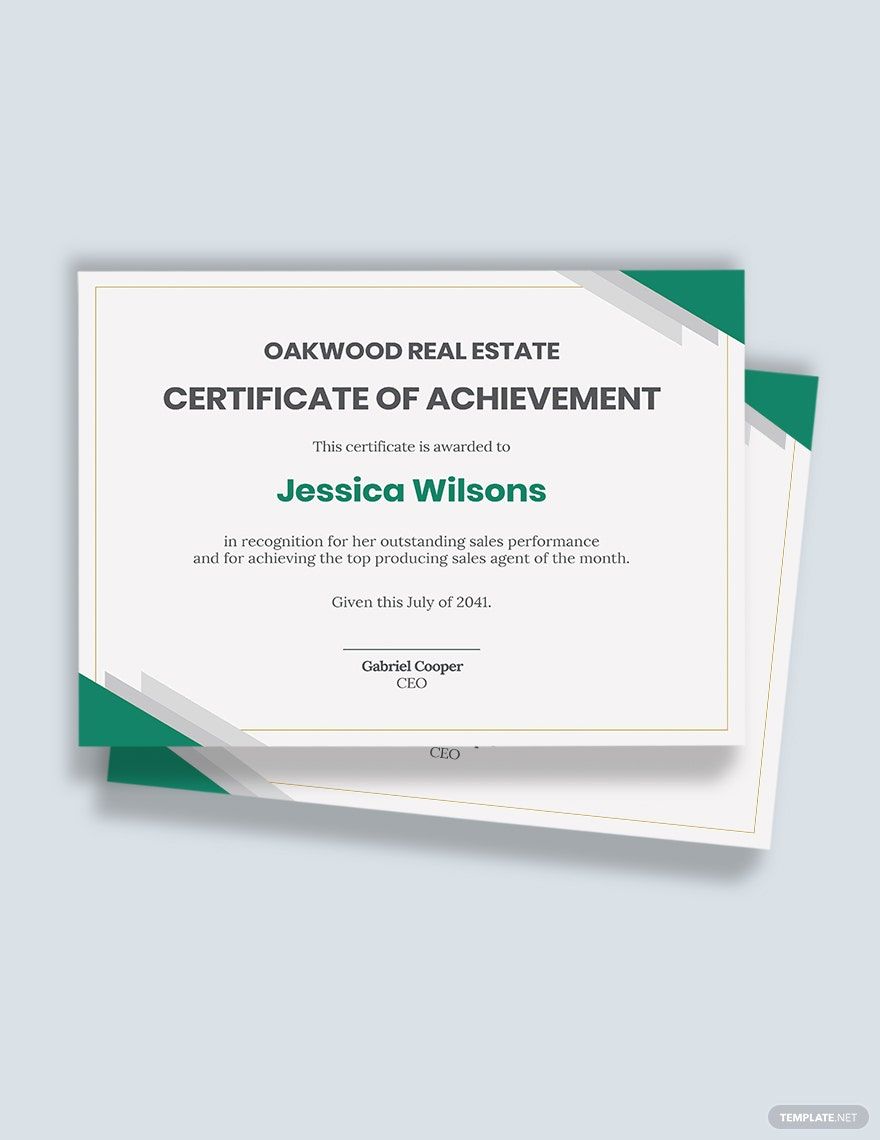
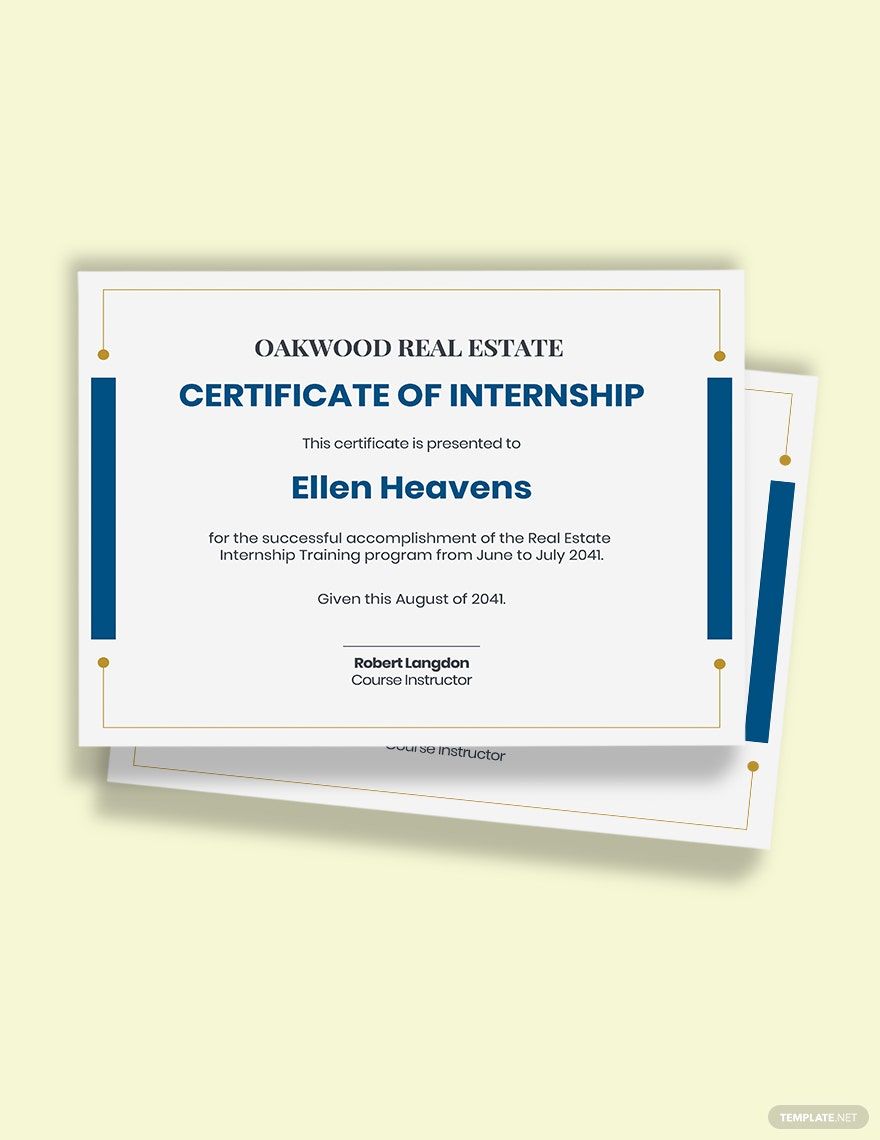
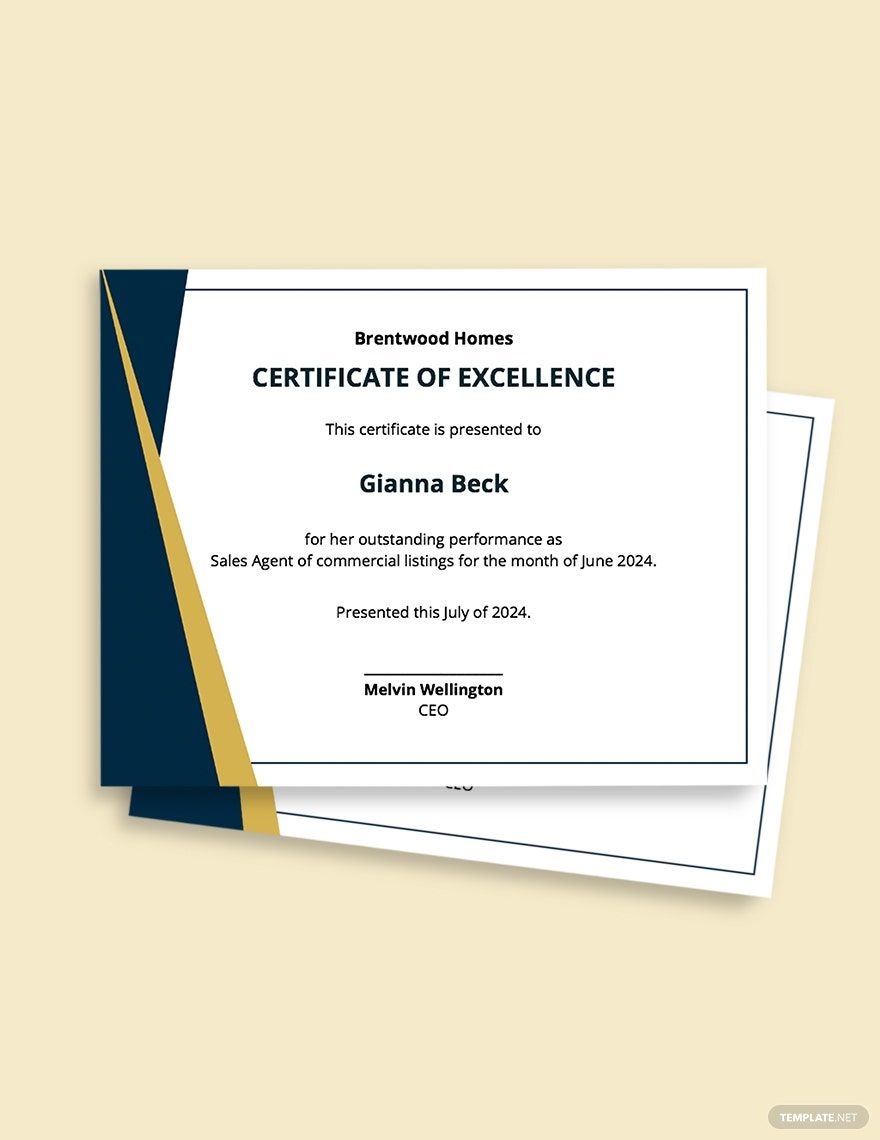
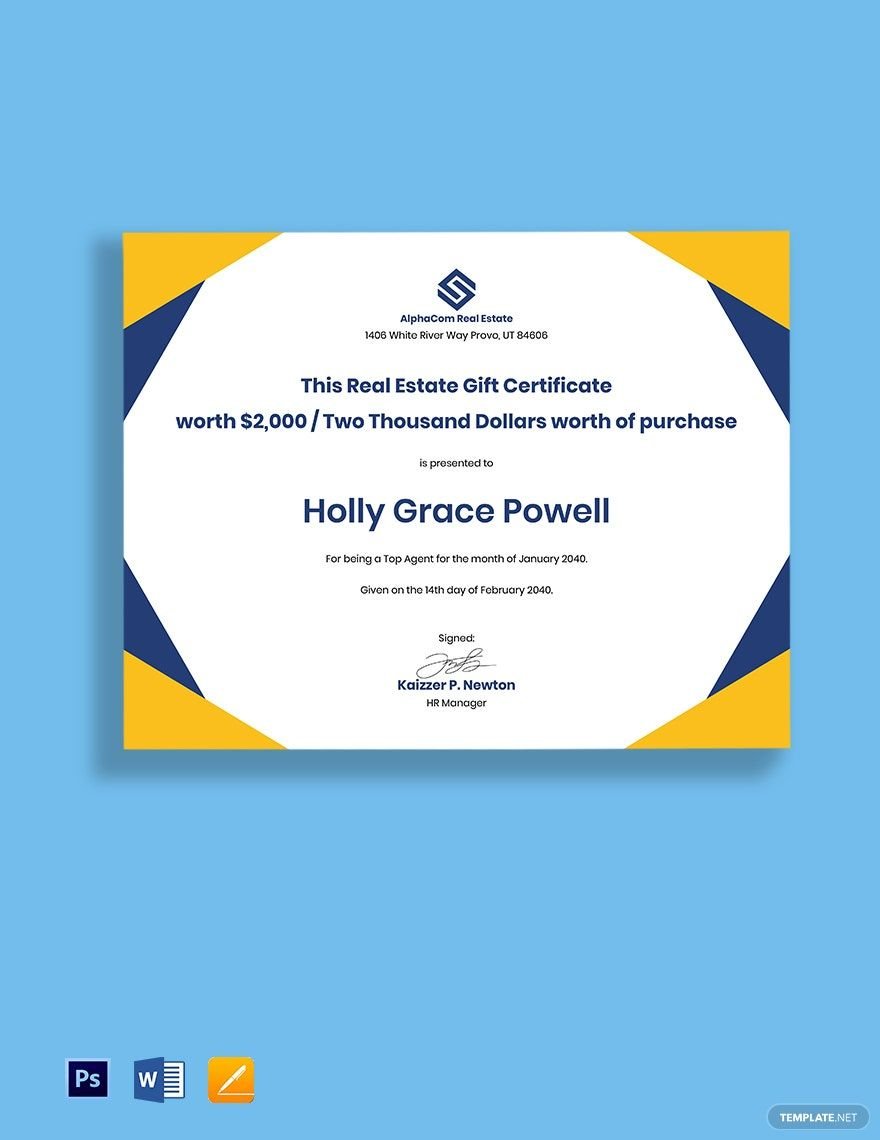
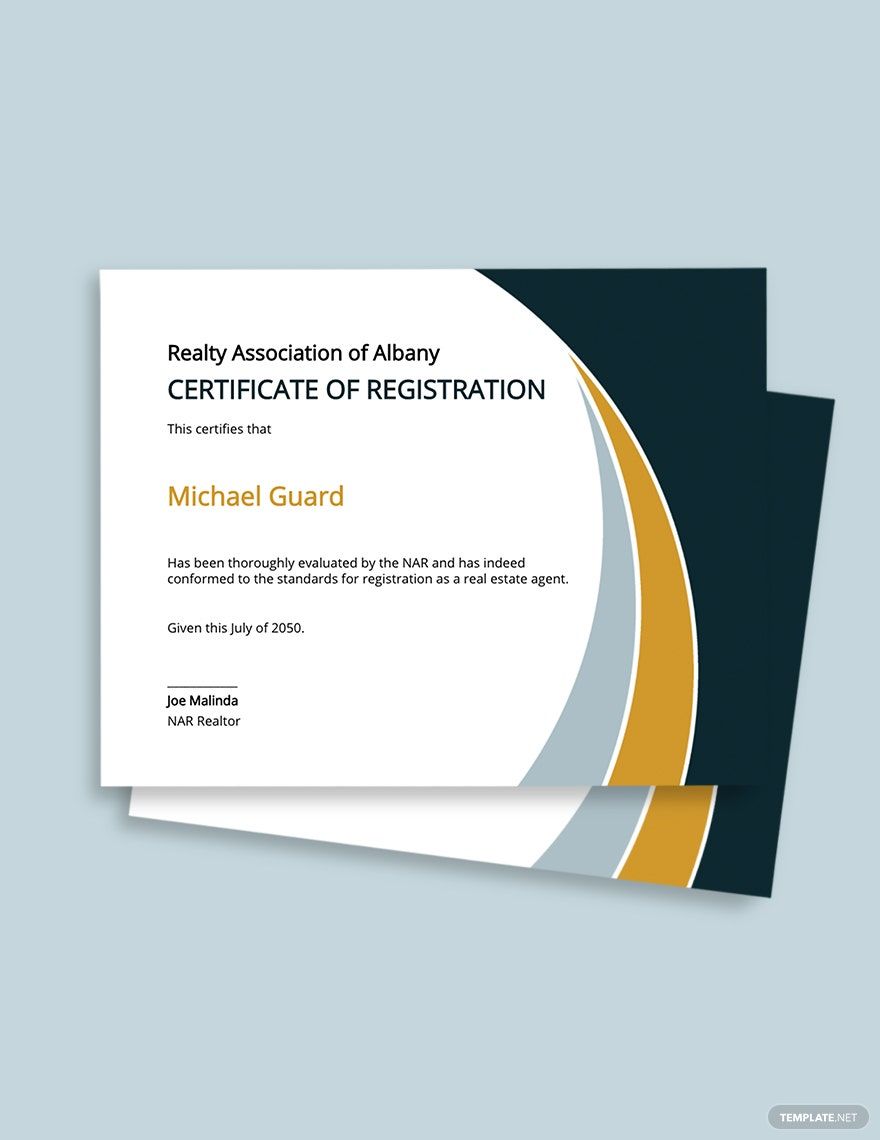
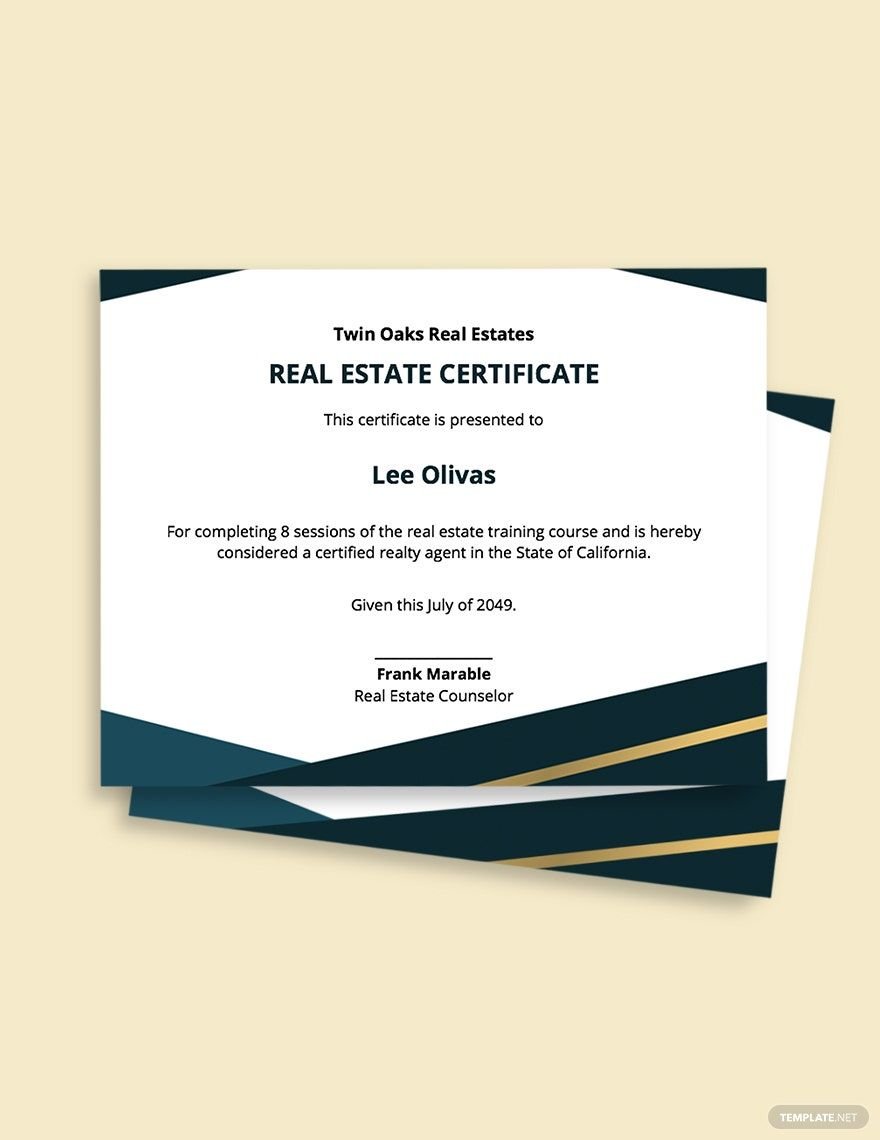
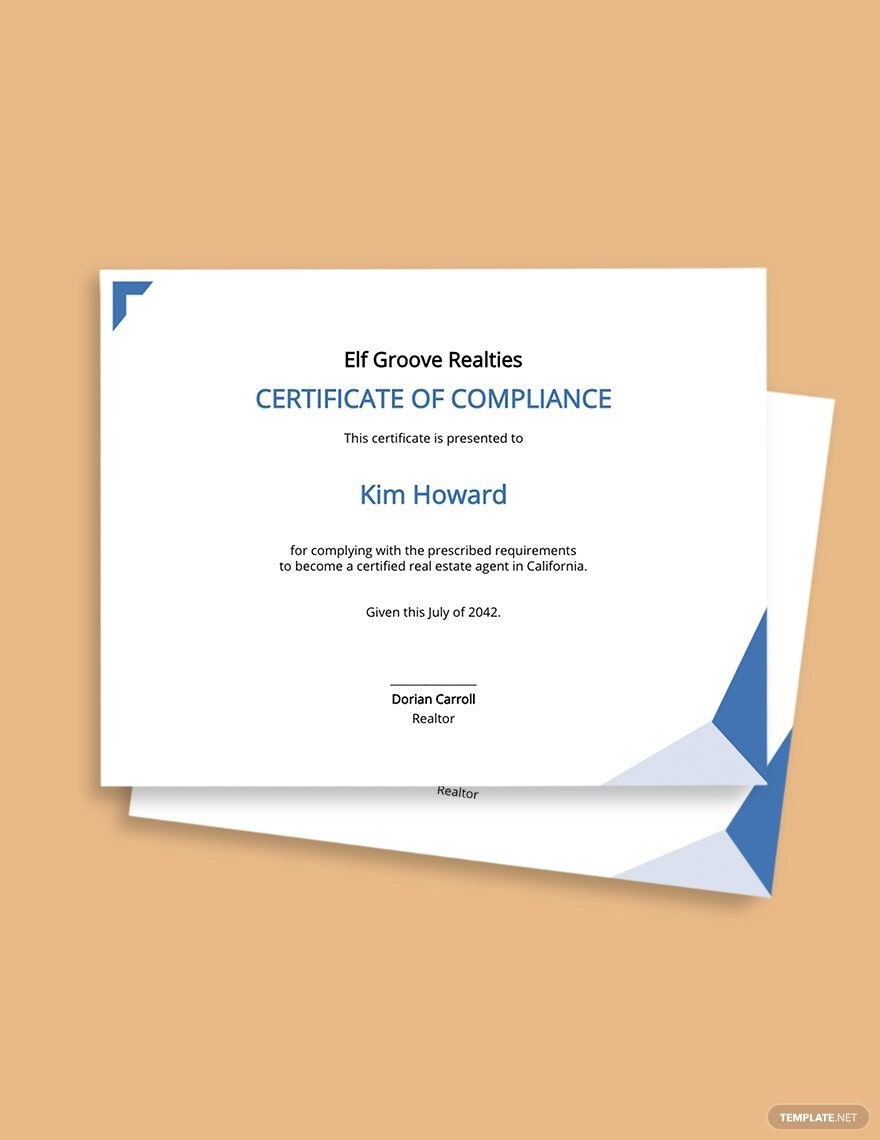
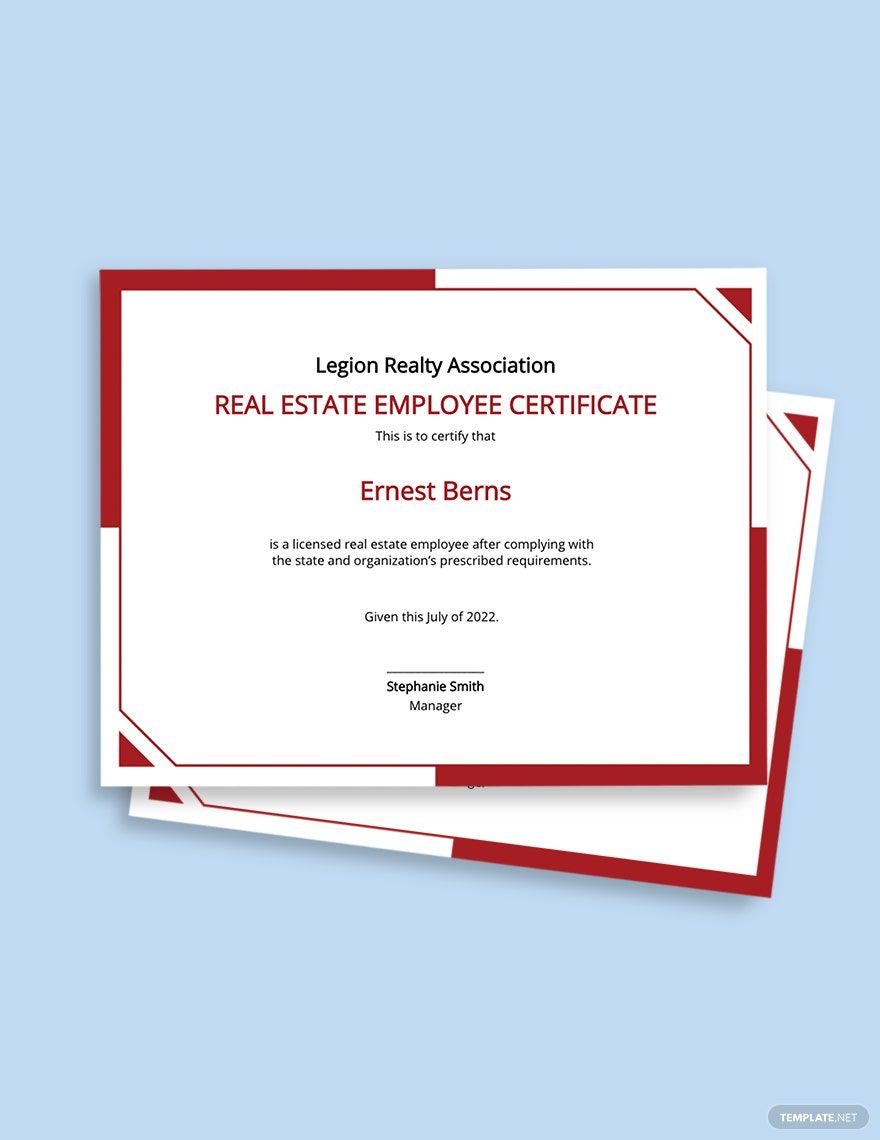
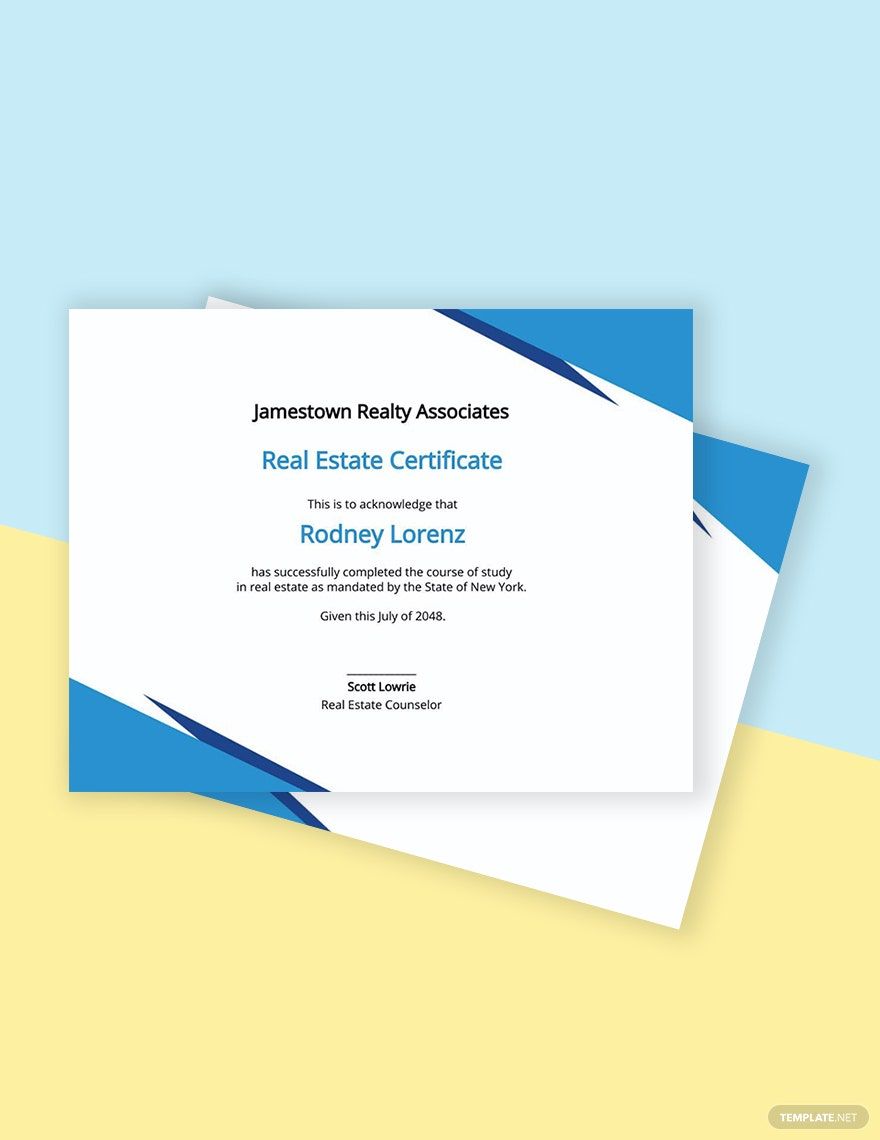
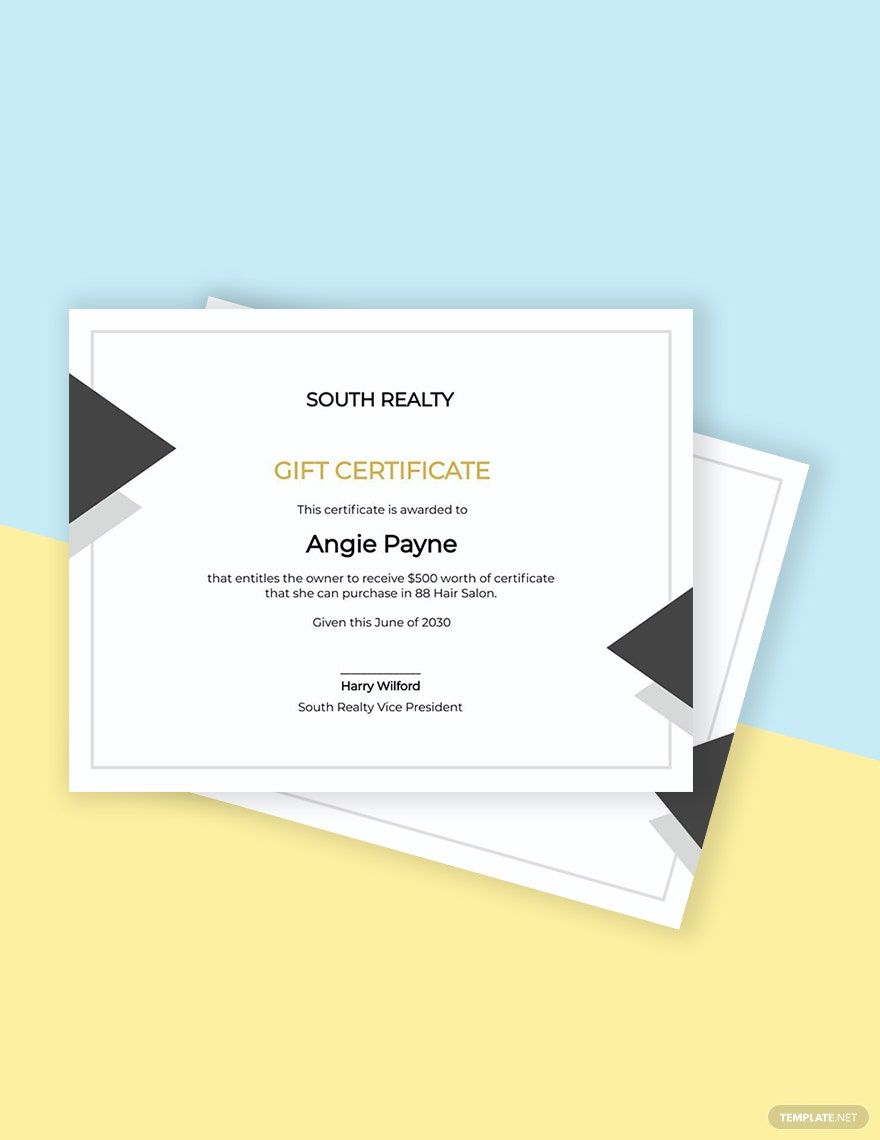
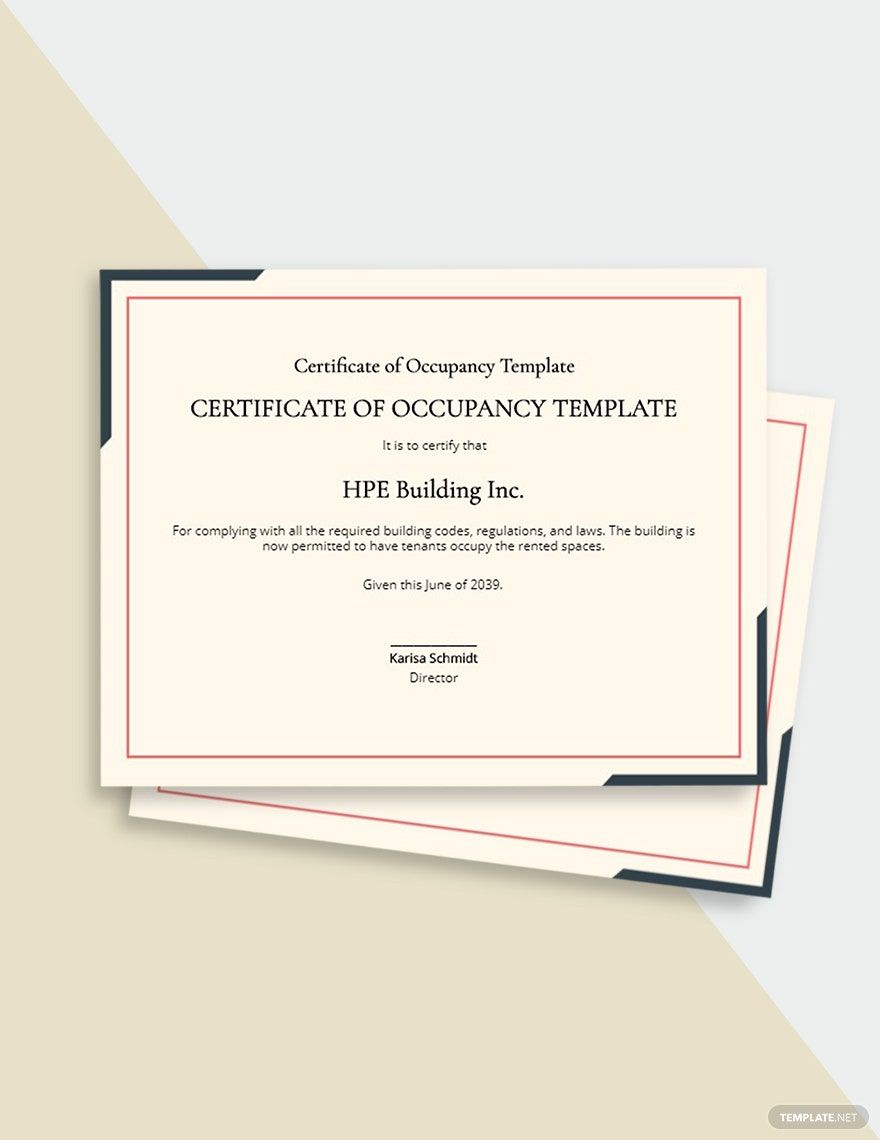
Keep your real estate professionals engaged, enhance their sense of achievement, and boost their motivation by recognizing accomplishments with Real Estate Certificate Templates from Template.net. Designed for brokers, agents, and real estate firms, these templates allow you to effortlessly create stunning recognition certificates. For instance, you can promote the graduation of a real estate training course or acknowledge outstanding sales achievements. Each template comes with essential placeholders for time, date, location, and honoree details, making the creation process seamless. There's no design expertise required, and you can rest assured that each template offers a professional-grade look. Whether for digital sharing or print distribution, these customizable layouts ensure that your message is conveyed with style and impact.
Discover the many Real Estate Certificate Templates we have on hand to meet your specific needs. Begin by selecting a template that best suits your occasion, then easily swap in your own assets and personalize it further by tweaking colors and fonts to match your brand identity. Add advanced touches with drag-and-drop icons and graphics, or enhance the presentation with animated effects using our intuitive interface. The AI-powered text tools make the insertion of personalized content a breeze, ensuring a unique and polished final product. With regularly updated designs and an extensive library, the possibilities are endless, and you won't need any advanced skills to succeed. When you’re finished, download or share your certificates via print, email, or export them for any platform, making them ideal for multiple channels and allowing for real-time collaboration.
