How To Make/Create an Invoice Layout Templates in Google Sheets
Invoice layout mastery is the secret ingredient to captivating clients and streamlining financial transactions. With a thoughtfully crafted invoice layout, you can elevate your professionalism, enhance your brand image, and effortlessly communicate your value, all while leaving a lasting impression on every recipient.
Create an Invoice Layout Templates in Google Sheets – Step-by-Step Instructions
Revolutionize your billing process at Template.net with a meticulously crafted invoice layout in Google Sheets. Tailored to your business needs, this will effortlessly organize information, calculate totals, and add a touch of professionalism, ensuring seamless invoicing like never before.
How To Make/Create an Invoice Layout Templates in Google Sheets
-
Step 1: Select an Invoice Layout Template
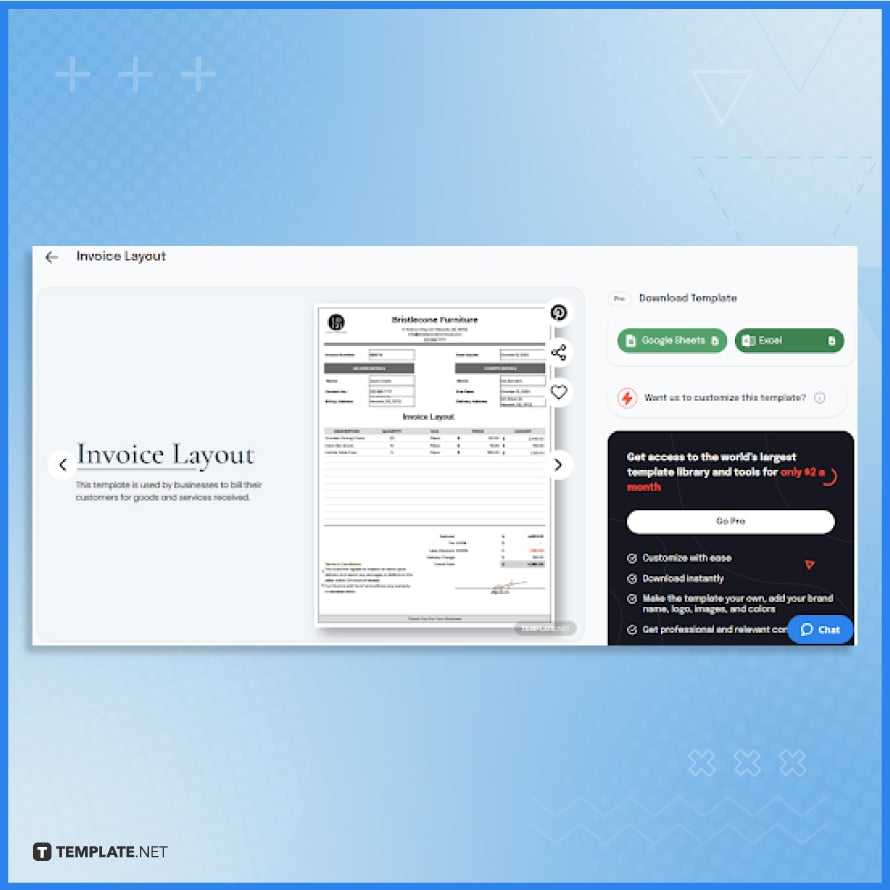
To select a high-quality and easily editable invoice layout template, go to Teemplate.net. This software offers a range of templates, from simple to stylishly designed ones. -
Step 2: Download the Template
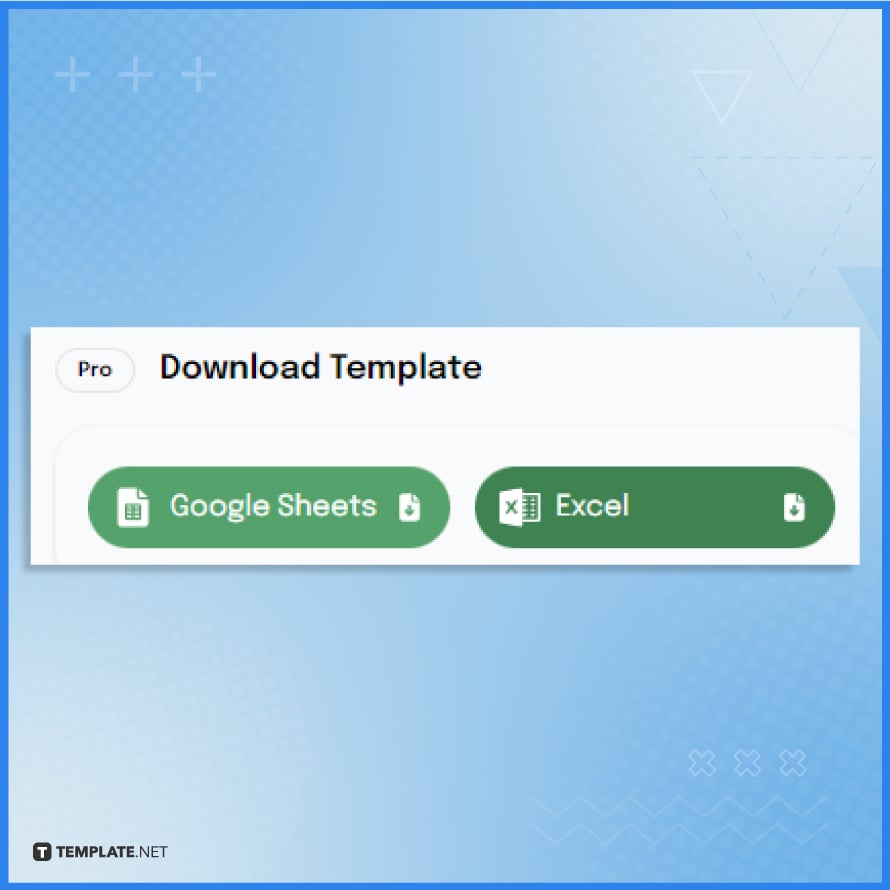
Once you select the template, you will gain access to its product page, where you can see the available download options. From there, choose “Google Sheets” to acquire the format tailored for seamless compatibility with the Google Sheets software.
-
Step 3: Open in Google Sheets
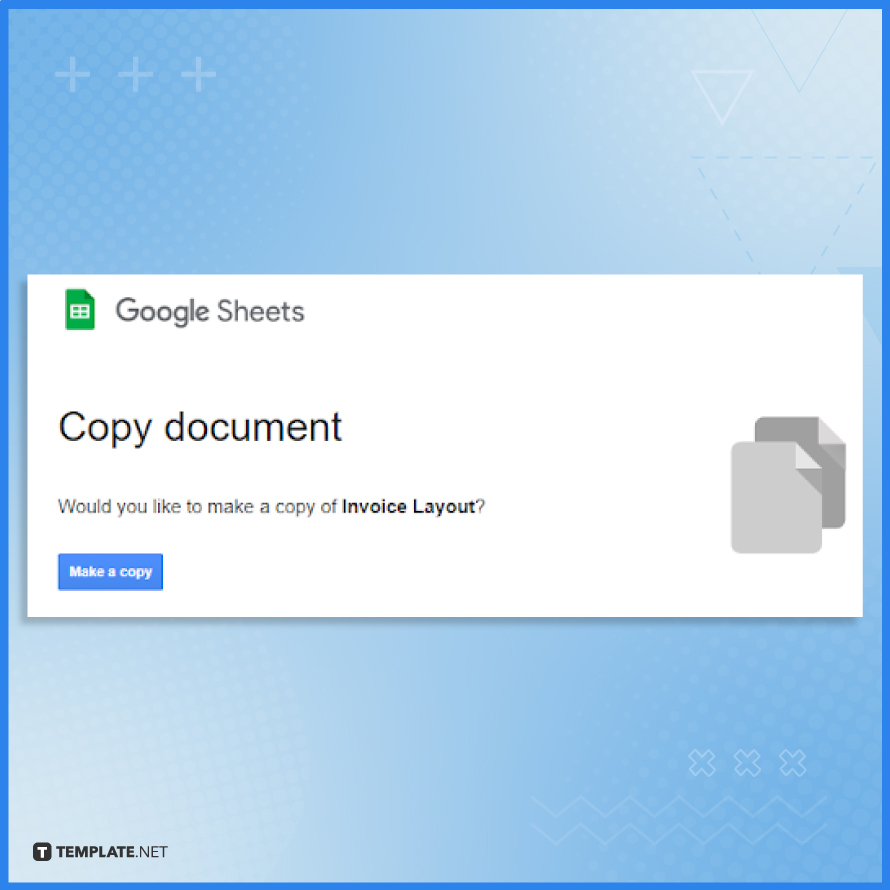
When opening the downloaded invoice layout template in Google Sheets, you first need to create a copy of it. Just click on the “Make a copy” button on the page redirected to you after download completion.
-
Step 4: Update the Header Section

Inject a touch of your own personality into the core of your invoices by updating the header section. Replace the header logo and text with your own, allowing your brand’s identity to shine through and creating a memorable impact on your valued clients.
-
Step 5: Replace the Invoice Number and Issued Date
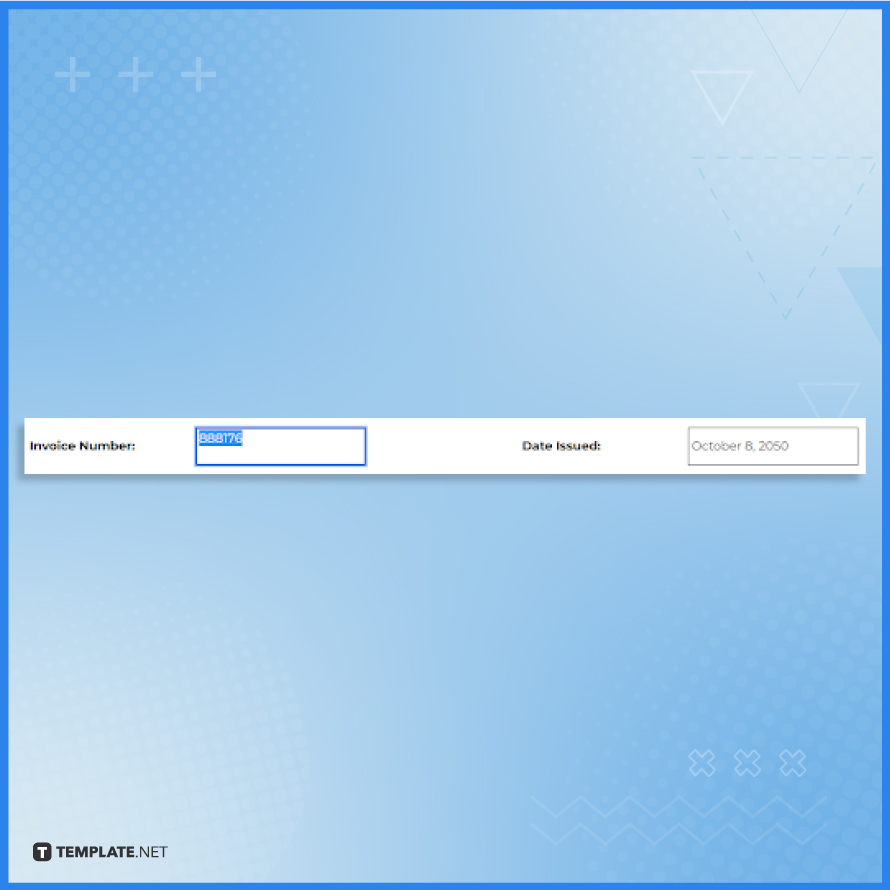
To replace the invoice number and issued date, locate the respective fields on your invoice layout template. Then update them with the new information, ensuring accuracy and consistency.
-
Step 6: Input the Biller’s Details
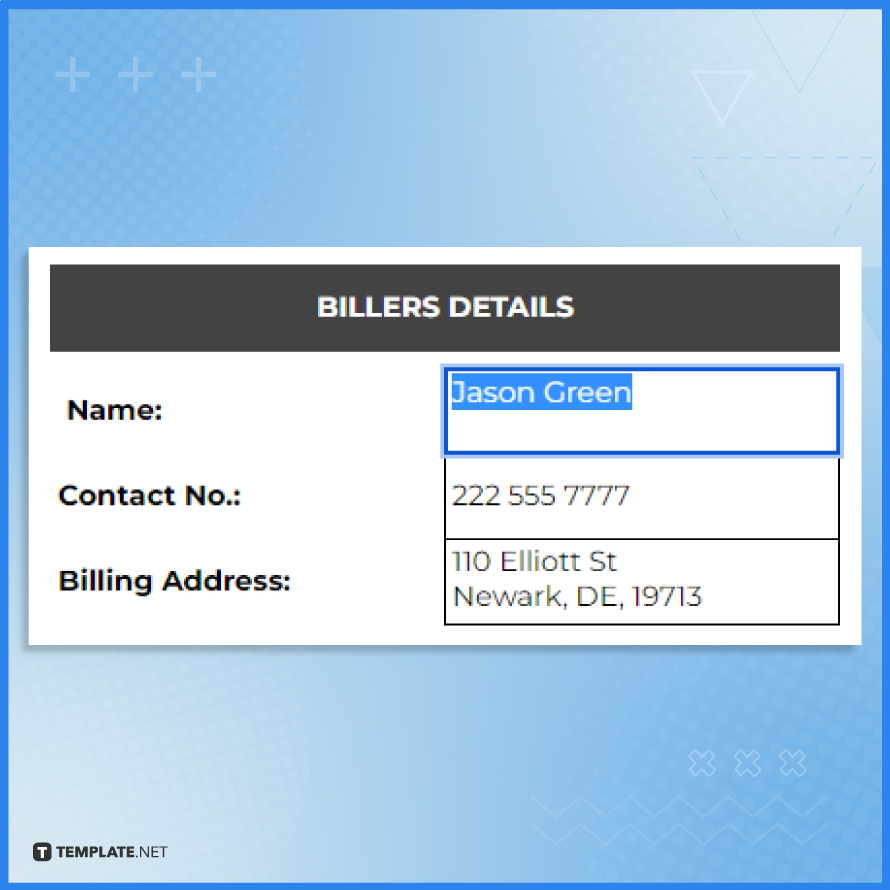
To input the biller’s details, locate the designated section on the invoice layout template and enter the biller’s name, billing address, contact information, and any other relevant details accurately and clearly. Double-check the entered information to ensure its correctness before proceeding to the next step.
-
Step 7: Fill in the Client’s Details
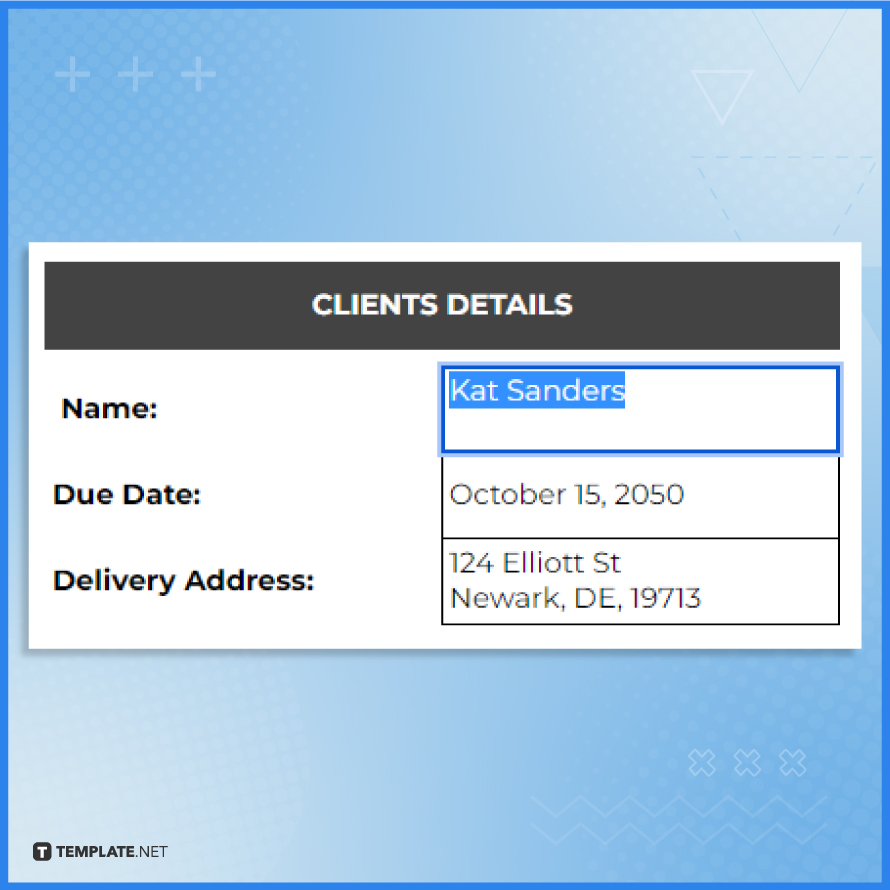
Now, move on to filling in the client’s details, including the name, delivery address, and due date, in the existing fields on the invoice layout template. Be careful to accurately enter these details for proper identification and to facilitate smooth communication and payment processing.
-
Step 8: Type the Invoice Data
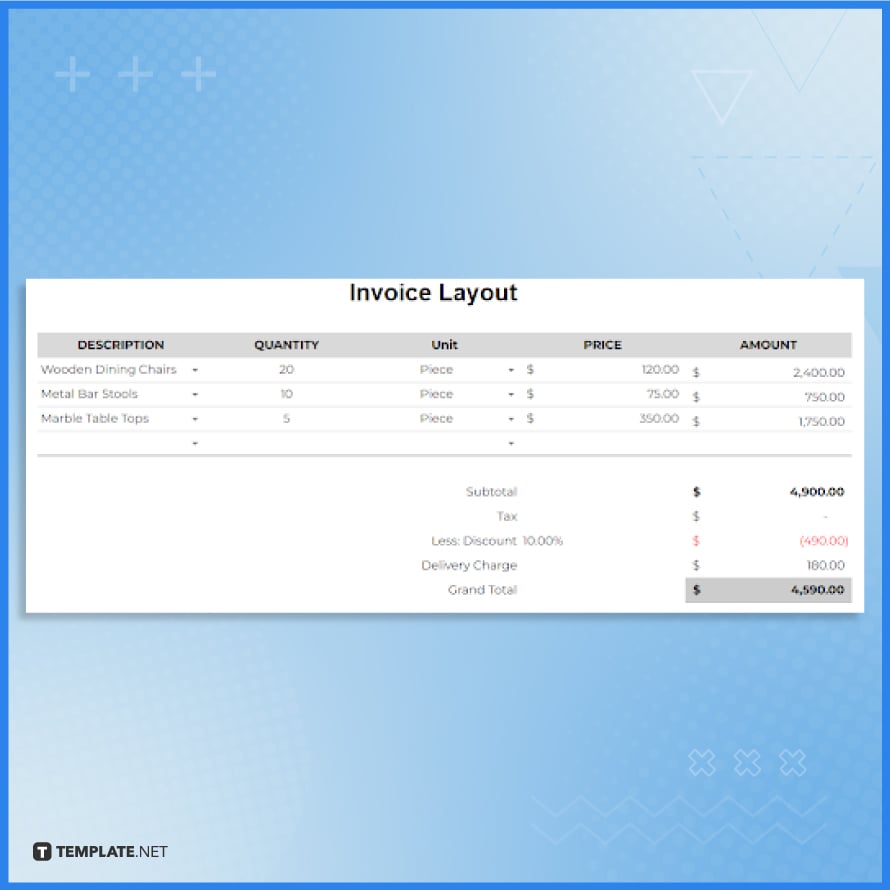
Type the invoice data by including clear descriptions of each item along with the corresponding quantities, units, prices, amounts, and totals in the respective fields of the invoice layout template. Take your time to accurately input the information to guarantee an itemized and comprehensive invoice that enables easy reference and accurate billing.
-
Step 9: Include the Terms and Conditions
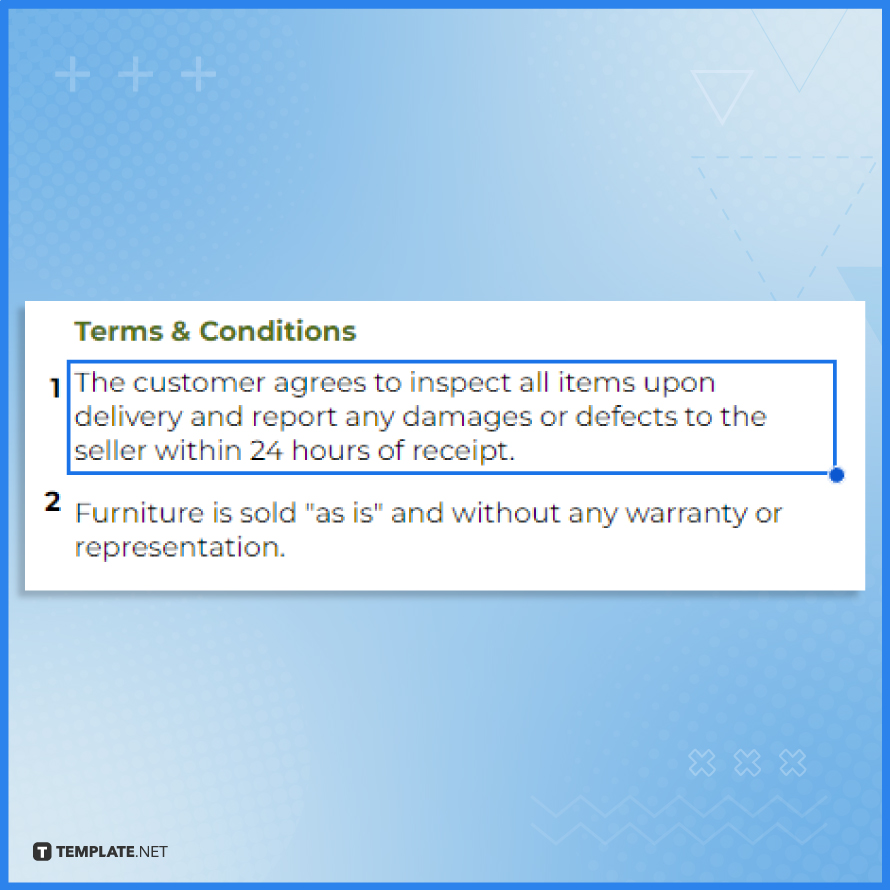
It is crucial to include the terms and conditions in your invoice layout template. Remember to incorporate important clauses such as ownership rights, dispute resolution, and any specific policies relevant to your business to establish a mutual understanding and protect the interests of both parties.
-
Step 10: Add the Signature
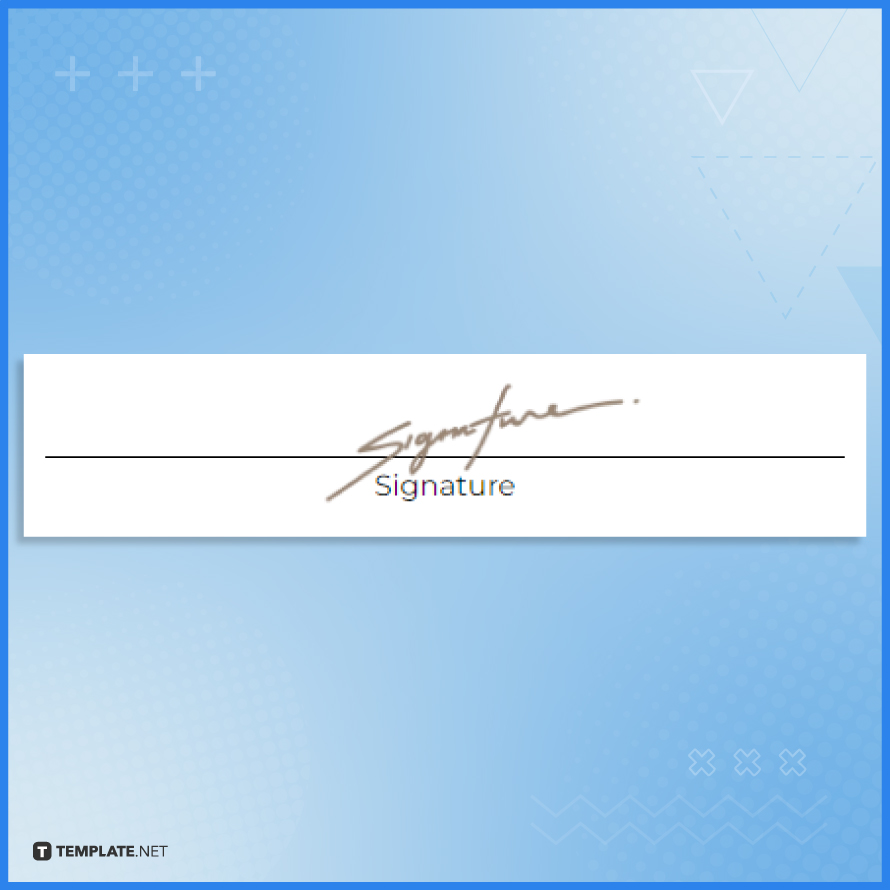
To add your signature, use a digital signature tool or scan your handwritten signature and insert it into the designated signature field on the invoice. Make sure the signature is clear and legible, as it serves as a confirmation of authenticity and agreement between the parties involved.
-
Step 11: Download and Print
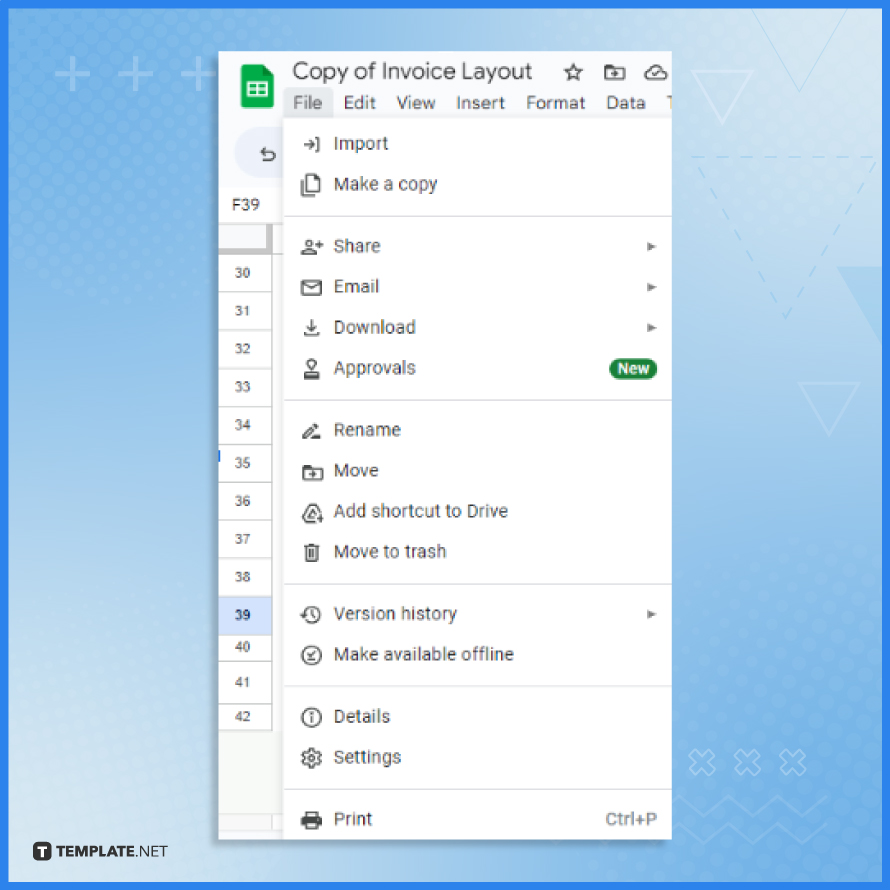
Once you have finished customizing the invoice layout template, download it by selecting “File” and then “Download” in the menu options. Alternatively, you can directly print it with the Print option under the File tab for a physical copy, ready for distribution.
FAQs
What is an invoice layout?
An invoice layout refers to the visual design and arrangement of information on an invoice.
What are the essential elements of an invoice layout?
The essential elements of an invoice layout include the business name, contact information, invoice number, itemized list of products or services, quantities, prices, totals, and payment instructions.
How can I create a professional-looking invoice layout?
To create a professional-looking invoice layout, use consistent branding elements, clear typography, organized sections, and a clean design.
Should I include a logo in my invoice layout?
Yes, including your company logo in the invoice layout adds branding and helps create a cohesive visual identity.
What’s the ideal font for an invoice layout?
Choose a legible and professional font such as Arial, Calibri, or Helvetica for your invoice layout.


